1. הקדמה
This manual provides essential instructions for setting up, operating, and maintaining your XIXIMENG X2 PLUS Retro Gaming Console. Please read this guide thoroughly before use to ensure optimal performance and longevity of your device.

Image: The XIXIMENG X2 PLUS Retro Gaming Console, including the game stick, two wireless controllers, USB cables, and the product box.
The XIXIMENG X2 PLUS is a retro gaming console designed for a wide range of classic games. It features 4K HD output, supports over 40 emulators, and comes with dual 2.4GHz wireless controllers for an immersive gaming experience on various display platforms.
2. פּעקל אינהאַלט
באַשטעטיקט אַז אַלע זאכן וואָס זענען אויסגערעכנט אונטן זענען אַרייַנגערעכנט אין אייער פּעקל:
- X2 Plus Game Stick (1)
- Wireless Controllers (2)
- USB Receiver (1)
- HD Cable (1)
- מיקראָ וסב קאַבלע (1)
- TF Card (1) (Pre-inserted in the game stick)
- באַניצער מאַנואַל (1)
- Gift Box Packaging (1)

Image: A visual representation of the package contents, including the game stick, two wireless controllers, USB receiver, HD cable, USB cable, TF card, and user manual.
3. סעטאַפּ גייד
Follow these steps to connect and power on your XIXIMENG X2 PLUS Retro Gaming Console:
- אַרײַנשטעלן די TF קאַרטל: Ensure the TF card is properly inserted into the game stick's card slot.
- Plug in the Wireless Adapter: Connect the USB wireless receiver into the USB interface of the game stick.
- פאַרבינדן צו טעלעוויזיע/דיספּליי: Plug the game stick into an available HDMI port on your TV, monitor, or projector. If space is limited, use the included HD conversion cable.
- Connect USB Power Supply: Connect the Micro USB cable to the game stick's charging hole and the other end to a 5V/1A USB power adapter (not included, a standard phone charger works) or a USB port on your TV that provides sufficient power.
- אַרײַנשטעלן קאָנטראָללער באַטעריעס: Open the battery compartment on each wireless controller and insert two AAA batteries (not included), ensuring correct polarity.
- מאַכט אויף: Turn on your TV/display and select the correct HDMI input source. The console should boot automatically.
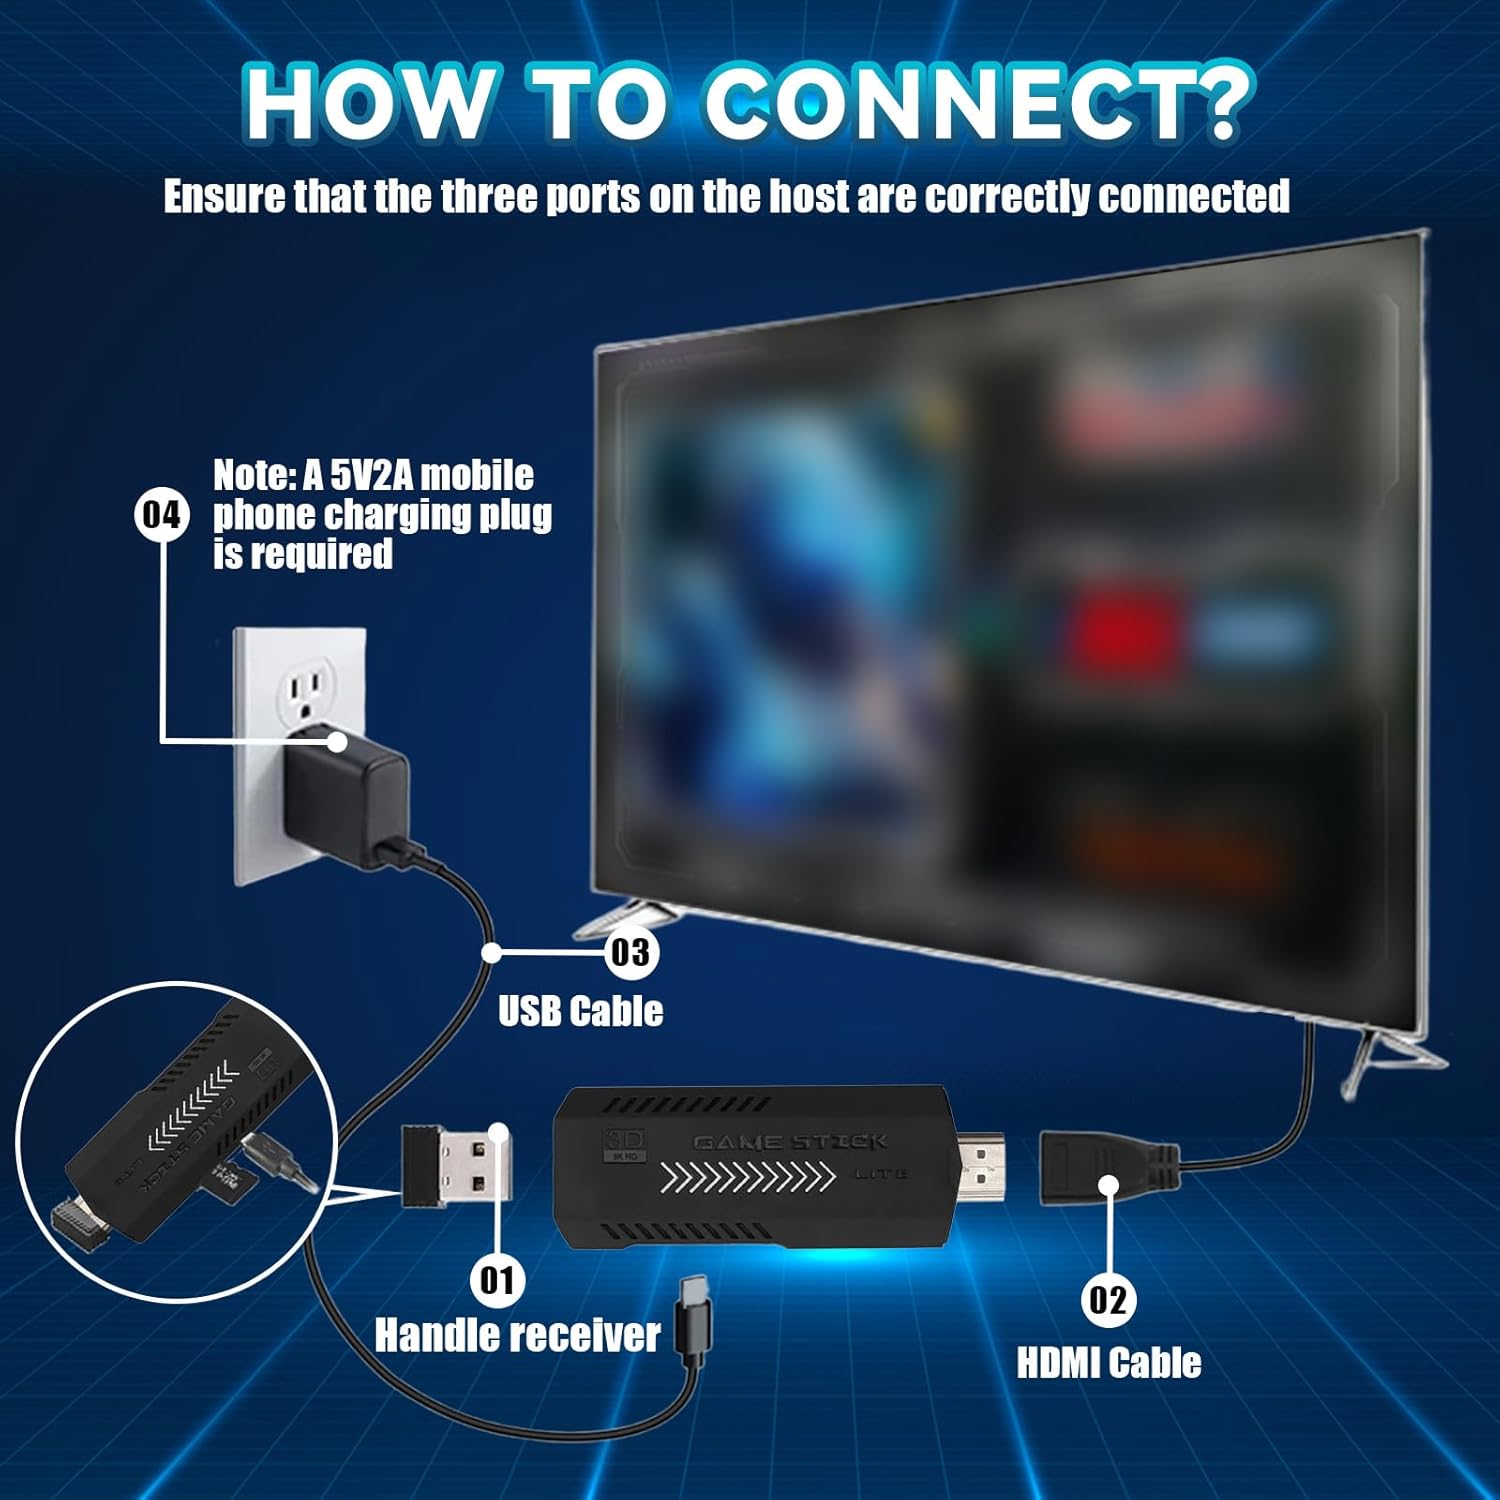
Image: Step-by-step connection diagram for the game stick, showing the handle receiver, HDMI cable connection, USB cable for power, and the requirement for a 5V/2A phone charging plug.

Image: A visual guide illustrating the connection process, emphasizing the power supply requirements and troubleshooting tips for display issues.
באַמערקונג:
- Ensure your display device has an HDMI interface.
- The USB power supply must provide 5V/1A or higher for stable operation.
4. אַפּערייטינג ינסטרוקטיאָנס
4.1 Controller Pairing and Usage
The console comes with two 2.4GHz wireless controllers. To use them:
- Insert AAA batteries into each controller.
- Ensure the USB receiver is plugged into the game stick.
- Turn on the power switch on the side of each controller. Both controllers' indicator lights will flash red and green, then turn solid green or red upon successful pairing.

Image: An annotated diagram of the wireless controller, highlighting the direction keys, selection key, start button, function keys (A, B, X, Y), home button, smooth joystick, game buttons, and power indicator.

Image: Details on the controller's features like 360° 3D joystick, sensitive triggers, convenient control panel, and sensitive buttons, along with troubleshooting steps for controller connectivity.
4.2 Navigating the System Menu
Once the console is powered on, you will see the main menu. Use the directional pad and action buttons on your controller to navigate through game categories and selections.
4.3 In-Game Menu
During gameplay, press and hold the אויסקלייַבן און אָנהייב buttons simultaneously to bring up the in-game menu. From this menu, you can:
- פּויזע די שפּיל
- ראַטעווען שפּיל פּראָגרעס
- לאָדן געראטעוועטע שפּיל פּראָגרעס
- אַרויסגאַנג די שפּיל
5. Game Management
The XIXIMENG X2 PLUS console comes pre-loaded with over 50,000 classic games and supports more than 40 mainstream emulators. Key features for game management include:
- Game Previews: View short previews of games before launching.
- Game Search: Quickly find specific games using the search function.
- Game Collection/Bookmarks: Mark your favorite games for easy access.
- Saving/Loading Progress: Save and load game progress at any time to avoid losing your progress.
- Customizable Button Settings: Adjust controller button mappings to your preference.
- ROM Expansion: The console supports adding more games via ROM expansion.

Image: A visual summary of the console's game management features, such as game previews, search, collection, saving/loading game progress, key customization, and ROM expansion.
וויכטיק באַמערקונג:
The gaming console with built-in games does not support users to change or update the system by themselves, nor to refresh the system. Unauthorized modifications may lead to system instability or data loss.
6. ספּעסאַפאַקיישאַנז
| שטריך | דעטאַל |
|---|---|
| מאָדעל נאָמען | X2 Plus |
| פּראַסעסער | Quad-core S905L |
| גפּו | אָרעם מאַלי-450 |
| אָפּערייטינג סיסטעם | Emuelec 4.3 |
| רעזולטאַט האַכלאָטע | 4K HD |
| זכּרון יקספּאַנשאַן | Supports 64GB or 128GB TF cards (128GB included in this variant) |
| קאָנטראָללער | 2 x 2.4GHz Wireless Controllers |
| קאַנעקטיוויטי | HDMI, וסב |
| פּראָדוקט דימענשאַנז | 4.53 X 4.13 X 6.29 אינטשעס |
| פאַבריקאַנט | XIXIMENG |
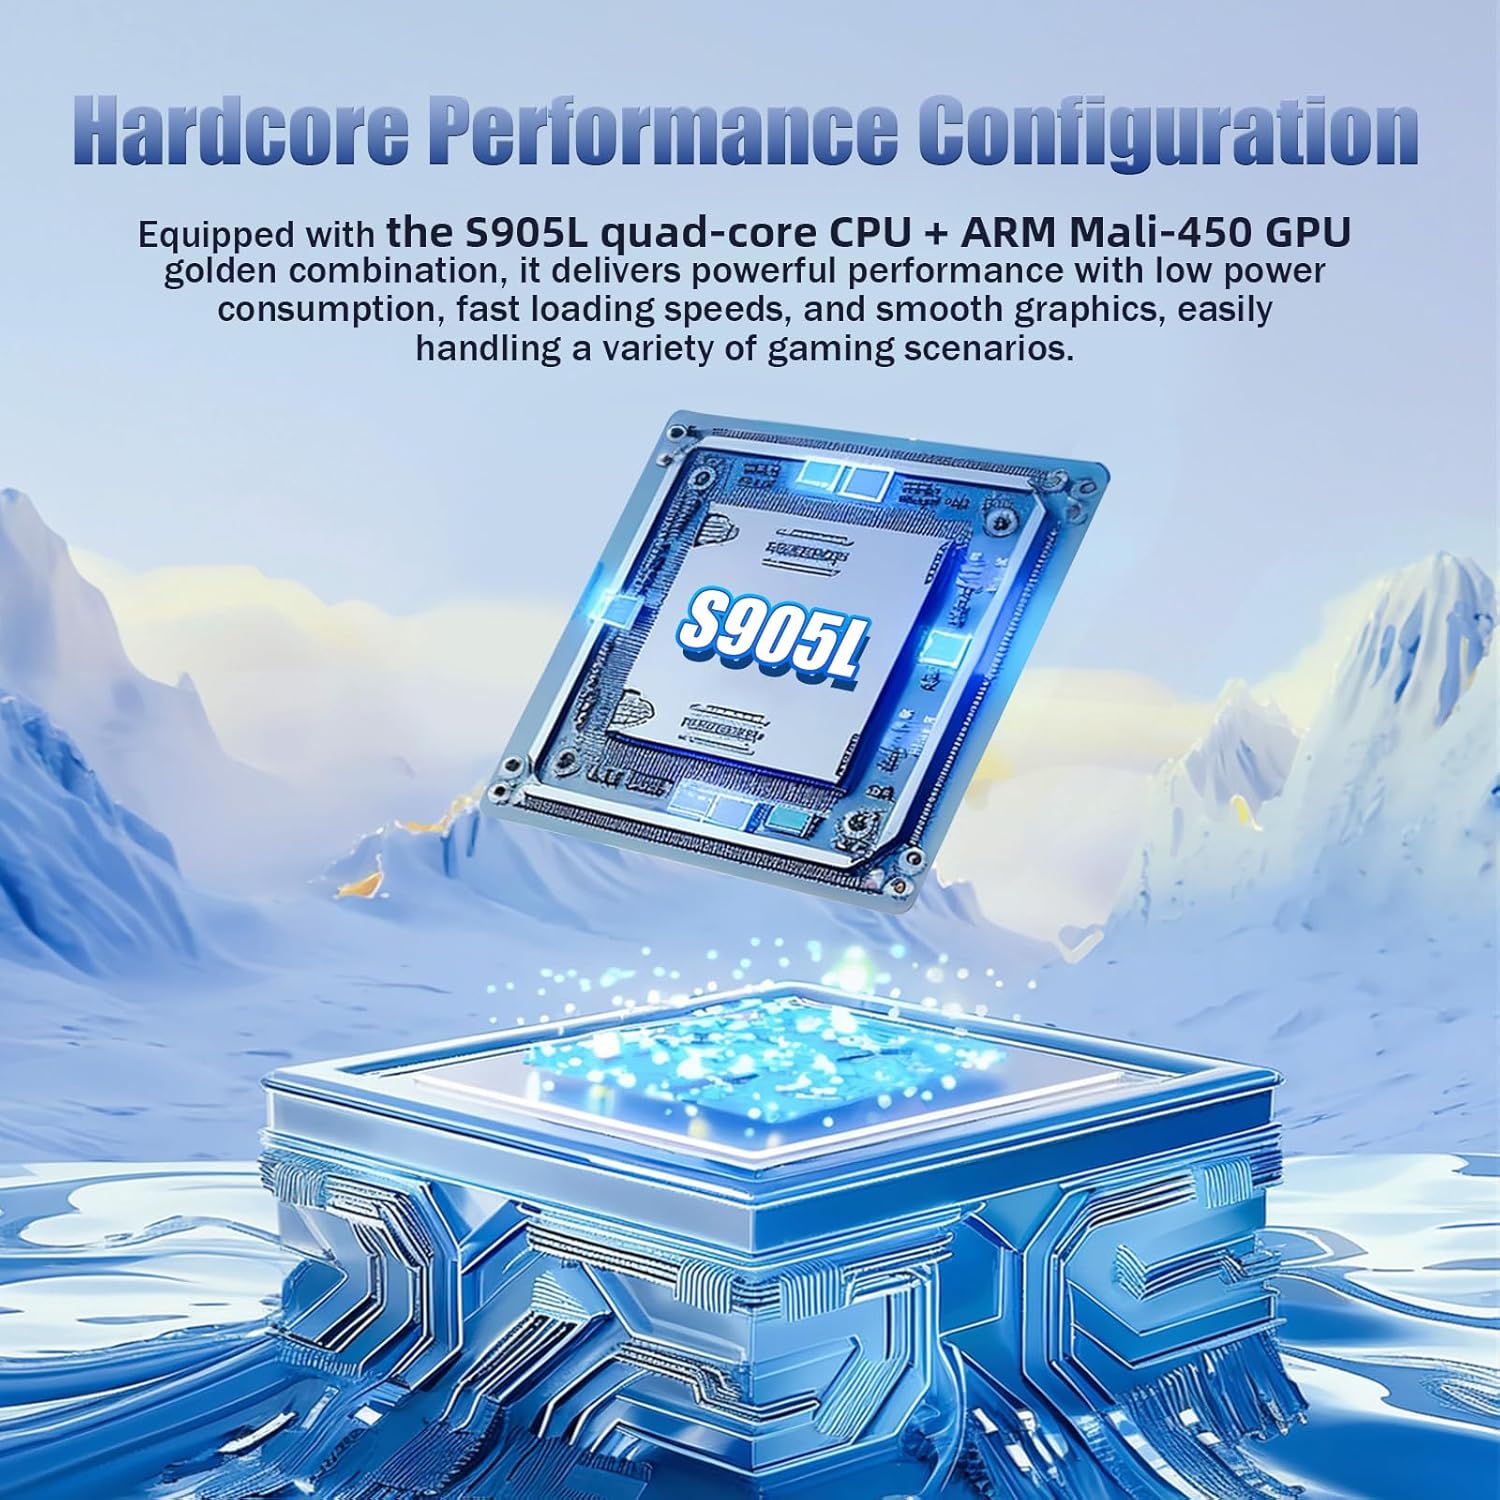
Image: A visual representation of the console's internal hardware, highlighting the S905L quad-core CPU and ARM Mali-450 GPU, which contribute to its performance.
7. טראָובלעשאָאָטינג
7.1 No Display on TV / Console Not Starting
If both the console and controller lights are on, but no image appears on the TV:
- טשעק USB מאַכט: Ensure the USB cable is plugged into a power adapter that provides at least 5V/1A. Directly plugging into a TV's USB port might not provide sufficient voltage, causing display issues.
- Verify TF Card: If the TF card is confirmed to have 8 pins, gently wipe the pins with a clean cloth and reinsert it. A dirty or improperly seated TF card can prevent the system from booting.
- HDMI קשר: Confirm the game stick is securely plugged into the TV's HDMI port and that the correct HDMI input source is selected on your TV.
7.2 קאָנטראָללער רעאַגירט נישט
If your wireless controller is not responding:
- Unplug USB Receiver: Disconnect the USB receiver from the console.
- מאַכט ציקל קאָנטראָללער: Turn off the controller's power switch.
- Reinsert USB Receiver: Plug the USB receiver back into the console.
- מאַכט אויף קאָנטראָללער: Turn the controller power switch back on. The indicator lights should flash red and green, indicating it is re-pairing. Once connected successfully, the lights will return to normal (solid red or green).
- טשעק באַטעריז: Ensure the AAA batteries in the controller are fresh and correctly inserted.
7.3 סיסטעם דערהייַנטיקונגען
ווארענונג:
The gaming console with built-in games does not support users to change or update the system by themselves, nor to refresh the system. Attempting to do so may damage the device or lead to data loss.
8. וישאַלט
- Keep the console and controllers in a dry environment, away from direct sunlight and extreme temperatures.
- Clean the device with a soft, dry cloth. Do not use liquid cleaners or abrasive materials.
- ויסמיידן דראַפּינג די מיטל אָדער אונטערטעניק צו שטאַרק ימפּאַקץ.
- When not in use for extended periods, remove batteries from the controllers to prevent leakage.
9. וואָראַנטי און שטיצן
For any problems encountered during use, please contact customer support. We are committed to providing prompt assistance.
Contact information for support is typically found on the product packaging or the seller's platform.


