1. הקדמה
This manual provides detailed instructions for the installation, operation, and maintenance of your KEPEAK 10-inch Mirror Dash Cam. Please read this manual thoroughly before using the product to ensure proper function and safety. Keep this manual for future reference.
2. פּראָדוקט איבערview
פּעקל אינהאַלט
- 10-inch Mirror Dash Cam (Front Camera Integrated)
- 1080P דערציען View אַפּאַראַט
- דערציען אַפּאַראַט קאַבלע (18ft)
- מאַשין טשאַרדזשער
- Mounting Straps/Rubber Clips
- 32 גיגאבייט זכּרון קאָרט
- באַניצער מאַנואַל
שליסל פֿעיִקייטן
- צווייענדיק קאַמעראַ סיסטעם: 4K Ultra HD front camera and IP68 waterproof 1080P rear camera.
- 10-אינטש IPS טאָוטש סקרין: אָפערט אַ ברייטע פעלד פון view and intuitive control.
- ברייט דינאַמיש קייט (WDR): פֿאַרבעסערט ווידעא קלעריטי אין פֿאַרשידענע ליכט באדינגונגען, ספּעציעל בייַ נאַכט.
- Smart Parking Assistance: אויטאָמאַטישע אַרויסווייַזונג פון הינטערשטן view with parking assist lines when reversing.
- שלייף רעקאָרדינג: אויטאָמאַטיש איבערשרייבט עלטסטע files ווען די זכּרון קאָרט איז פול.
- ג-סענסאָר: Detects collisions and locks video footagE צו פאַרמייַדן אָווועררייטינג.
- פּאַרקינג אויפזיכט מאָדע: Records events when an impact is detected while parked (requires built-in battery power).
- 170° ברייט ווינקל לינז: כאַפּט אַ ברייט view פון דעם וועג.
- זיקאָרן קאָרט שטיצן: Includes a 32GB card, supports up to 64GB.

Image: The KEPEAK 10-inch Mirror Dash Cam with its front camera, rear camera, 32GB memory card, car charger, and mounting straps.
3. ינסטאַללאַטיאָן גייד
Follow these steps to properly install your dash cam system.
3.1 Mounting the Mirror Dash Cam
- Secure the mirror dash cam to your vehicle's original rearview mirror using the provided rubber clips/straps. Ensure it is firmly attached and does not obstruct your view.
- Adjust the angle of the front camera lens to capture the desired view פון די וועג פאָרויס.
3.2 ינסטאָלינג די דערציען אַפּאַראַט
- Mount the rear camera at the back of your vehicle, typically above the license plate or on the rear window. Ensure it has a clear view און איז זיכער באַפעסטיקט.
- Route the 18ft rear camera cable from the rear camera to the main mirror dash cam unit. It is recommended to route the cable along the vehicle's headliner and trim for a neat installation.
- פֿאַרבינדט דעם קאַבל פֿון דער הינטערשטער קאַמעראַ צום באַשטימטן פּאָרט אויף דער שפּיגל דאַש קאַם.
3.3 מאַכט קאַנעקשאַן
- Insert the provided 32GB memory card into the dash cam's memory card slot.
- פֿאַרבינדט דעם אויטאָ טשאַרדזשער צום דאַש קאַם'ס מאַכט אַרייַנגאַנג פּאָרט.
- Plug the car charger into your vehicle's 12V power outlet (cigarette lighter socket).
- Start your vehicle. The dash cam should power on automatically and begin recording.

Image: Visual guide for power wiring methods, including securing the dashcam, routing wires along the headliner, opening the A-pillar side panel, and plugging in the car charger.
4. אָפּעראַציע אינסטרוקציעס
The KEPEAK Mirror Dash Cam features a user-friendly touch screen interface.
4.1 יקערדיק פאַנגקשאַנז
- מאַכט אויף / אַוועק: The device automatically powers on/off with your vehicle's ignition. You can also manually power it on/off by pressing and holding the power button.
- רעקאָרדינג: Recording starts automatically when the device powers on. A red dot or similar indicator on the screen confirms recording is active.
- סוויטשינג Views: Slide your finger left or right across the touch screen to switch between front camera view, דערציען אַפּאַראַט view, or a split-screen display.
- אַדזשאַסטינג ווינקלען: Slide your finger up or down on the screen to adjust the vertical viewing angle of the displayed camera.

Image: The 10-inch IPS touch screen displaying a vibrant interface, highlighting its responsive touch functionality.
4.2 אַוואַנסירטע פֿעיִקייטן
- פּאַרקינג הילף: When your vehicle is in reverse gear, the dash cam automatically displays the full-screen rear view with dynamic parking assist lines. You can manually adjust the display range (up/down) for optimal visibility.
- שלייף רעקאָרדינג: The dash cam continuously records. When the memory card is full, it automatically overwrites the oldest unlocked files.
- G-סענסאר (קאליזיע דעטעקציע): אין פאַל פון אַ פּלוצעמדיקן אימפּאַקט אָדער קאָליזיע, דער איינגעבויטער G-סענסאָר דעטעקטירט אויטאָמאַטיש דעם געשעעניש און פארשפארט דאָס איצטיקע ווידעאָ. file, פאַרהיטן עס פון ווערן אָוווערשריבן דורך לופּ רעקאָרדינג.
- פּאַרקינג אויפזיכט מאָדע: When the engine is off, the dash cam uses its internal battery to enter standby monitoring. If an impact is detected, it will automatically turn on and record the event. A fully charged internal battery can provide up to 2 weeks of standby monitoring. For continuous 24/7 monitoring, hardwiring the dash cam to your car's battery is required (hardwire kit sold separately).

Image: The dash cam screen showing a full-screen rear view with green, yellow, and red parking assist lines, indicating safe reversing.

Image: An illustration depicting cars in a parking lot, with a lock icon indicating the G-Sensor's auto-lock function for collision events.
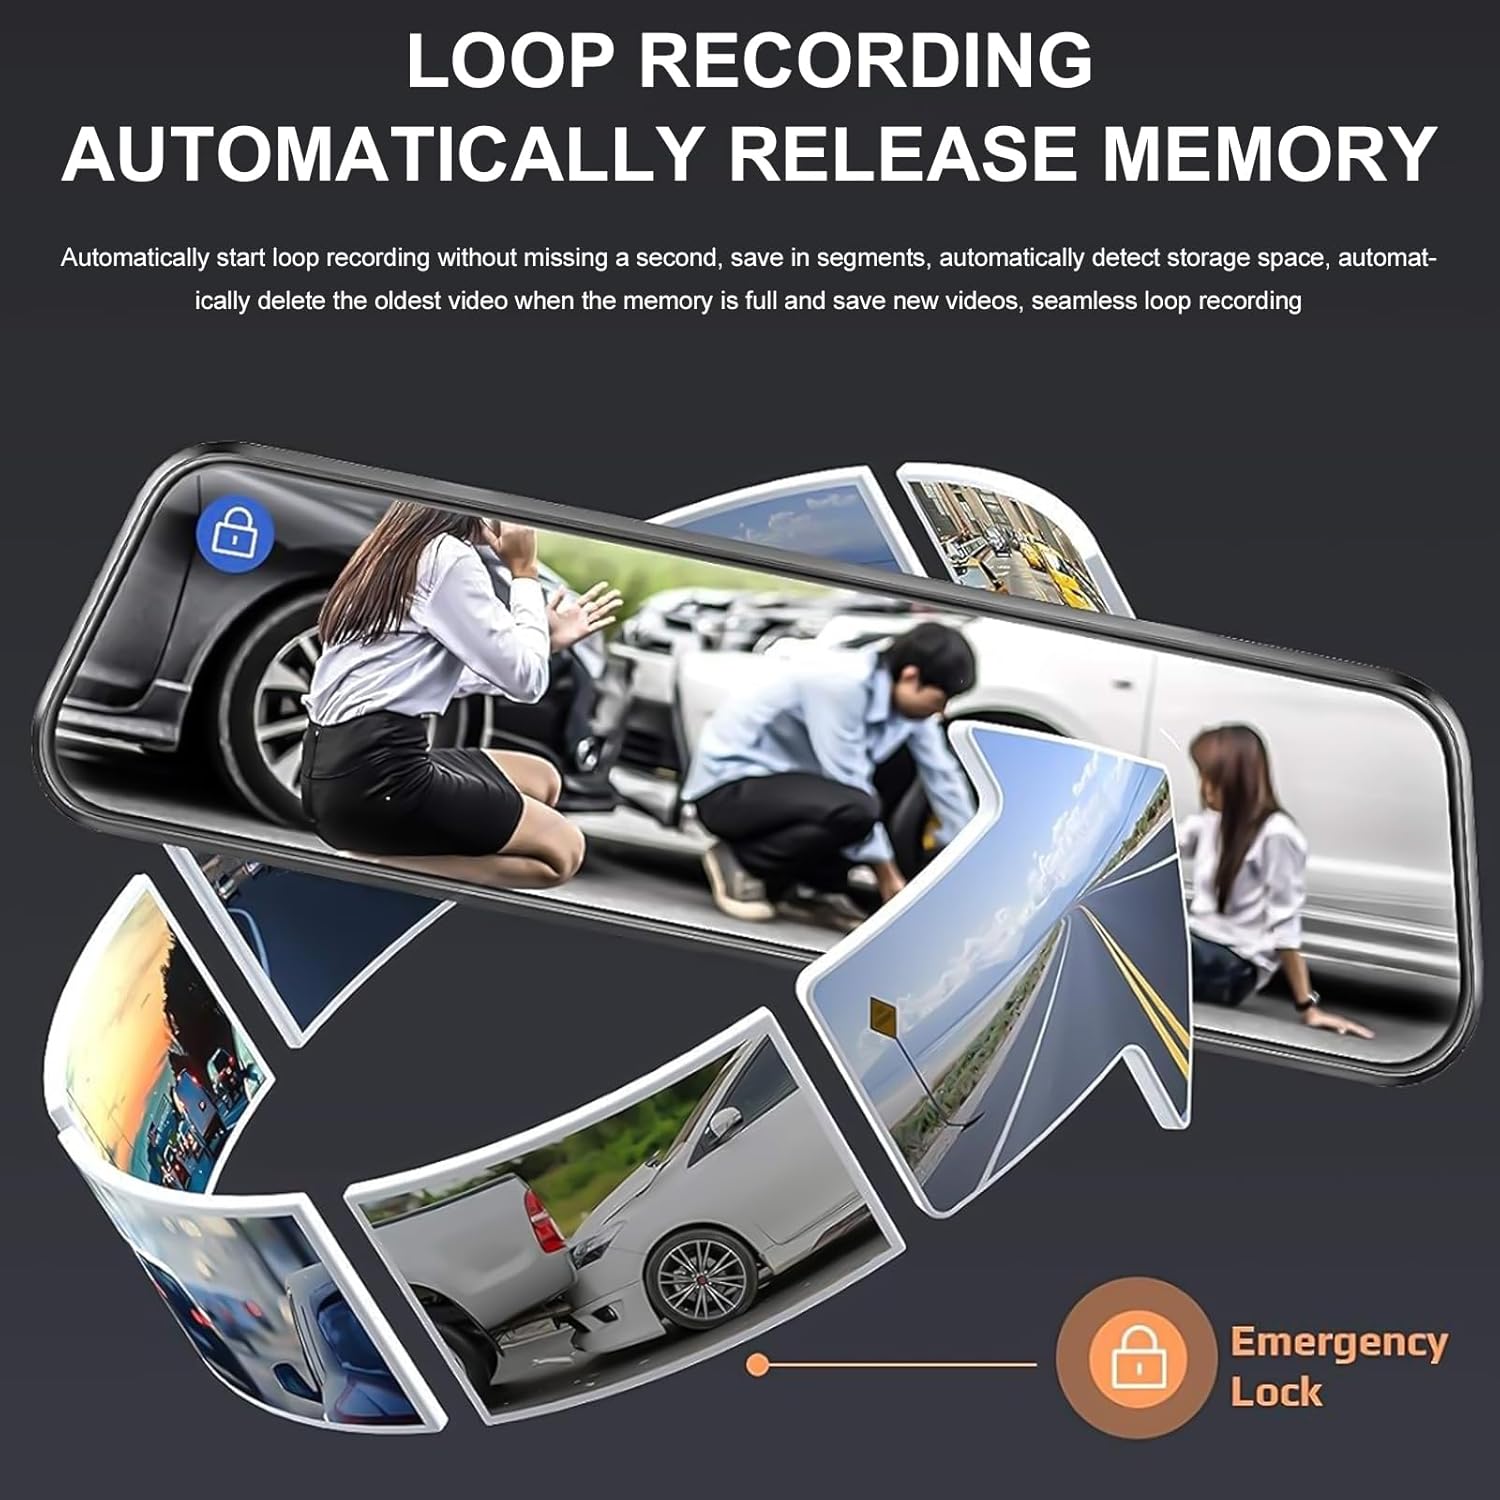
Image: A circular flow diagram illustrating loop recording, where new video segments replace older ones, with an emergency lock icon for protected footage.

Image: A car parked at night with a '24 HOUR' clock icon, symbolizing the 24-hour parking monitoring feature for vehicle protection.
5. Settings and Functions
Access the menu by tapping the screen. Here you can adjust various settings:
- ווידעא האַכלאָטע: Select desired resolution for front and rear cameras (e.g., 4K/1080P).
- לויף רעקאָרדינג געדויער: Set the length of video segments (e.g., 1, 3, 5 minutes).
- ג-סענסאָר סענסיטיוויטי: Adjust the sensitivity of the collision detection.
- פּאַרקינג מאָניטאָר: Enable or disable parking surveillance mode.
- אויסגעשטעלטקייט: Adjust video brightness.
- טאָג / צייט: שטעלן די ריכטיק דאַטע און צייט פֿאַר פּינטלעך צייטampס אויף רעקאָרדינגס.
- סקרין היטער: Set the screen to turn off after a period of inactivity to avoid distraction.
- שפּראַך: אויסקלייַבן דיין בילכער שפּראַך.
6. וישאַלט
- רייניקונג: Use a soft, dry cloth to clean the dash cam screen and lenses. Avoid abrasive cleaners or solvents.
- זכּרון קאָרט: פֿאָרמאַטירט רעגולער די זכּרון קאַרטל (לפֿחות איין מאָל אַ חודש) צו פֿאַרזיכערן אָפּטימאַלע פאָרשטעלונג און פֿאַרהיטן דאַטן קאָרופּציע. מאַכט אַ באַקאַפּ פֿון אַלע וויכטיקע דאַטן.tage before formatting. Replace the memory card if it shows signs of degradation or errors.
- טעמפּעראַטור: Avoid exposing the dash cam to extreme temperatures for extended periods, as this can affect battery life and device performance.
7. טראָובלעשאָאָטינג
If you encounter issues with your dash cam, refer to the following common solutions:
| פּראָבלעם | מעגלעך לייזונג |
|---|---|
| די דאַש קאַם גייט נישט אָן. | Check if the car charger is properly connected to both the dash cam and the vehicle's 12V outlet. Ensure the vehicle's ignition is on. Test the charger in another port or with another device if possible. |
| די רעקאָרדירונג שטעלט זיך אָפּ אָדער פֿאַרפֿרירט זיך. | Format the memory card. Ensure the memory card is a high-speed Class 10 or U3 card. Replace the memory card if issues persist. Check power connection stability. |
| נעבעך ווידעא קוואַליטעט. | Clean the camera lenses. Ensure the protective film has been removed from the lenses. Check video resolution settings. Adjust WDR settings if applicable. |
| די הינטערשטע קאַמעראַ ווײַזט זיך נישט. | Check the connection of the rear camera cable to both the rear camera and the main unit. Ensure the cable is not damaged. |
| Parking assist lines not appearing. | Ensure the rear camera is properly connected and the vehicle is in reverse gear. Check settings for parking assistance. |
| Parking surveillance not working. | Ensure the parking surveillance mode is enabled in settings. Check the dash cam's internal battery charge level. For 24/7 monitoring, hardwiring is required. |
8. ספּעסאַפאַקיישאַנז
- סאָרט: KEPEAK
- מאָדעל: B0FHJS1HZS
- פאַרשטעלן גרייס: 10 אינטשעס
- פראָנט אַפּאַראַט האַכלאָטע: 4K Ultra HD
- דערציען אַפּאַראַט האַכלאָטע: 1080 פּ גאַנץ הד
- פעלד פון View: 170 דיגריז
- ספּעציעלע פֿעיִקייטן: G-Sensor, Night Vision (WDR), Touch Screen, Loop Recording, Parking Assistance, Parking Surveillance
- קאַנעקטיוויטי טעכנאָלאָגיע: וסב
- זיקאָרן קאָרט שטיצן: ביז 64 גיגאבייט (32 גיגאבייט אריינגערעכנט)
- פּראָדוקט דימענשאַנז: 8 X 5 X 4 אינטשעס
- נומער וואָג: 1.7 פונט
- קאָליר: שוואַרץ
- פאָרמיטל סערוויס טיפּ: מאַשין, טראָק
9. וואָראַנטי און שטיצן
KEPEAK is committed to providing reliable products and customer satisfaction. If you encounter any issues with your mirror dash cam, our customer support team is available to provide fast and effective assistance within 24 hours.
Please contact us through the retailer's platform or refer to the contact information provided with your purchase for support.