1. הקדמה
This manual provides essential instructions for setting up, operating, maintaining, and troubleshooting your CRUA 32-inch 4K UHD 160Hz Curved Gaming Monitor (Model CR320A). Please read this manual thoroughly before using the product to ensure proper functionality and to prevent damage.
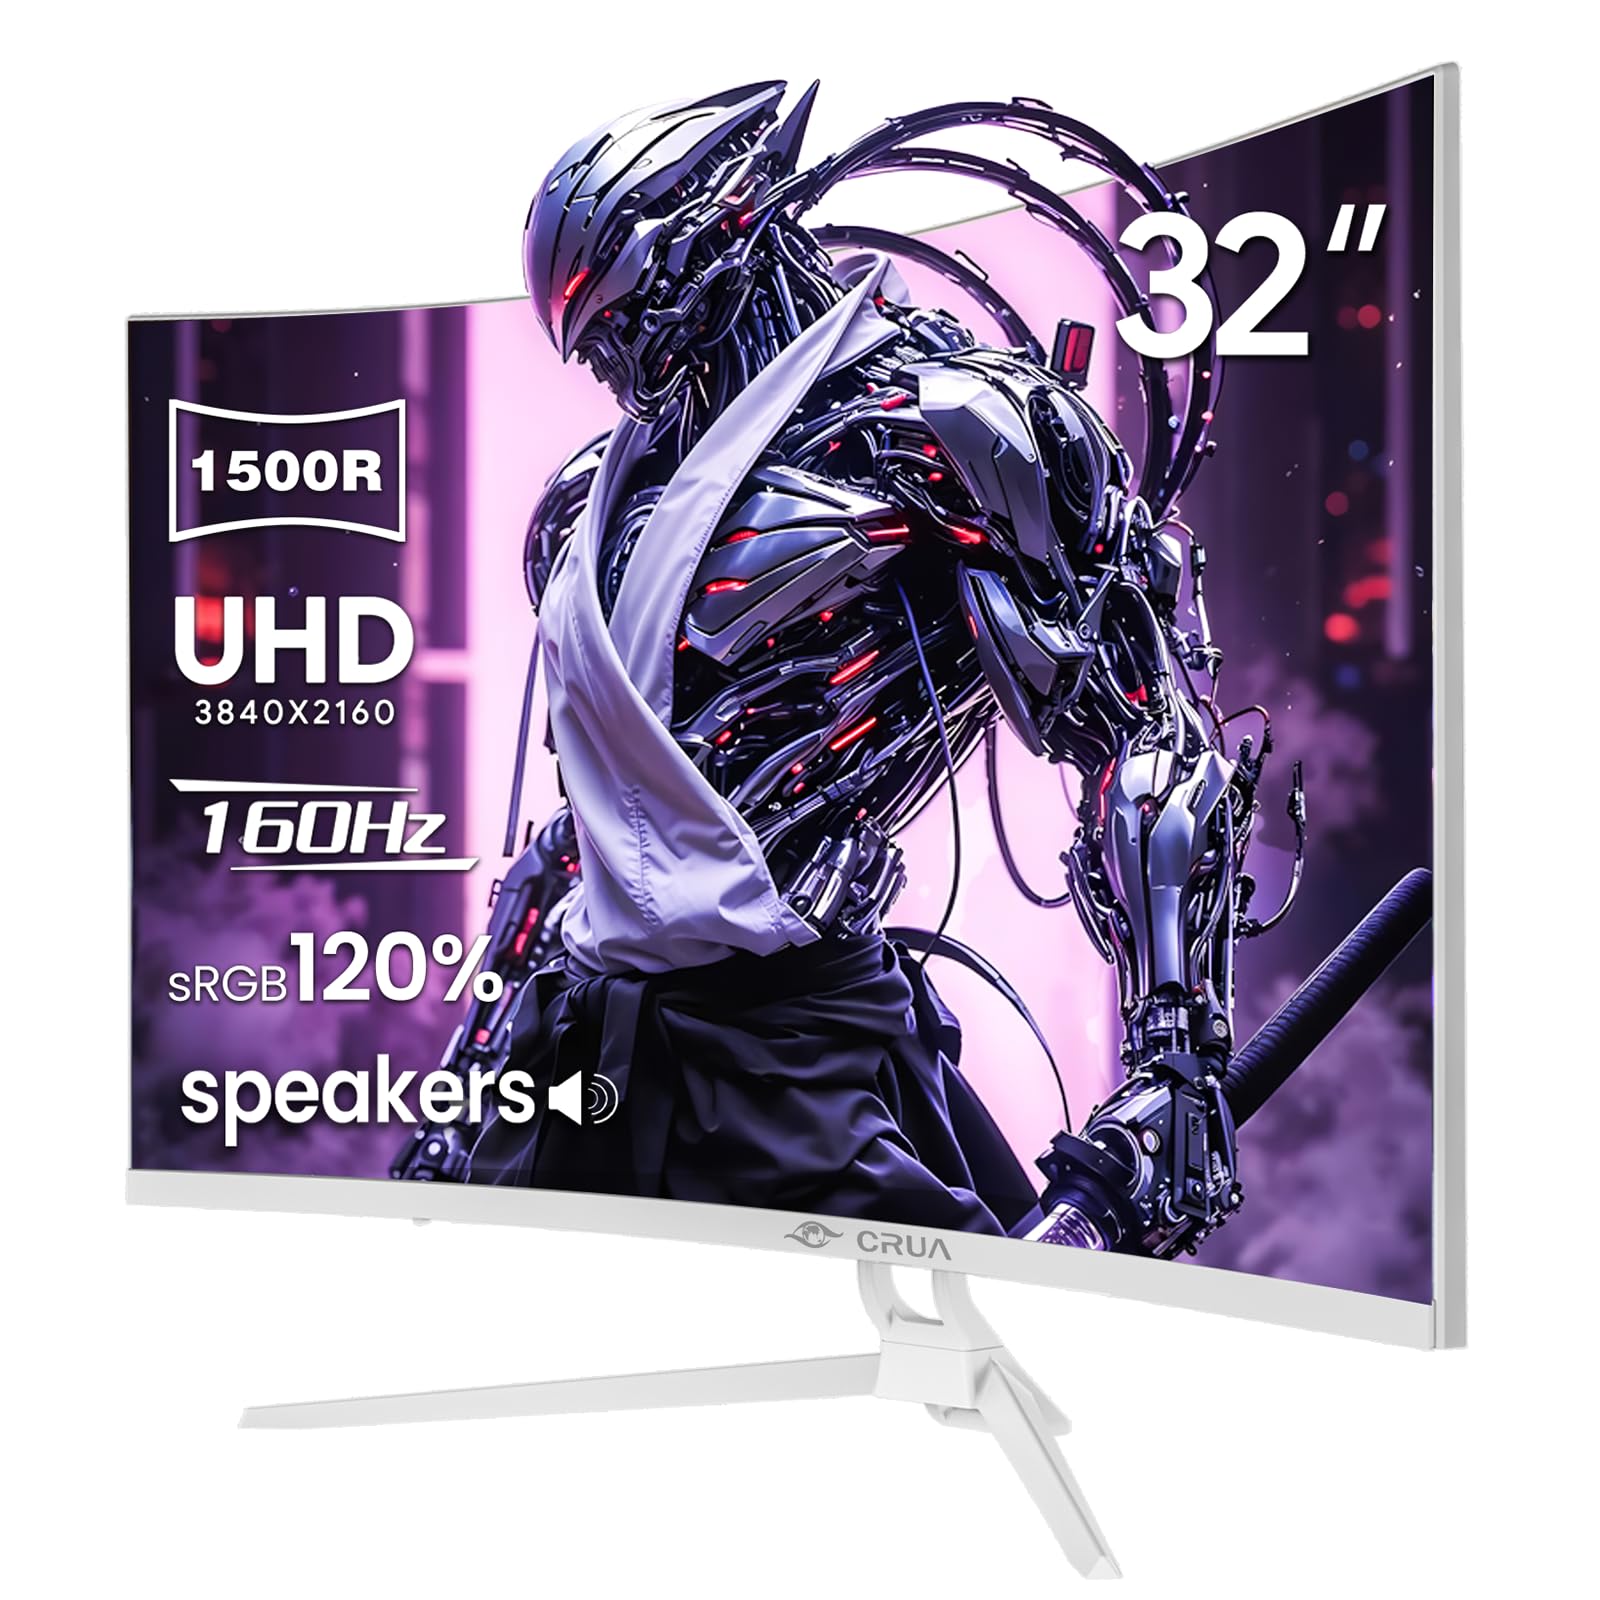
פיגורע 1: פראָנט view of the CRUA 32-inch 4K UHD 160Hz Curved Gaming Monitor.
2. וואָס איז אין דער קעסטל
באַשטעטיקן אַז אַלע קאָמפּאָנענטן זענען פאַראַן אין דער פּאַקאַדזשינג:
- CRUA 32-inch Monitor
- מאָניטאָר באַזע און שטיצע
- דיספּלייפּאָרט (DP) קאַבל
- מאַכט צושטעלן אַפּאַראַט
- באַניצער מאַנואַל (דעם דאָקומענט)
3. סעטאַפּ
3.1 צוזאַמענשטעלן דעם שטאַנד
- נעמט פֿאָרזיכטיק אַרויס דעם מאָניטאָר פֿון זײַן פּאַקעט, לייגנדיק אים מיטן פּנים אַראָפּ אויף אַ ווייכער, ריינער ייבערפֿלאַך כּדי צו פֿאַרמײַדן שאָדן צום עקראַן.
- Attach the monitor support arm to the back of the monitor. Ensure it clicks securely into place or is fastened with screws if provided.
- Connect the base to the support arm and secure it with the provided screw(s).
Note: The included stand is fixed and does not offer height, tilt, or swivel adjustments. For adjustable positioning, the monitor supports VESA wall mounting (75mm x 75mm) using a compatible VESA mount (sold separately).

פיגורע 2: דערציען view of the monitor with stand attachment area and RGB lighting.
3.2 קאַנעקטינג קאַבלעס
- Connect the DisplayPort (DP) cable from your computer's graphics card to the DP 1.4 port on the monitor. Alternatively, use an HDMI 2.1 cable for compatible devices.
- Connect the power supply unit to the monitor's power input, then plug the power cord into an electrical outlet.
- מאַכן זיכער אַז אַלע קאַנעקשאַנז זענען זיכער.

Figure 3: Monitor connectivity ports including HDMI 2.1, DP 1.4, and audio out.
4. אַפּערייטינג די מאָניטאָר
4.1 מאַכט אויף / אַוועק
דריק דעם מאַכט קנעפּל, וואָס געפינט זיך געוויינטלעך אויף דער הינטערשטער אָדער אונטערשטער רעכטער זייט פון מאָניטאָר, צו אנצינדן אָדער אויסלעשן דעם מאָניטאָר. די מאַכט אינדיקאַטאָר ליכט וועט זיך אָנצינדן ווען דער מאָניטאָר איז אָן.
4.2 אויף-סקרין ווייַז (אָסד) מעניו
The OSD menu allows you to adjust various monitor settings. Use the navigation buttons (joystick or individual buttons) typically found on the back or bottom of the monitor to access and navigate the OSD.
- אַרייַנשרייַב מקור: Select between DisplayPort and HDMI inputs.
- בילד סעטטינגס: אַדזשאַסטירן העלקייט, קאָנטראַסט, שאַרפֿקייט און קאָליר טעמפּעראַטור.
- קאָליר סעטטינגס: Fine-tune color gamut (120% sRGB), gamma, and color depth (8-bit).
- גיימינג סעטטינגס: Enable/disable AMD FreeSync, adjust refresh rate (144Hz/160Hz), and other gaming-specific features.
- אַודיאָ סעטטינגס: Control volume for the built-in speakers or connected external audio devices.
- RGB לייטינג: Customize the RGB lighting effects on the back of the monitor.

Figure 4: Visual representation of color and brightness capabilities.
4.3 AMD פריסינק
This monitor supports AMD FreeSync technology, which synchronizes the monitor's refresh rate with your graphics card's frame rate to eliminate screen tearing and stuttering. Ensure FreeSync is enabled in both the monitor's OSD and your graphics card's control panel for optimal performance.

Figure 5: Visualizing the benefit of 160Hz refresh rate and FreeSync.
4.4 Curved Display (1500R)
The 1500R curvature of the screen provides an immersive viewing experience, reducing eye strain and enhancing depth perception, especially beneficial for gaming and multimedia content.

Figure 6: The 1500R curved screen design.
5. וישאַלט
5.1 רייניקונג די מאָניטאָר
- שטענדיק אויסלעשן דעם מאָניטאָר און אַרויסציען דעם עלעקטרישן שנור איידער איר רייניגט.
- ניצן אַ ווייך, לינט-פֿרייַ שטאָף אַ ביסל דampגעוואשן מיט וואַסער אָדער אַ ניט-אַברייסיוו פאַרשטעלן רייניגער.
- שפריצט נישט רייניגער גלייך אויפן עקראַן. טראָגט עס ערשט אויף דעם שטאָף.
- Avoid using alcohol, ammonia, or abrasive cleaners, as these can damage the screen surface.
5.2 אַלגעמיינע קער
- האַלט דעם מאָניטאָר אַוועק פון דירעקטער זון, איבערגעטריבענער היץ און הומידיטי.
- זיכערט זיך אז עס זאָל זיין גענוג ווענטילאַציע אַרום דעם מאָניטאָר כדי צו פאַרמייַדן איבערהיצונג.
- פֿאַרמײַדט צו שטעלן שווערע זאַכן אויף דעם מאָניטאָר אָדער זײַנע קאַבלען.
6. טראָובלעשאָאָטינג
6.1 קיין מאַכט
- קאָנטראָלירט צי דער עלעקטרישער שנור איז זיכער פארבונדן סיי צום מאָניטאָר און סיי צום עלעקטרישן אַוטלעט.
- Verify that the power outlet is functioning correctly by plugging in another device.
- זייט זיכער אז דער מאָניטאָר'ס מאַכט קנעפּל איז געדריקט.
6.2 קיין סיגנאַל
- Confirm that the video cable (DP or HDMI) is securely connected to both the monitor and your computer/device.
- זיכער מאַכן אַז די ריכטיקע אַרייַנגאַנג מקור איז אויסגעקליבן אין דעם מאָניטאָר'ס OSD מעניו.
- קוק צי אייער קאָמפּיוטער/אַפּאַראַט איז אנגעצונדן און גיט ארויס אַ סיגנאַל.
- פרובירט אן אנדערן ווידעא קאבל אדער פארט אויב פאראן.
6.3 Screen Flickering or Tearing
- Ensure AMD FreeSync is enabled in both the monitor's OSD and your graphics card settings.
- באַשטעטיקן אַז אייערע גראַפיקס קאַרטל דרייווערס זענען אַרויף צו דאַטע.
- Check the refresh rate setting in your operating system's display settings; it should be set to 144Hz or 160Hz.
6.4 Washed Out Colors or Poor Picture Quality
- Access the OSD menu and adjust picture settings such as brightness, contrast, and color temperature.
- Reset the monitor to factory default settings via the OSD menu.
- Ensure your graphics card output settings are correctly configured for the monitor's resolution (3840x2160) and color depth.
6.5 No Sound from Built-in Speakers
- Check the volume level in the monitor's OSD menu.
- Verify that the audio output on your computer/device is set to the monitor.
- Ensure the video cable (DP or HDMI) supports audio transmission.
7. ספּעסאַפאַקיישאַנז
| שטריך | באַשרייַבונג |
|---|---|
| מאָדעל נומער | קר 320 אַ |
| פאַרשטעלן גרייס | 32 אינטשעס |
| טאַפליע טיפּ | VA |
| קערוואַטשער | 1500ר |
| האַכלאָטע | 4K UHD (3840 x 2160 פּיקסעלס) |
| אַספּעקט פאַרהעלטעניש | 16:9 |
| דערפרישן קורס | 144Hz / 160Hz |
| ברייטנאַס | 320 קאַנדעלאַ (cd/m²) |
| קאַנטראַסט פאַרהעלטעניש | 3000:1 |
| קאָליר גאַמע | 120% sRGB |
| קאָליר דעפּט | 8-ביסל |
| פאַרשטעלן ייבערפלאַך | מאַט |
| קאַנעקטיוויטי | HDMI 2.1, DisplayPort 1.4 |
| אַודיאָ | געבויט-אין ספּיקערז |
| VESA בארג קאַמפּאַטאַבילאַטי | 75 מם X 75 מם |
| פּראָדוקט דימענשאַנז (L x W x H) | 1 X 28 X 16.6 אינטשעס |
| פּונקט וואָג | 16.57 פונט |
8. וואָראַנטי און שטיצן
8.1 Product Assurance
CRUA is committed to providing high-quality computer monitors and premium services. We offer assurances for our products to ensure customer satisfaction.
8.2 קונה שטיצן
If you encounter any issues or have questions regarding your CRUA monitor, please contact our customer support team. We are available to assist you and resolve any problems you may experience.
For support, please refer to the contact information provided on the official CRUA webוועבזייטל אדער אייער קויפן דאקומענטאציע.


