1. הקדמה
Thank you for choosing the ChunHee Wireless Intercom System. This system provides a reliable and convenient solution for two-way communication within your home, office, or during outdoor activities. Designed for ease of use, it facilitates clear communication over long distances, making it ideal for various scenarios including assisting the elderly, communicating with children, or coordinating tasks in a workspace. This manual will guide you through the setup, operation, and maintenance of your intercom system.
The ChunHee Wireless Intercom System is designed for easy communication within homes or other environments, providing a simple way to connect with family members or colleagues.
2. פּעקל אינהאַלט
ביטע טשעקן דעם פּעקל צו זיכער מאַכן אַז אַלע זאכן זענען דאָרט:
- ChunHee Wireless Intercom Unit(s)
- טשאַרדזשינג קאַבלע
- Power Plug (Adapter)
- ריטשאַרדזשאַבאַל באַטאַרייע (פאַר-אינסטאַלירט אָדער באַזונדער)
- באַניצער מאַנואַל (דעם דאָקומענט)
3. פּראָדוקט איבערview
Familiarize yourself with the components and dimensions of your ChunHee Wireless Intercom System.

This diagram labels the key components of the intercom unit, including the antenna, flashlight, indicator light, PTT buttons, microphone, power button, volume keys, headphone jack, write frequency jack, charging jack, and speaker.

The image displays the front, back, and side views of the intercom unit, along with its approximate dimensions: 10.6 cm height, 5.3 cm width, and 1.7 cm thickness.
4. סעטאַפּ
4.1 באַטעריע אינסטאַלאַציע און טשאַרדזשינג
Your intercom unit is powered by a rechargeable battery. Before first use, ensure the battery is fully charged.
- If the battery is not pre-installed, open the battery compartment cover on the back of the unit and insert the battery, ensuring correct polarity. Close the cover securely.
- Connect the charging cable to the charging jack on the intercom unit and the power plug. Plug the power plug into a standard electrical outlet.
- די אינדיקאַטאָר ליכט וועט זיך דרייען רויט during charging. Once fully charged, the light will turn בלוי.
- א פולע אויפלאדונג נעמט געווענליך בערך 3-4 שעה.

The intercom unit is shown connected to a wall charger via its charging cable, indicating the charging process.
4.2 מאַכט אויף / אַוועק
To power on the unit, press and hold the Power button (usually combined with the Lighting Key, as shown in the Product Overview diagram) until you hear a tone or see the indicator light illuminate. To power off, press and hold the same button until the unit shuts down.
4.3 קאַנאַל סעלעקציע
Your intercom system operates on 16 available channels. For communication between units, all intercoms must be set to the same channel. Use the 'Up Key' and 'Down Key' (often labeled with arrows) to select your desired channel. The current channel number may be indicated by voice prompt or a small display if available on your model.

This diagram shows how multiple intercom units can be used across different rooms in a house, such as the kitchen, living room, bedroom, wardrobe room, and work room, demonstrating the system's 1.5-mile working range and channel compatibility.
5. אַפּערייטינג ינסטרוקטיאָנס
5.1 פּוש-טו-רעד (PTT) פונקציע
The intercom system features dual PTT keys for convenient operation:
- Front PTT Key: A large, round button on the front of the unit, designed for easy pressing with your thumb.
- Side PTT Key: A traditional button located on the side of the radio for alternative push-to-talk operation.
To transmit your voice, press and hold either PTT key. Speak clearly into the microphone. Release the PTT key to listen for a response. The indicator light will typically turn רויט when transmitting and גרין when receiving.

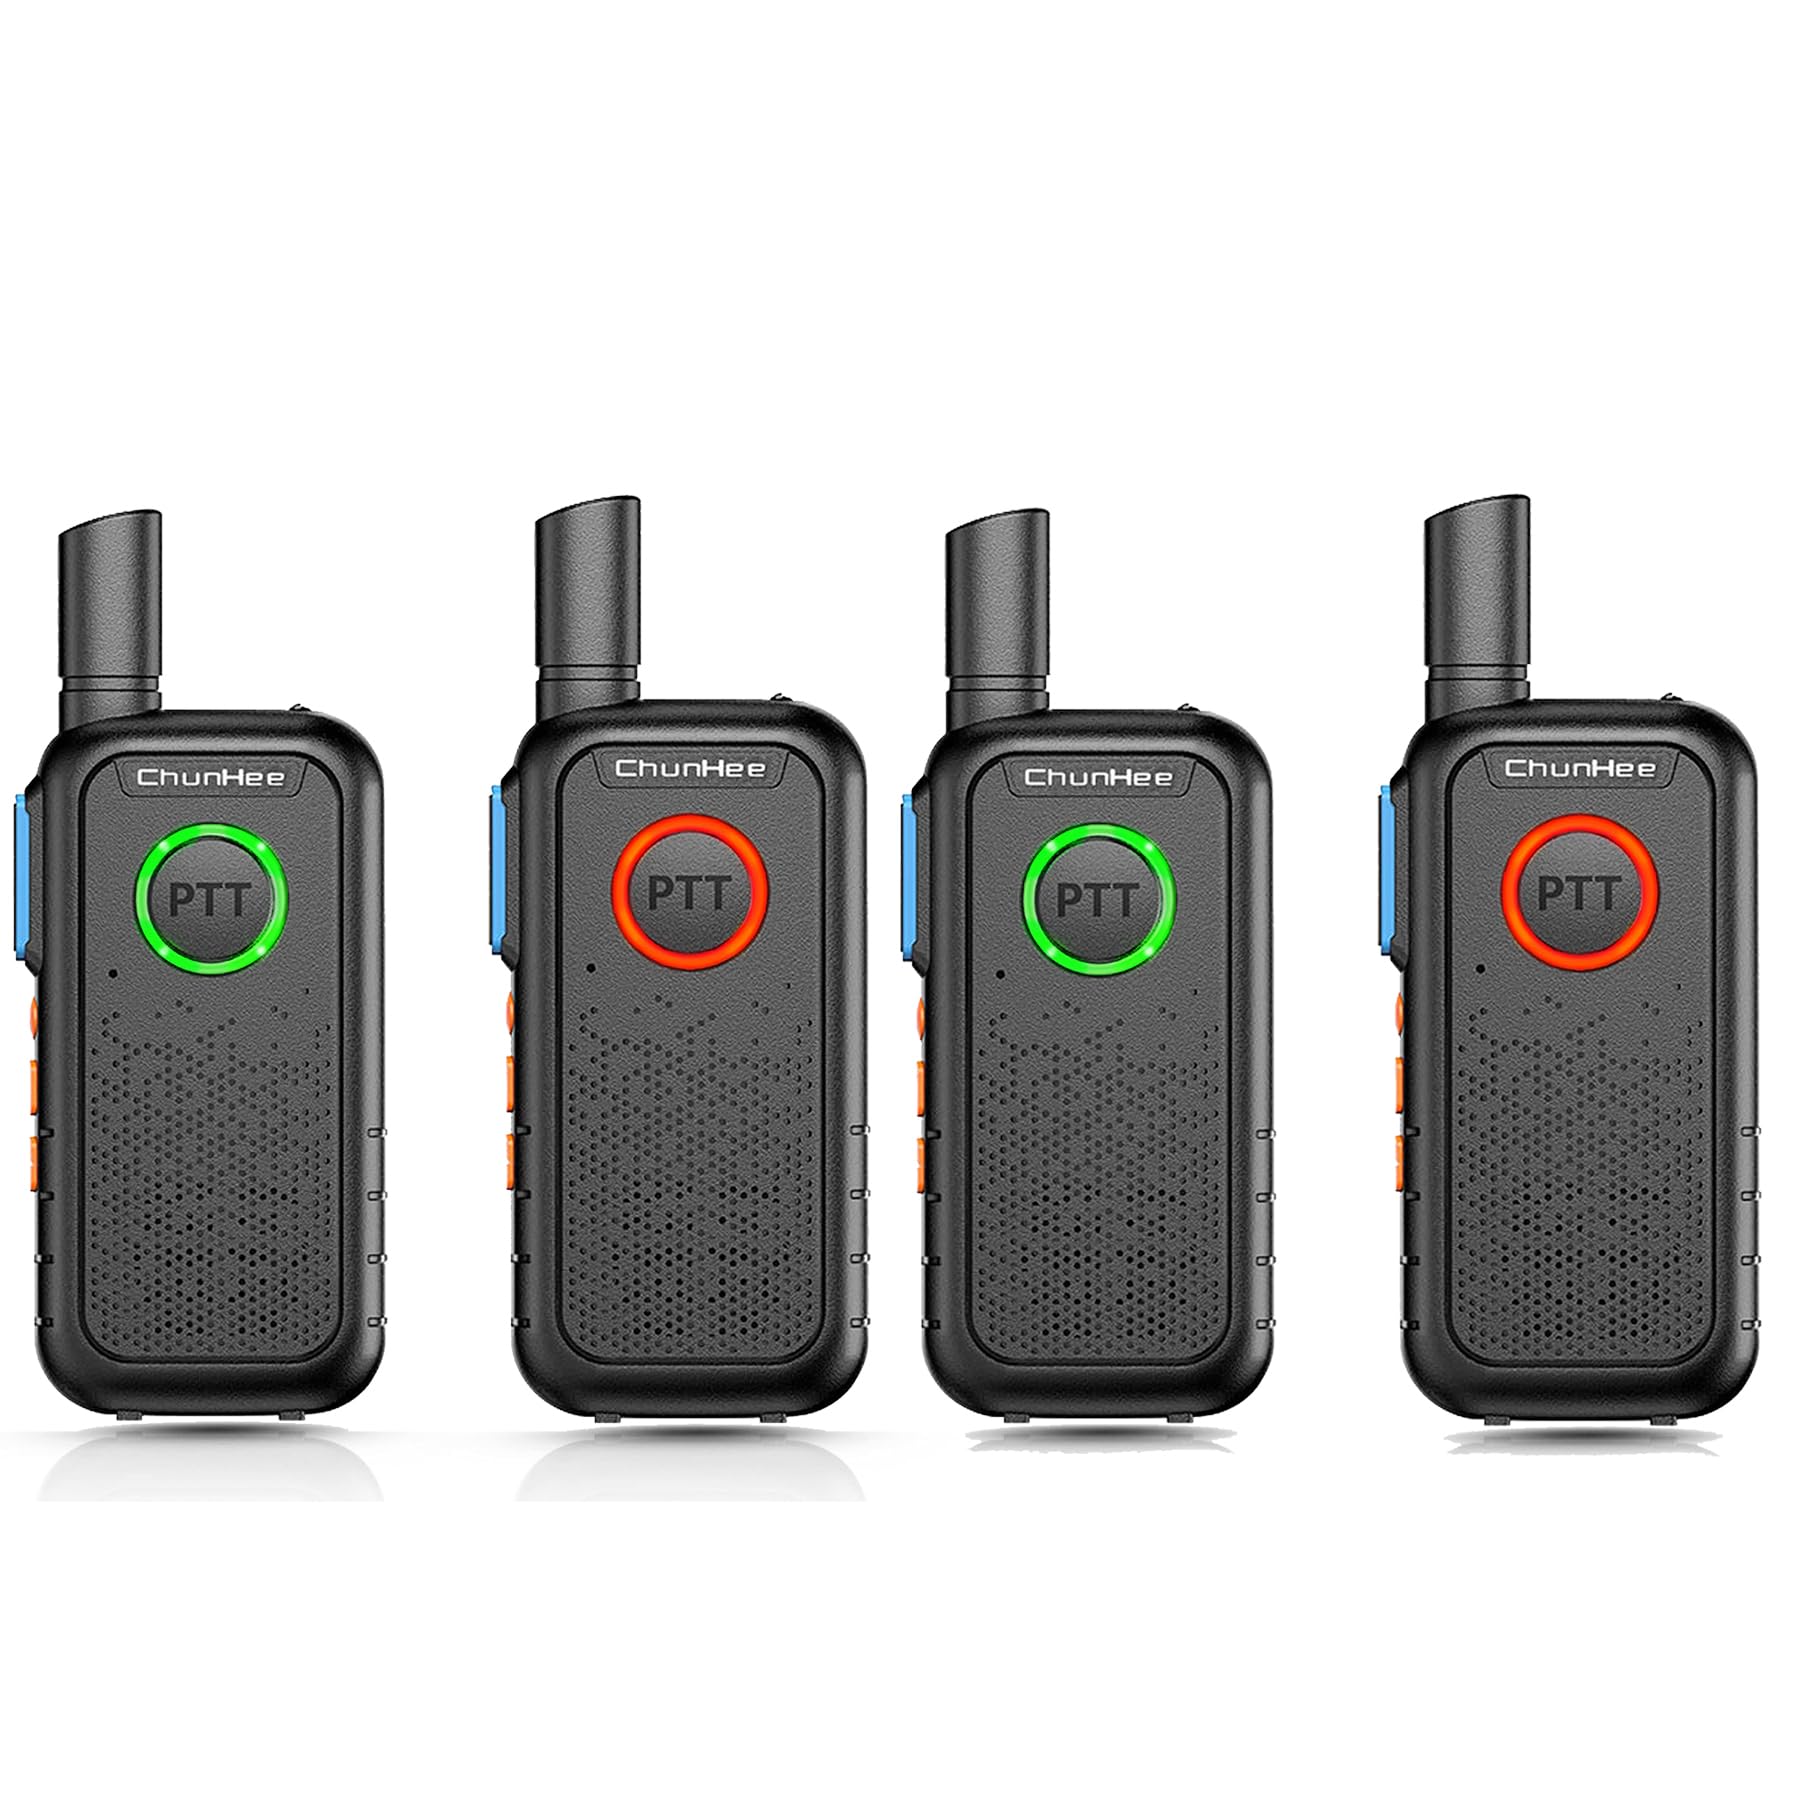
This image demonstrates the PTT button's light changing color to indicate communication status: green for receiving a signal and red for transmitting.
5.2 באַנד אַדזשאַסטמאַנט
Use the 'Up Key' and 'Down Key' (often labeled with arrows) to increase or decrease the listening volume. Adjust to a comfortable level for clear audio.
5.3 מאָניטאָר פֿונקציע
The 'Up Key' may also function as a Monitor Key. Pressing this key can temporarily disable squelch, allowing you to listen to weak signals or monitor a channel for activity without having to transmit.
5.4 VOX פֿונקציע
The 'Down Key' may also activate the Voice Operated Exchange (VOX) function. When VOX is enabled, the intercom will automatically transmit when it detects your voice, without needing to press the PTT button. Refer to your unit's specific voice prompts or display for VOX activation and sensitivity settings.
5.5 פלאַשליכט אָפּעראַציע
Your intercom unit includes a built-in flashlight. Press the 'Power button + Lighting Key' (as indicated in the Product Overview diagram) to turn the flashlight on or off. This feature is useful in low-light conditions.

The intercom unit is shown with its integrated flashlight emitting light, highlighting this additional feature.
5.6 אינדיקאַטאָר ליכט סטאַטוס
The PTT button's breathing light provides visual feedback on the unit's status:
- גרין ליכט: Indicates the unit is in standby mode or receiving a signal.
- רויט ליכט: Indicates the unit is transmitting or the battery is low.
- בלוי ליכט: Indicates the battery charging process is complete.

This image illustrates the different colors of the PTT button's breathing light: green for standby, red for charging, and blue for finished charging.
6. וישאַלט
6.1 רייניקונג
To clean your intercom unit, use a soft, damp cloth. Do not use harsh chemicals, solvents, or abrasive cleaners, as these can damage the device's surface or internal components. Ensure the unit is powered off and disconnected from any power source before cleaning.
6.2 באַטערי קער
צו פאַרלענגערן די באַטאַרייע לעבן:
- פֿאַרמײַדט אָפֿט פֿולשטענדיק אויסצולאָדן די באַטעריע.
- Charge the battery regularly, even if the unit is not in frequent use.
- האַלט די אַפּאַראַט אין אַ קיל, טרוקן אָרט ווען נישט אין באַנוץ פֿאַר לענגערע פּיריאַדז.
- דו זאלסט נישט ויסשטעלן די באַטאַרייע צו עקסטרעם טעמפּעראַטורעס.
7. טראָובלעשאָאָטינג
If you encounter issues with your intercom system, please refer to the following common problems and solutions:
| פּראָבלעם | מעגלעך סיבה | לייזונג |
|---|---|---|
| דער אַפּאַראַט טוט נישט מאַכט אויף | נידעריק אָדער דיפּליטיד באַטאַרייע | Charge the battery fully. Ensure the charging cable and adapter are properly connected. |
| קיין געזונט אָדער שוואַך געזונט | Volume too low; Units on different channels; Out of range | Increase volume. Ensure all units are on the same channel. Move closer to the other unit. |
| קען נישט שיקן אדער באקומען | PTT button not pressed/released; Units on different channels; Out of range; Battery low | Press and hold PTT to transmit, release to receive. Verify channel settings. Reduce distance between units. Charge battery. |
| קורץ קאָמוניקאַציע קייט | Obstructions (walls, metal structures); Environmental interference; Low battery | Move to an open area. Avoid dense obstructions. Ensure battery is fully charged. |
8. ספּעסאַפאַקיישאַנז
| שטריך | באַשרייַבונג |
|---|---|
| סאָרט | ChunHee |
| מאָדעל נומער | WT11-US-4 |
| מאַכט מקור | באַטאַרייע פּאַוערד |
| קאַנעקטיוויטי טעכנאָלאָגיע | ווירעלעסס |
| קאָנטראָל מעטאָד | Buttons (Touch) |
| דימענשאַנז (H X W X D) | 10.6 ס״מ x 5.3 ס״מ x 1.7 ס״מ (אומגעפער 4.17 x 2.09 x 0.67 אינטשעס) |
| אַפּערייטינג קייט | Up to 1.5 Miles (approx. 8000 feet) in open areas |
| טשאַנאַלז | 16 |
| באַטאַרייע קאַפּאַציטעט | 1000 מאַה |
| אַרייַנגערעכנט קאַמפּאָונאַנץ | Charging Cable, Power Plug, Battery |
| סערטיפיקאַטיאָנס | FCC Certified |
9. וואָראַנטי אינפֿאָרמאַציע
ChunHee products are manufactured to high-quality standards. For specific warranty details, including coverage period and terms, please refer to the warranty card included with your purchase or contact ChunHee customer support. Keep your purchase receipt as proof of purchase for warranty claims.
10. שטיצן
If you have any questions, require technical assistance, or need further support regarding your ChunHee Wireless Intercom System, please contact our customer service team. Contact information can typically be found on our official webוועבזייטל אדער אויף דער פּראָדוקט פּאַקאַדזשינג.
אָנליין שטיצן: Visit the ChunHee official webוועבזייטל פֿאַר אָפֿט געשטעלטע פֿראַגעס און שטיצע רעסורסן.
E- בריוו שטיצן: [Insert Customer Support Email Address Here, if available]
טעלעפאָן שטיצן: [אַריינשטעלן קונה שטיצע טעלעפאָן נומער דאָ, אויב בנימצא]


