1. הקדמה
This manual provides detailed instructions for the installation, operation, and maintenance of your darkFlash DRX70 ATX Mid-Tower Gaming PC Case. Please read this manual thoroughly before beginning assembly to ensure proper setup and safe usage. Retain this manual for future reference.
2. זיכערקייַט אינפֿאָרמאַציע
- Always disconnect power from all components before installation or maintenance.
- האַנדלט מיט טעמפּערד גלאָז פּאַנאַלז מיט וואָרענונג צו פאַרמייַדן ברייקידזש.
- פֿאַרמײַדן אויסצושטעלן דעם קעסטל צו עקסטרעמע טעמפּעראַטורן אָדער פֿײַכטקייט.
- האַלט קליינע טיילן און שרויפן אַוועק פון קינדער.
- Ensure proper grounding for all electrical components.
3. פּעקל אינהאַלט
באַשטעטיקן אַז אַלע קאָמפּאָנענטן זענען פאַראַן אין דיין פּעקל:
- darkFlash DRX70 ATX Mid-Tower PC Case
- 3 x 120mm Fixed RGB Fans (pre-installed in front)
- אַקסעסאָרי קעסטל (מיט שרויפן, סטאַנדאָפס, קאַבל טייז, אאז"וו)
- באַניצער מאַנואַל
4. פּראָדוקט איבערview
The darkFlash DRX70 is an ATX mid-tower case designed for optimal airflow and component visibility. It features a magnetic mesh front panel for enhanced air intake and a tempered glass side panel to showcase your build.
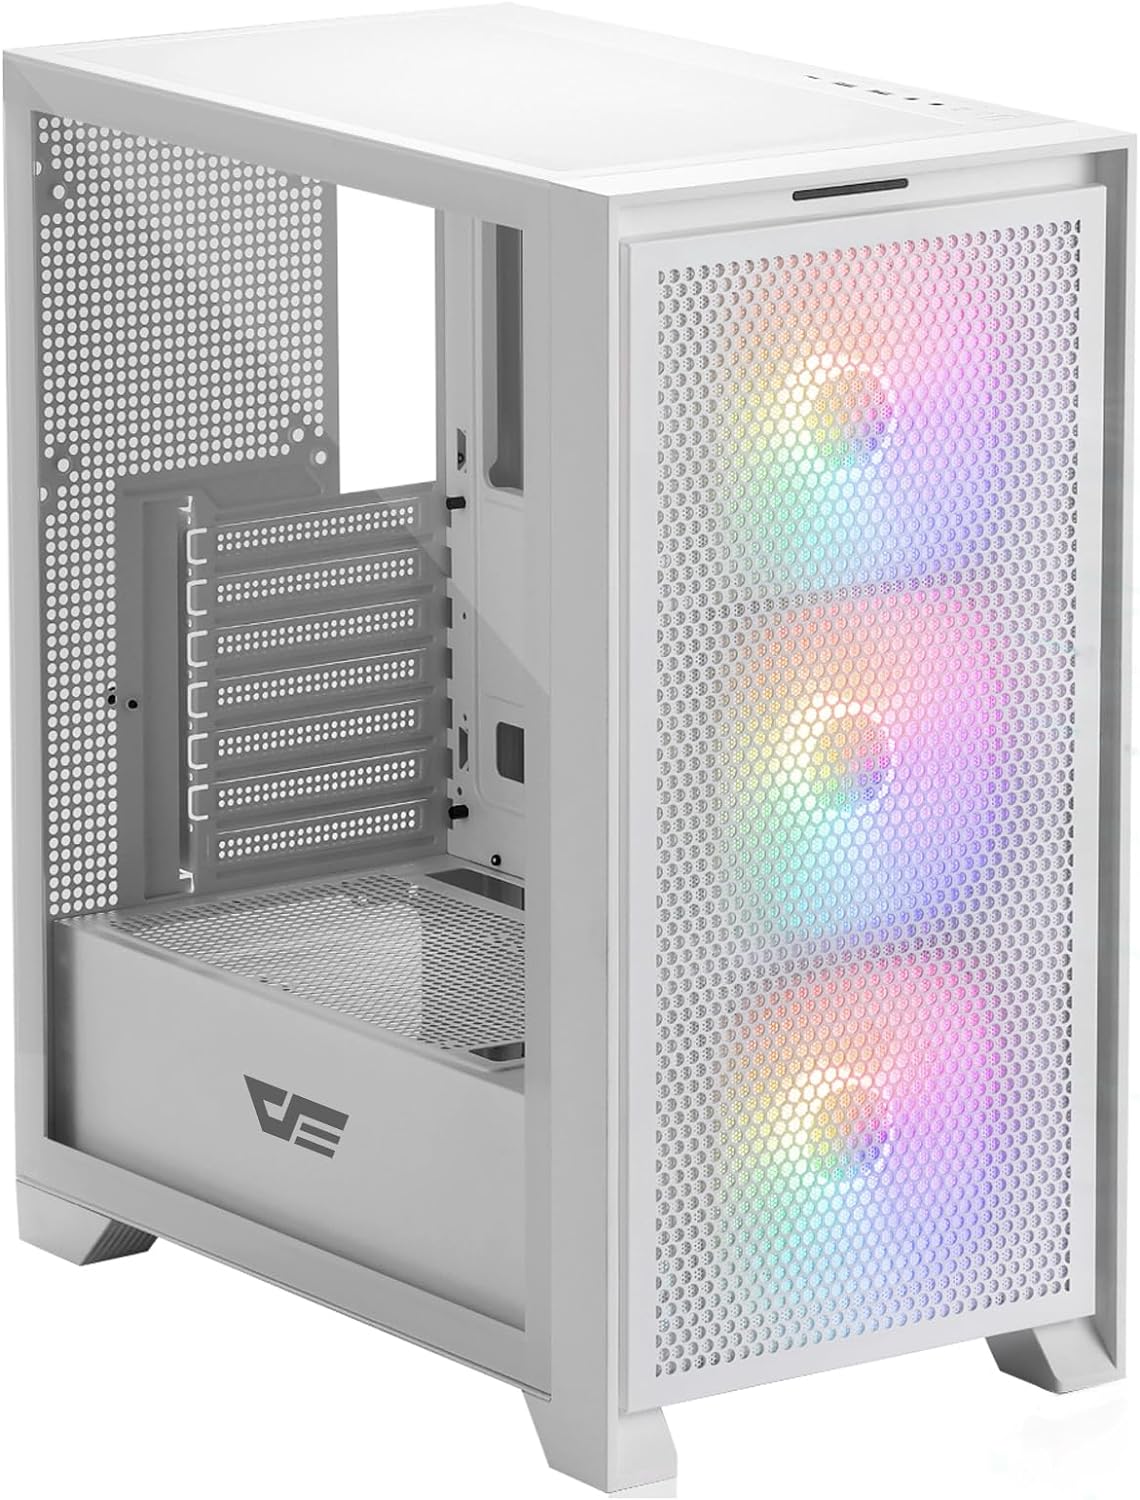
פיגור 4.1: פראָנט-זייט view of the darkFlash DRX70 PC case with pre-installed RGB fans.
שליסל פֿעיִקייטן:
- Magnetic Mesh Front Panel: Optimizes air intake and is easily removable for cleaning.
- טעמפּערד גלאז זייט פּאַנעל: גיט אַ קלאָר view פון אינערלעכע קאמפאנענטן.
- Pre-installed 3x120mm Fixed RGB Fans: Enhances cooling and adds aesthetic lighting. Note: Lighting is fixed, not addressable.
- שטויב פילטערס: Magnetic dust filters on top and bottom for easy maintenance.
- Anti-slip Bottom Structure: Ensures stability on various surfaces.
- USB 3.0 Ready: Convenient front I/O panel connectivity.
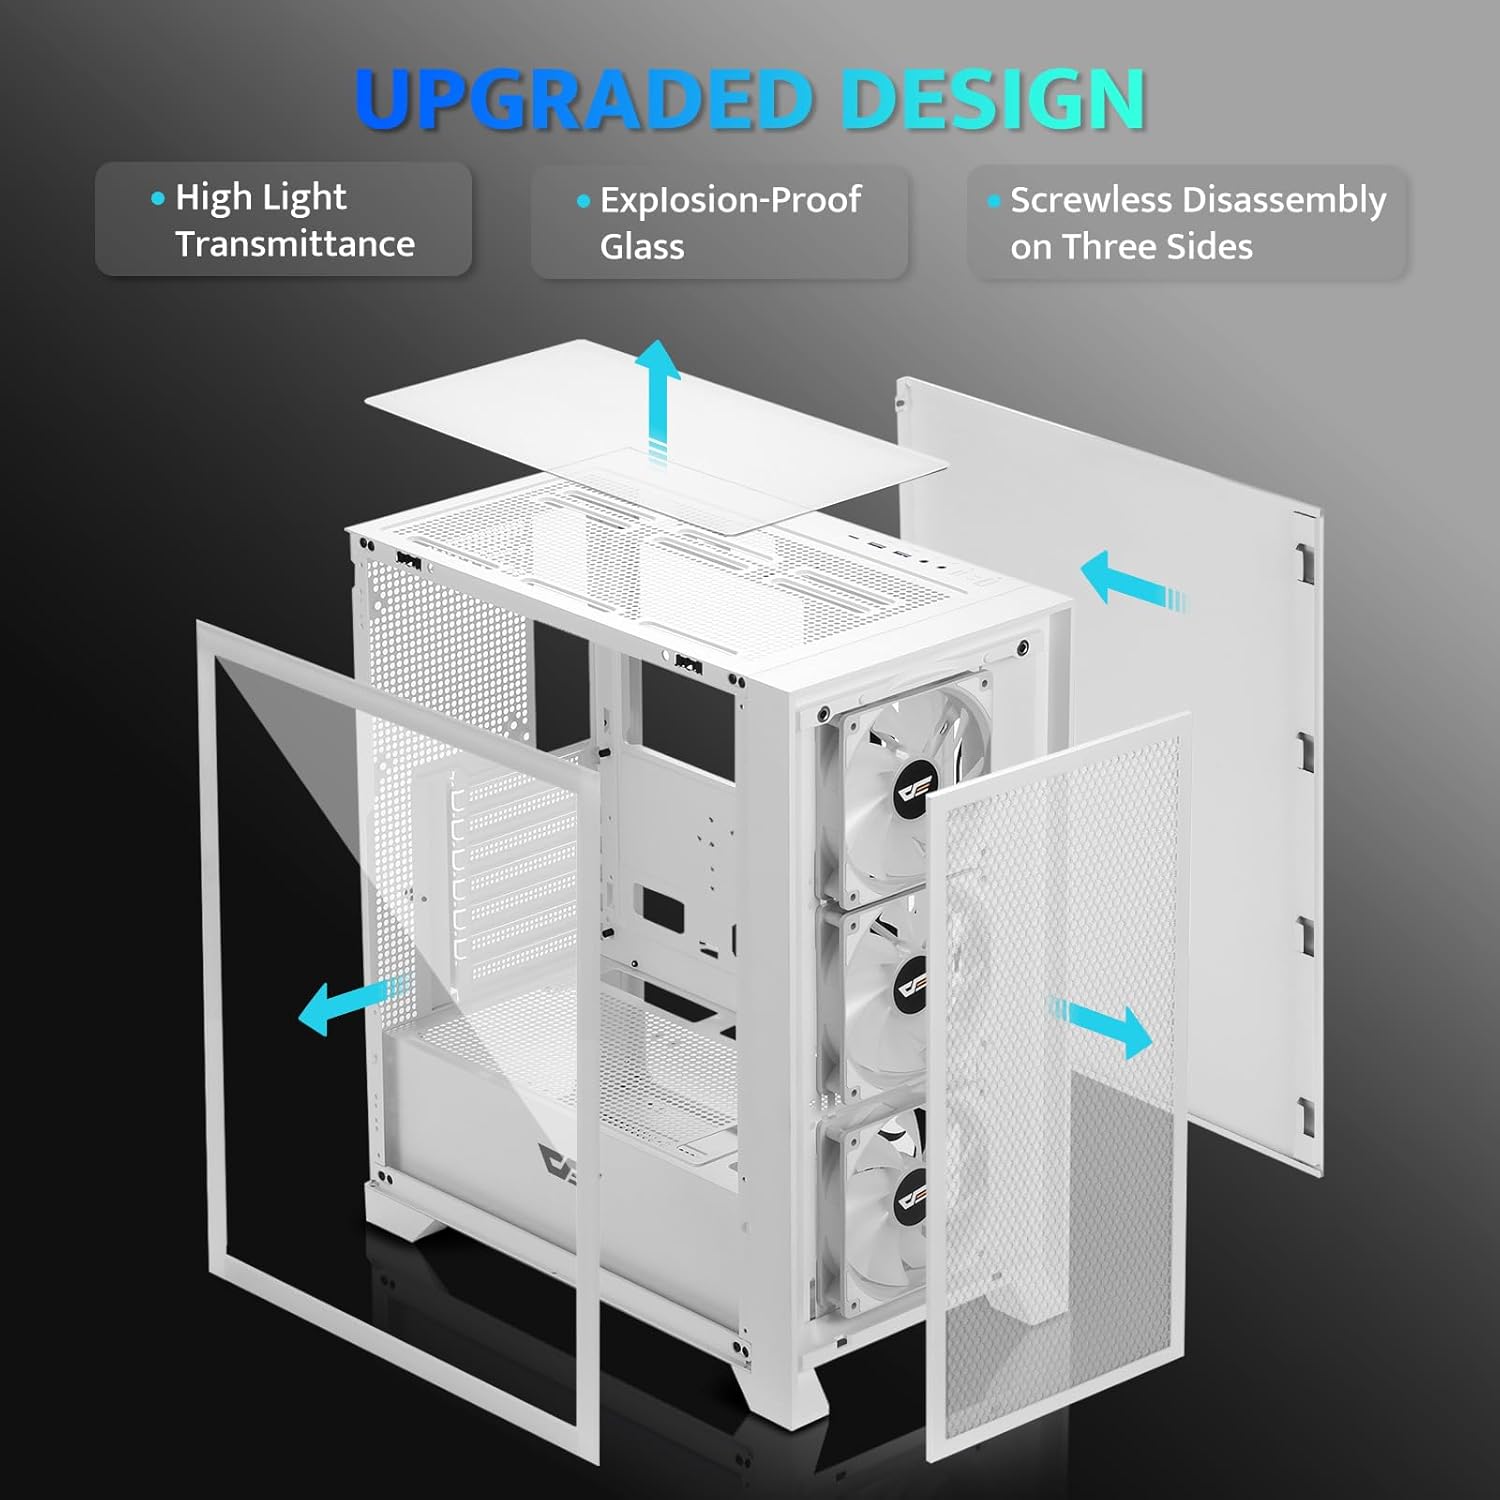
פיגורע 4.2: עקספּלאָדעד view illustrating the removable panels for easy access and assembly.

Figure 4.3: Detail of the magnetic mesh front panel, designed for optimal airflow and easy removal.

Figure 4.4: Airflow channels within the DRX70 case, demonstrating efficient cooling paths.

Figure 4.5: The top I/O panel featuring USB 3.0, USB 2.0, HD Audio jacks, Reset, and Power buttons.
5. סעטאַפּ און ייַנמאָנטירונג
Follow these general steps for assembling your PC within the DRX70 case. Refer to your individual component manuals for specific installation details.
5.1 צוגרייטן דעם פאַל
- שטעלט דעם קעסטל אויף א סטאַבילער, גלאַטער ייבערפלאַך.
- Remove the tempered glass side panel by unscrewing the thumb screws and carefully sliding it off.
- Remove the magnetic mesh front panel by gently pulling it away from the chassis.
- Remove the rear side panel by unscrewing the thumb screws and sliding it back.
5.2 קאָמפּאָנענט אינסטאַלאַציע
- מאָטהערבאָאַרד: Install the necessary standoffs for your motherboard form factor (ATX, M-ATX, ITX). Carefully place the motherboard into the case and secure it with screws.
- מאַכט צושטעלן אַפּאַראַט (פּסו): Install the PSU into its designated compartment at the bottom rear of the case. Secure it with screws from the rear.
- סטאָרידזש דרייווס: Install 2.5" SSDs or 3.5" HDDs into the drive bays. The case supports 1x 2.5" SSD and 2x 2.5"/3.5" HDDs.
- גראַפיקס קאַרטל (GPU): Install your graphics card into the appropriate PCIe slot on the motherboard and secure it. The case supports GPUs up to 350mm in length.
- קאָאָלינג: The case comes with 3x 120mm fixed RGB fans pre-installed in the front. Additional fans or a 280mm radiator can be installed as per the specifications.
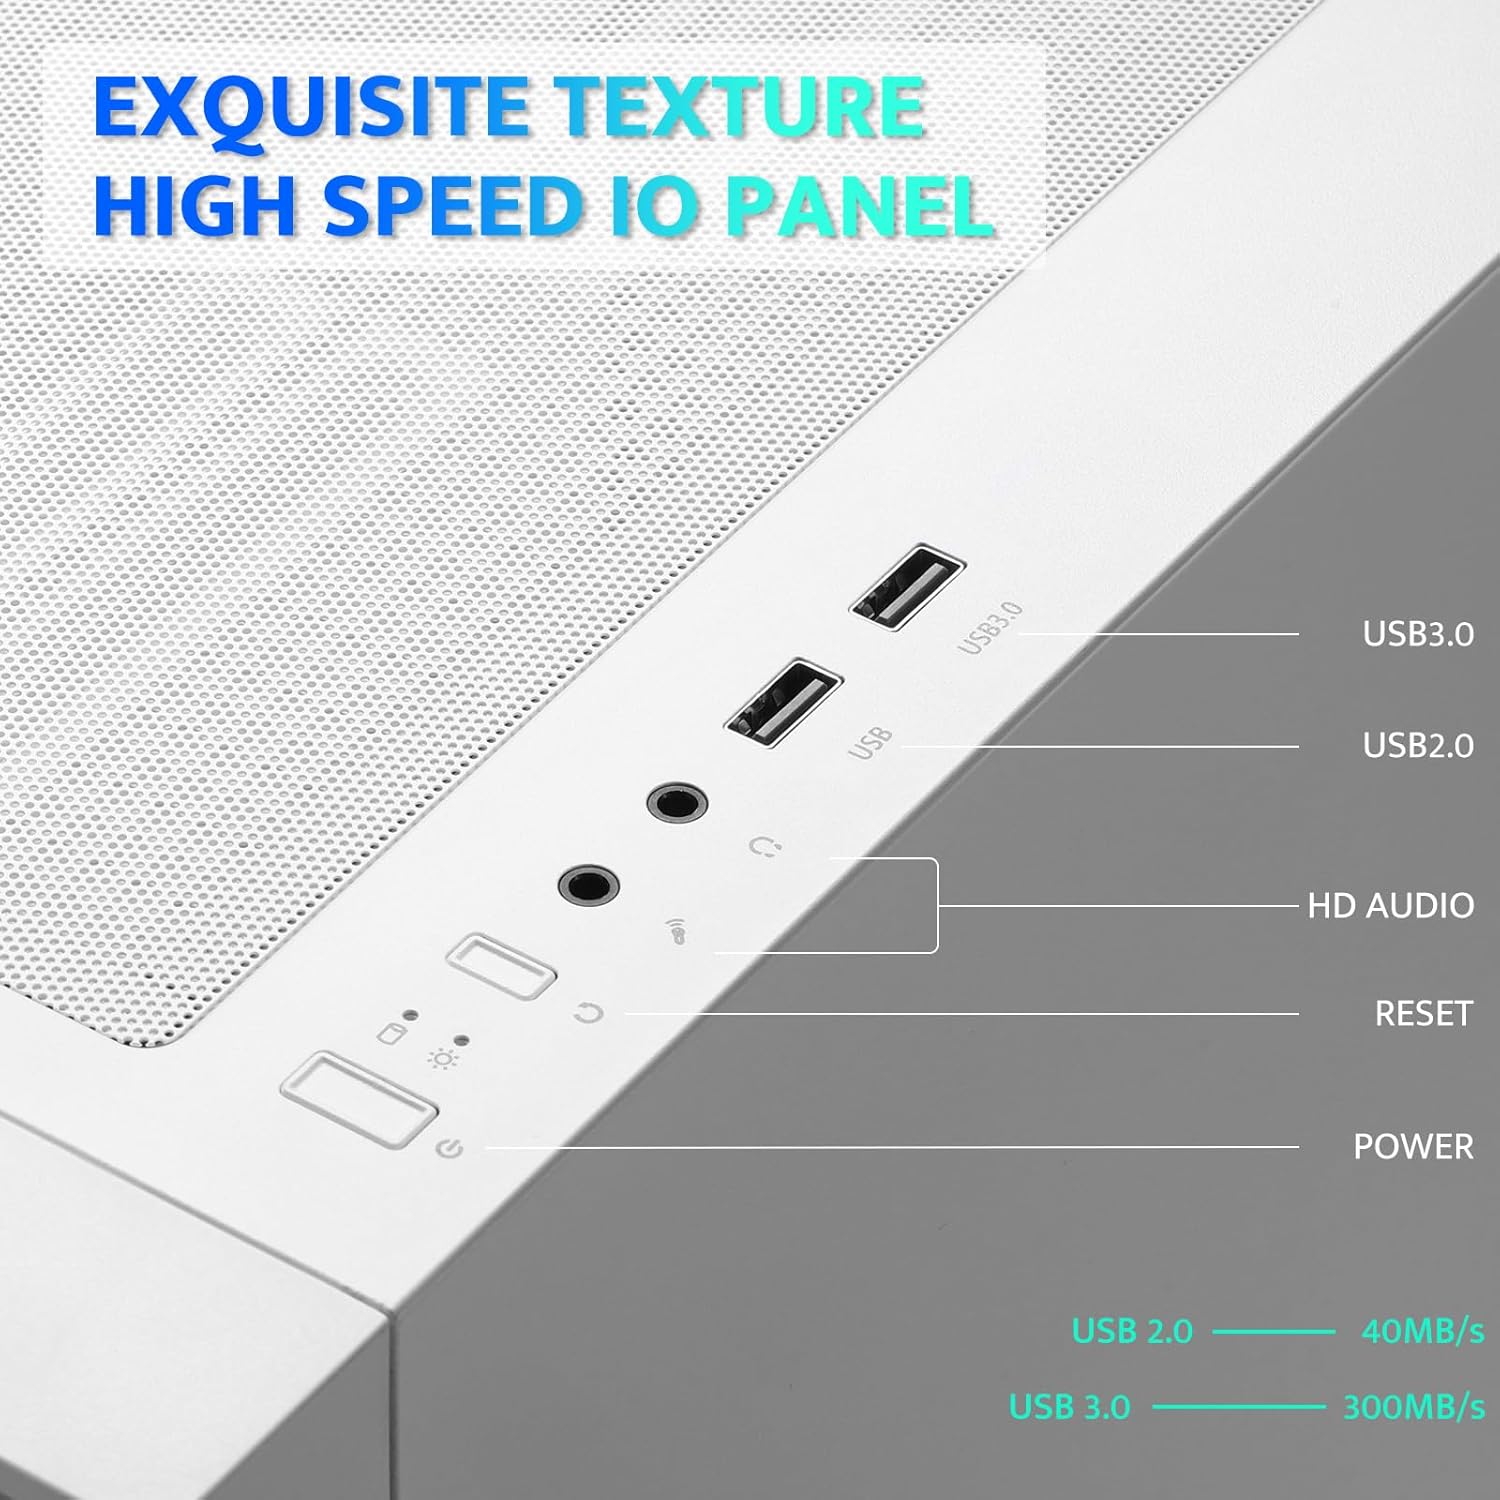
Figure 5.1: Internal layout with maximum component dimensions for CPU cooler, GPU, PSU, and radiator support.
5.3 קאַבלע מאַנאַגעמענט
Utilize the cable routing cutouts and tie-down points behind the motherboard tray to manage cables. This improves airflow and aesthetics. The DRX70 is designed to simplify cable management by allowing most connectors to be routed to the rear of the motherboard.

Figure 5.2: Illustration of cable management optimization, showing how cables can be concealed behind the motherboard tray.
6. אַפּערייטינג ינסטרוקטיאָנס
אַמאָל אַלע קאָמפּאָנענטן זענען אינסטאַלירט און פארבונדן, איר קענט אנצינדן דעם סיסטעם.
6.1 פּאַוערינג אויף / אַוועק
- דרוק די מאַכט button on the top I/O panel to turn on your PC.
- To turn off, use the operating system's shutdown function or press and hold the מאַכט button for several seconds.
6.2 פראָנט I/O פּאַנעל פונקציעס
- וסב 3.0 פּאָרט: פֿאַר הויך-גיכקייט דאַטן אַריבערפירן מיט קאָמפּאַטיבלע דעוויסעס.
- וסב 2.0 פּאָרט: פֿאַר נאָרמאַלע USB דעוויסעס.
- HD Audio Jacks: פֿאַר פֿאַרבינדן כעדפאָונז און מיקראָפֿאָנען.
- באַשטעטיק קנעפּל: צו ריסטאַרט די סיסטעם.
6.3 פאָכער אָפּעראַציע
The pre-installed 120mm fans provide cooling and feature fixed RGB lighting. These fans operate continuously when the system is powered on. The RGB lighting pattern is not user-addressable.
7. וישאַלט
רעגולערע אויפהאלטונג העלפט זיכער מאכן די בעסטע פאָרשטעלונג און לאַנגלעבעדיקייט פון אייערע פּיסי קאָמפּאָנענטן.
7.1 Cleaning Dust Filters
The DRX70 case includes magnetic dust filters on the front and top panels, and a panel dust filter at the bottom. These should be cleaned periodically to prevent dust buildup and maintain airflow.
- Gently pull the magnetic dust filters off the chassis.
- Use a soft brush or compressed air to remove accumulated dust.
- Reattach the filters.

Figure 7.1: Magnetic dust filter for easy removal and cleaning.
7.2 אַלגעמיינע רייניקונג
ווישט אָפּ די אויסערלעכע זייט פון דער קעסטל מיט אַ ווייכן, דamp שטאָף. פֿאַרמײַדט ניצן שאַרפֿע כעמיקאַלן אָדער אַברייסיוו מאַטעריאַלן וואָס קענען שאַטן די ענדיקונג אָדער טעמפּערד גלאָז.
8. טראָובלעשאָאָטינג
If you encounter issues with your PC case, consider the following common solutions:
- קיין מאַכט: Ensure the PSU is properly connected to the wall outlet and the power switch on the PSU is in the 'ON' position. Verify all internal power cables (24-pin ATX, CPU, GPU) are securely connected. Check front panel power button connections to the motherboard.
- פעןס דרייען זיך נישט: Confirm that the fan power cables are correctly connected to the motherboard or fan controller.
- וסב פּאָרץ נישט ארבעטן: Check that the USB headers from the front I/O panel are correctly plugged into the motherboard.
- Audio Jacks Not Working: Ensure the HD Audio cable from the front I/O panel is correctly connected to the motherboard's audio header.
For persistent issues, consult the manuals for your individual PC components or seek professional assistance.
9. ספּעסאַפאַקיישאַנז
| שטריך | באַשרייַבונג |
|---|---|
| מאָדעל נאָמען | DRX70M ATX Computer Case |
| סאָרט | טונקלפלאַש |
| טיפּ פון קאַסטן | מיד טאַוער |
| מאָטהערבאָאַרד קאַמפּאַטאַבילאַטי | ATX, M-ATX, ITX |
| דימענשאַנז (LxWxH) | 15 X 9 X 18.1 אינטשעס (381 X 228.6 X 459.7 מם) |
| פּונקט וואָג | 11.6 פונט (5.26 קג) |
| מאַטעריאַל | Metal, Plastic, Tempered Glass |
| פאַר-אינסטאַלירן פאַנס | 3 x 120mm Fixed RGB Fans (Front) |
| מאַקס פאָכער שטיצע | ביז 8 פאַנס |
| ראַדיאַטאָר שטיצן | Up to 280mm (Top), 120mm (Rear) |
| מאַקסימום קפּו קולער הייך | 180 מם |
| מאַקסימום גפּו לענג | 350 מם |
| סטאָרידזש בייס | 1x 2.5" SSD, 2x 2.5"/3.5" HDD |
| פראָנט איך / אָ פּאָרץ | 1x USB 3.0, 1x USB 2.0, HD Audio, Power, Reset |
10. וואָראַנטי און שטיצן
darkFlash provides a 1-year assurance for computer cases. This warranty covers manufacturing defects and ensures product quality. For warranty claims or technical support, please contact darkFlash customer service through their official webפּלאַץ אָדער די זיצער ווו די פּראָדוקט איז פּערטשאַסט.
ביטע באַהאַלטן אייער קויפן-באַווייַז פֿאַר וואָראַנטי וואַלידאַציע.


