1. הקדמה
This manual provides detailed instructions for the installation, operation, and maintenance of your Vivotek IB9380-H 5MP IR Outdoor Network Bullet Camera. Please read this manual thoroughly before using the product to ensure proper setup and optimal performance. This camera is designed for outdoor security surveillance, offering high-resolution imaging and infrared capabilities for reliable monitoring.
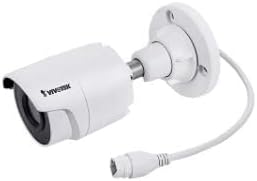
Image 1.1: Vivotek IB9380-H 5MP IR Outdoor Network Bullet Camera overview.
2. זיכערקייַט אינפֿאָרמאַציע
- מאַכט מקור: Use only the specified AC/DC power adapter. Ensure the power supply is stable and meets the camera's requirements (3.5 watts).
- ינסטאַלירונג סוויווע: This camera is rated for outdoor use (IP9380). Avoid installing in locations with extreme temperatures, high humidity, or corrosive substances beyond its operating specifications.
- האַנדלינג: Do not drop or subject the camera to severe shock. Avoid touching the lens directly.
- דיסאַססעמבלי: פרובירט נישט צו צענעמען אדער מאדיפיצירן די קאמערא. דאס קען בטל מאכן די גאראנטיע און שאפן שאדן.
- קאַבלע: Ensure all cables are properly secured and protected from environmental damage or tampערינג.
3. פּעקל אינהאַלט
באַשטעטיקן אַז אַלע זאכן זענען פאַראַן אין פּעקל:
- Vivotek IB9380-H 5MP IR Outdoor Network Bullet Camera
- מאָנטירונג קיט (שרויף, וואַנט אַנקערס)
- שנעל ינסטאַללאַטיאָן גייד
- Waterproof Connector for Ethernet Cable
4. סעטאַפּ
4.1. פיזישע אינסטאַלאַציע און מאָנטירונג
The Vivotek IB9380-H camera is designed for wall mount installation. Choose a suitable location that provides the desired field of view און איז אין דערגרייך פון עלעקטריע און נעץ פארבינדונגען.
- צוגרייטן די מאַונטינג ייבערפלאַך: Mark the drilling points on the wall using the mounting template (if provided) or by holding the camera's base against the surface.
- בויער האָלעס: Drill pilot holes at the marked positions. Insert wall anchors if mounting on drywall or masonry.
- באַוואָרענען די אַפּאַראַט: Attach the camera's mounting base to the wall using the provided screws. Ensure it is firmly secured.
- סטרויערן ווינקל: לאָזט אָפּ די אַדזשאַסטמענט שרויפן אויף דער קאַמעראַ גוף צו שטעלן די געוואונטשענע viewing angle. Tighten the screws once the angle is satisfactory.

Image 4.1: Camera dimensions and mounting diagram for installation planning.
4.2. קאַבלע קאַנעקשאַן
Connect the necessary cables to the camera:
- עטהערנעט קאַבלע: Connect a standard Ethernet cable (RJ45) to the camera's network port. Use the waterproof connector to protect the connection if exposed to weather.
- מאַכט קאַבלע: Connect the power adapter to the camera's power input. Ensure the connection is secure.

Image 4.2: Close-up of an Ethernet cable connector, similar to what is used for the camera's network connection.
4.3. ערשטע איינשאַלטונג
Once all cables are connected, plug the power adapter into an electrical outlet. The camera will power on and initiate its startup sequence. Observe any indicator lights for status.
5. אַפּערייטינג ינסטרוקטיאָנס
5.1. Network Configuration and Access
The Vivotek IB9380-H supports Wi-Fi connectivity. For initial setup, it is recommended to connect via Ethernet to configure network settings.
- אַנטדעקן קאַמעראַ: Use the Vivotek IP Search utility or your network router's client list to find the camera's assigned IP address.
- אַקסעס Web צובינד: עפענען א web browser and enter the camera's IP address. Log in using the default credentials (refer to the Quick Installation Guide for details).
- קאָנפיגורירן Wi-Fi: Navigate to the network settings within the web interface. Select your Wi-Fi network, enter the password, and save the settings. Once configured, you may disconnect the Ethernet cable if desired.
5.2. לייוו View און רעקאָרדינג
After network setup, you can access the camera's live feed and configure recording options.
- לעבן View: פון די web interface or a compatible mobile application, select the camera to view זײַן לעבעדיגע פֿיד.
- רעקאָרדינג סעטאַפּ: Configure recording schedules, continuous recording, or event-triggered recording (e.g., motion detection). Recordings can be stored on a network video recorder (NVR) or a local storage device if supported.
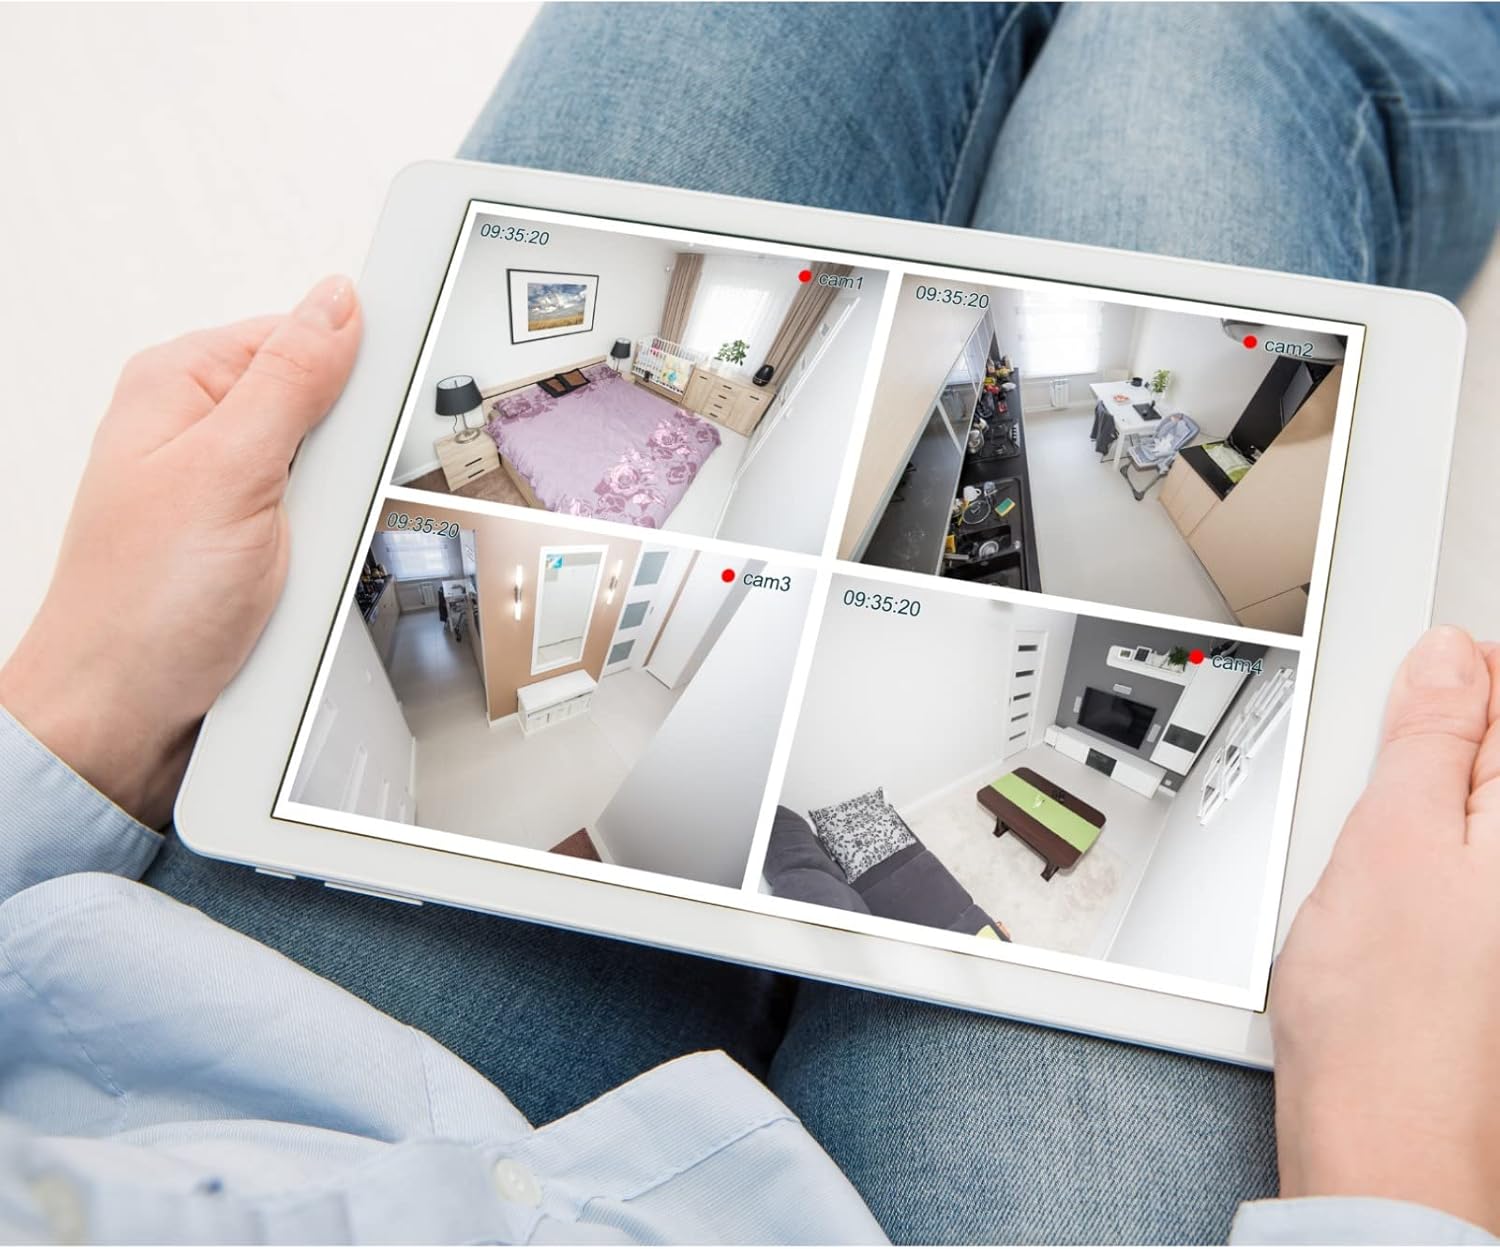
בילד 5.1: עקס.ample of a tablet displaying multiple camera feeds, illustrating remote monitoring capabilities.
5.3. Motion Detection Setup
The camera supports motion-only alerts.
- Access Alert Settings: In the camera's web interface, navigate to the event or alert settings section.
- Configure Motion Detection: Enable motion detection and define the detection zones and sensitivity levels.
- שטעלן אַקציעס: Specify actions to be taken upon motion detection, such as recording, sending email notifications, or triggering alarms.
5.4. נאַכט זעאונג
The camera features IR (Infrared) and Night Color low light technology for clear imaging in various lighting conditions. These features typically activate automatically based on ambient light levels.
6. וישאַלט
- רייניקונג די לענס: Gently wipe the camera lens with a soft, clean cloth. For stubborn dirt, use a lens cleaning solution designed for optical surfaces. Do not use abrasive cleaners.
- Firmware דערהייַנטיקונגען: Periodically check the Vivotek website for firmware updates. Keeping the firmware updated ensures optimal performance, security, and access to new features.
- ענוויראָנמענטאַל קאָנטראָל: Regularly inspect the camera and its mounting for any signs of wear, damage, or loose connections, especially after severe weather conditions.
- מאַכט ציקל: If the camera experiences minor issues, try power cycling it by disconnecting and reconnecting the power supply.
7. טראָובלעשאָאָטינג
| פּראָבלעם | מעגלעך סיבה | לייזונג |
|---|---|---|
| קיין מאַכט | שטראָם אַדאַפּטער אַרויסגעשטעקט אָדער דעפעקטיוו; שטראָם אַוטלעט פּראָבלעם. | Check power connections. Test the outlet with another device. Try a different power adapter if available. |
| קיין ווידעא פיטער | Network connection issue; incorrect IP address; camera not configured. | Verify network cable connection or Wi-Fi settings. Confirm camera's IP address. Ensure camera is properly configured in your viewינג ווייכווארג. |
| נעבעך בילד קוואַליטי | שמוציקע לינז; שוואַכע ליכט באדינגונגען; אומרעכטע רעזאָלוציע סעטטינגס. | Clean the camera lens. Ensure sufficient lighting or verify night vision is active. Check video resolution settings in the camera's interface. |
| באַוועגונג דעטעקשאַן ניט ארבעטן | Motion detection disabled; incorrect sensitivity; detection zones not set. | Enable motion detection in settings. Adjust sensitivity and define detection zones. |
8. ספּעסאַפאַקיישאַנז
| שטריך | דעטאַל |
|---|---|
| מאָדעל | יב 9380-ה |
| עפעקטיוו נאָך האַכלאָטע | 5 מפּ |
| ווידעא קאַפּטורע רעסאָלוטיאָן | 1080 פּ |
| ראַם קורס | 20 fps |
| נידעריק ליכט טעכנאָלאָגיע | נאַכט קאָליר |
| פאָרם פאַקטאָר | קויל |
| דרינענדיק / דרויסנדיק באַניץ | דרויסנדיק |
| מאַונטינג טיפּ | וואנט בארג |
| ווירעלעסס קאָמוניקאַציע | ווי-פי |
| קאַנעקטיוויטי פּראָטאָקאָל | ווי-פי |
| מאַכט מקור | AC/DC |
| וואָסtage | 3.5 וואטס |
| פלינק טיפּ | בלויז באַוועגונג |
| קאָנטראָל מעטאָד | ווייַט |
| דימענסיעס (L X W X H) | 3.59 X 3.59 X 6.96 אינטשעס |
| אינטערנאַציאָנאַלע פּראַטעקשאַן שאַץ | IP9380 |
| UPC | 655255870887, 681541834035 |
9. וואָראַנטי אינפֿאָרמאַציע
This Vivotek product is covered by a manufacturer's limited warranty. Please refer to the warranty card included in your package or visit the official Vivotek website for detailed terms and conditions regarding warranty coverage, duration, and claims procedures. Keep your proof of purchase for warranty service.
10. קונה שטיצן
For technical assistance, troubleshooting beyond this manual, or warranty inquiries, please contact Vivotek customer support. You can typically find contact information (phone, email, support portal) on the official Vivotek webוועבזייטל אדער אין די דאקומענטאציע וואס איז צוגעשטעלט געווארן מיט אייער פראדוקט.
אָנליין רעסורסן: www.vivotek.com