1. הקדמה
This manual provides detailed instructions for the safe and efficient operation, setup, and maintenance of your Janome JUNO J3 sewing machine. Please read this manual thoroughly before using the machine to ensure proper function and to prevent damage or injury. Keep this manual in a safe place for future reference.
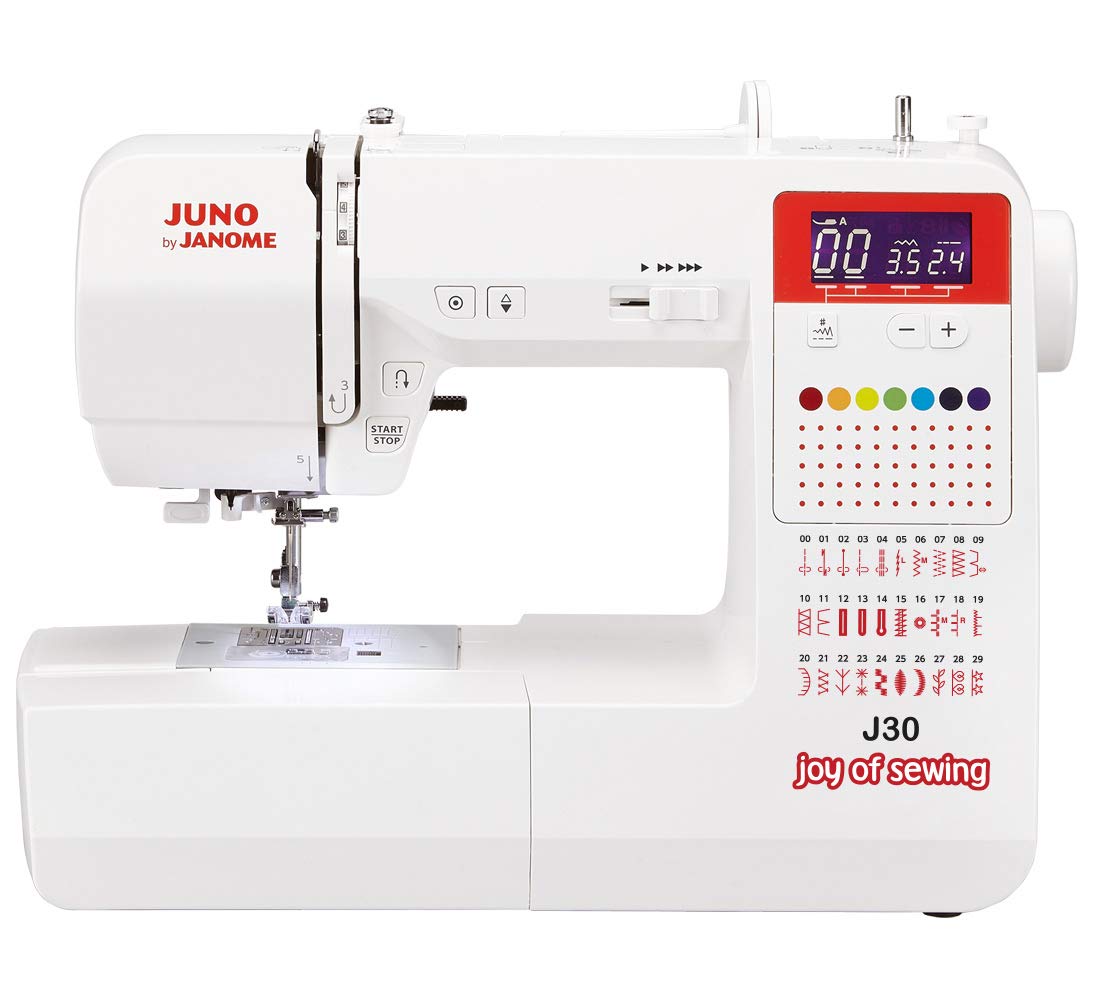
פיגורע 1: פראָנט view of the Janome JUNO J3 Sewing Machine, showcasinג זײַן קאָמפּאַקטן דיזײַן און קאָנטראָל דייאַלז.
2. וויכטיק סאַפעטי אינסטרוקציעס
ווען ניצן אַן עלעקטריקאַל אַפּפּליאַנסע, יקערדיק זיכערקייַט פּריקאָשאַנז זאָל שטענדיק זיין נאכגעגאנגען, אַרייַנגערעכנט די פאלגענדע:
- לייענען אַלע ינסטראַקשאַנז איידער איר נוצן דעם נייען מאַשין.
- האַלטן פינגער אַוועק פון אַלע מאָווינג טיילן. ספּעציעלע זאָרג איז פארלאנגט אַרום די נייען מאַשין.
- Always use the correct needle plate. The wrong plate can cause the needle to break.
- ציט אדער שטופט נישט דעם שטאָף בשעתן נייען. דאָס קען אָפּדרייען די נאָדל און מאַכן אַז זי זאָל צעברעכן.
- אויסלעשן די ניימאַשין ווען איר מאַכט סיי וועלכע אַדזשאַסטמאַנץ אין דער נאָדל געגנט, ווי למשל איינפֿעדמען די נאָדל, טוישן די נאָדל, איינפֿעדמען די שפּול, אָדער טוישן דעם דרוקער פֿוס.
- Always unplug the sewing machine from the electrical outlet when removing covers, lubricating, or when making any other user servicing adjustments mentioned in this instruction manual.
- Never operate the machine if it has a damaged cord or plug, if it is not working properly, or if it has been dropped or damaged.
- דו זאלסט נישט נוצן ינ דרויסן.
3. פּעקל אינהאַלט
באַשטעטיקט אַז אַלע זאכן וואָס זענען אויסגערעכנט אונטן זענען אַרייַנגערעכנט אין אייער פּעקל:
- Janome JUNO J3 Sewing Machine
- פֿיס קאָנטראָללער
- מאַכט שנור
- Standard Accessories (e.g., bobbins, needles, seam ripper, screwdriver)
- ינסטראַקשאַנז מאַנואַל
Note: Specific accessories may vary by region. Refer to the packaging for a complete list.
4. סעטאַפּ
4.1 אַנפּאַקינג און פּלייסמאַנט
- נעמט פֿאָרזיכטיק אַרויס די מאַשין פֿון איר פֿאַרפּאַקונג.
- שטעלן די מאַשין אויף אַ סטאַביל, פלאַך ייבערפלאַך.
- Ensure adequate lighting and space for comfortable operation.
4.2 מאַכט קאַנעקשאַן
- Insert the power cord into the machine's power socket.
- שטעקט אריין דעם אנדערן עק פונעם עלעקטרישן שנור אין א פאסיגע עלעקטרישע ווענטיל.
- Connect the foot controller to its designated socket on the machine.
4.3 אויפוויקלען די שפּול
- שטעלן אַ שפּולקע פון פאָדעם אויף די שפּולקע שטיפט.
- Guide the thread through the thread guide and around the bobbin winding tension disc.
- לייגט אַ ליידיקע שפּול אויף דער שפּול־ווינדער שפּינדל.
- Wind the thread clockwise a few times around the bobbin.
- שטופּן די בינע ווינדער שפּינדל צו די רעכט.
- Press the foot controller to start winding. Stop when the bobbin is full.
- Cut the thread and push the bobbin winder spindle back to the left.
4.4 אריינשטעלן די שפּול
- עפֿנט די שפּול דעקל פּלאַטע.
- אַרײַנשטעלן די אויפגעוויקלטע שפּול אין דער שפּולקע קעסטל, און זיכער מאַכן אַז דער פֿאָדעם זיך אָפּוויקלט אין דער ריכטיקער ריכטונג (געווענלעך קעגן-זייגער).
- פירט דעם פֿאָדעם דורך דער שפּאַנונג־פֿעדער און אַרײַן אין דעם פֿאָדעם־פירער־שלאָץ.
- נאָענט די בינע דעקל טעלער.
4.5 איינפֿעדמען דעם אויבערשטן פֿאָדעם
- הייבן די דריקן פֿיס ליפטער.
- שטעלן אַ שפּולקע פון פאָדעם אויף די שפּולקע שטיפט.
- פירט דעם פֿאָדעם דורך דעם אויבערשטן פֿאָדעם־פירער.
- Bring the thread down the right channel, up the left channel, and through the take-up lever from right to left.
- Continue guiding the thread down to the needle bar thread guide.
- פֿאָדעם די נאָדל פון פראָנט צו צוריק.
5. אַפּערייטינג ינסטרוקטיאָנס
5.1 שטאָך אויסוואַל
Turn the stitch selector dial to choose the desired stitch pattern. Refer to the stitch chart on the machine for available options.
5.2 Stitch Length and Width Adjustment
Adjust the stitch length and width using the corresponding dials. Experiment with different settings on a scrap piece of fabric to achieve the desired result.
5.3 פֿאָדעם שפּאַנונג אַדזשאַסטמענט
The thread tension dial controls the balance between the upper and bobbin threads. For most general sewing, a setting of "3" to "5" is suitable. Adjust as needed if stitches appear too loose or too tight.
5.4 אָנהייבן צו נייען
- שטעלן די שטאָף אונטער די פּרעסער פֿיס.
- נידעריקער די פּרעסער פֿיס.
- Turn the handwheel towards you to bring the needle down into the fabric, then up again to pull up the bobbin thread.
- Hold both thread tails to the back.
- Gently press the foot controller to start sewing.
5.5 Reverse Sewing
To secure the beginning and end of a seam, press and hold the reverse lever/button while sewing. Release to resume forward stitching.
6. וישאַלט
6.1 רייניקונג די מאַשין
- שטענדיק אָפּשטויסן די מאַשין איידער רייניקונג.
- אַראָפּנעמען די נאָדל פּלאַטע און שפּולקע קעסטל.
- ניצט אַ קליין באַרשט צו באַזייַטיקן לינט און שטויב פון די פידער הינט און שפּול געגנט.
- ווישט די אויסערליכע זייט פון דער מאַשין מיט אַ ווייכן, טרוקענעם שטאָף.
6.2 טוישן די נאָדל
- קער אַוועק און אָפּשטעקן די מאַשין.
- לוסאַן די נאָדל קלamp שרויף.
- אַראָפּנעמען די אַלטע נאָדל.
- שטעקט אריין א נייע נאָדל מיט דער פלאַכער זײַט צו דער הינטערשטער זײַט פֿון דער מאַשין, און שטופּט זי אַרויף אַזוי ווײַט ווי זי וועט גיין.
- פאַרשטייַפן די נאָדל קלamp שרויף סיקיורלי.
7. טראָובלעשאָאָטינג
| פּראָבלעם | מעגלעך סיבה | לייזונג |
|---|---|---|
| מאַשין טוט נישט אָנהייבן | Power cord not plugged in; foot controller not connected; main power switch off. | Check power connections; ensure foot controller is securely plugged in; turn on power switch. |
| סקיפּט סטיטשיז | Incorrect needle size/type; bent needle; improper threading; incorrect tension. | Change needle to correct type/size; replace bent needle; re-thread machine correctly; adjust tension. |
| פֿאָדעם צעברעכן | Improper threading; tension too tight; burr on needle plate; poor quality thread; bent needle. | Re-thread machine; loosen tension; check for burrs; use good quality thread; replace needle. |
| שטאָף ציט זיך נישט אָן | Presser foot not lowered; feed dogs clogged with lint; stitch length set to zero. | Lower presser foot; clean feed dogs; adjust stitch length. |
8. ספּעסאַפאַקיישאַנז
| מאָדעל נומער | JUNO J30 |
| סאָרט | JANOME |
| דימענסיעס (L X W X H) | 10 X 5 X 1.27 סענטימעטער |
| וואָג | 2.72 קילאָגראַמס |
| מאַטעריאַל | אַלומינום |
| קאָליר | שוואַרץ |
| מאַכט מקור | קאָרדעד עלעקטריק |
| עלעקטריקאַל | יא |
9. וואָראַנטי און שטיצן
For warranty information and customer support, please refer to the warranty card included with your product or visit the official Janome webזייטל. האַלט אייער קויף קוויטל ווי אַ באַווייַז פון קויפן פֿאַר וואָראַנטי קליימז.
For technical assistance or service, contact your authorized Janome dealer or customer service center.


