1. הקדמה
This user manual provides detailed instructions for the safe installation, operation, and maintenance of your ASD LED 32 Inch Oval Flush Mount Light Fixture. Please read this manual thoroughly before installation and retain it for future reference.
וויכטיק סאַפעטי אינפֿאָרמאַציע
- Always turn off the power at the circuit breaker before beginning installation.
- באַראַטנ זיך אַ קוואַלאַפייד ילעקטרישאַן אויב איר זענט נישט זיכער וועגן די ינסטאַלירונג פּראָצעס.
- זיכער מאַכן אַז אַלע עלעקטרישע פֿאַרבינדונגען זענען געמאַכט לויט די לאָקאַלע קאָודן און אָרדאַנאַנסן.
- Do not install this fixture in wet locations. It is rated for dry and damp בלויז לאָוקיישאַנז.
- פרובירט נישט צו מאדיפיצירן דעם פיקסטשער. יעדע מאדיפיקאציע קען בטל מאכן די גאראנטיע און שאפן א זיכערהייטס געפאר.
2. וואָס איז אין דער קעסטל
Carefully unpack the contents and ensure all items are present and undamaged:
- ליכט ייַנאָרדענונג
- מאַונטינג פּלאַטע
- Screws, Anchors
- ווירע ניסלעך

Image: The ASD LED 32 Inch Oval Flush Mount Light Fixture shown with its product packaging.
3. פּראָדוקט ספּעסאַפאַקיישאַנז
| באַשרייַבונג | דעטאַל |
|---|---|
| מאָדעל נאָמען | געפירט טאָפּל רינג פלושמאָונט |
| מאָדעל נומער | A-LFMOV-M32D45C-N |
| דימענסיעס (L X W X H) | 32.44" x 18.13" x 4.81" (824 מ״מ x 460 מ״מ x 122 מ״מ) |
| וואָסtage | 45 וו |
| ברייטנאַס | 3750 לומענס |
| קאָליר טעמפּעראַטור (CCT) | 3000K (Warm White), 4000K (Cool White), 5000K (Daylight) - Selectable |
| Voltage | 100-277וו |
| דימאַבלע | Yes, with compatible Triac dimmer switch (10% to 100%) |
| מאַטעריאַל | Durable Alloy Steel Housing, Frosted Acrylic Shade, Matte White Diffuser Cover, Solid Metal Base |
| ענדיקן טיפּ | בראַשט ניקאַל |
| סערטיפיקאַטיאָנס | ETL Listed, Energy Star Certified |
| לעבן | 50,000 שעה |
| באַניץ סוויווע | Indoor, Dry and Damp לאָקאַטיאָנס |
| פּונקט וואָג | 7.8 פונט |

Image: Detailed product specifications including dimensions and electrical ratings.
4. ינסטאַלירונג אינסטרוקציעס
Follow these steps for proper installation of your flush mount light fixture. Ensure power is OFF at the circuit breaker before starting.
- צוגרייטן די פיקסטור: Unscrew the cap nuts counter-clockwise and carefully remove the metal ring and the lens from the fixture.
- צוטשעפּען מאַונטינג פּלאַטע: Attach the mounting plate to the outlet box using two screws. Use the mounting plate as a template to mark the location for wall anchors if needed. Drill appropriate sized holes for anchors, insert anchors, and twist self-tapping screws into them.
- פאַרבינדן וויירינג: Connect the electrical wires: Black to Black (Live), White to White (Neutral), and Ground to Ground. Secure connections with wire nuts. Carefully tuck all wires back into the outlet box.
- זיכער פיקסטור: Attach the back plate to the ceiling by feeding self-tapping screws through the keyhole slots and then tightening them. Secure the fixture to the mounting plate using two screws.
- אויסקלייַבן קאָליר טעמפּעראַטור: Before reattaching the lens, choose your desired color temperature (3000K, 4000K, or 5000K) using the switch located on the fixture.
- צוריקצושטעלן די לינז: Secure the lens and metal ring to the fixture pan using the cap nuts.
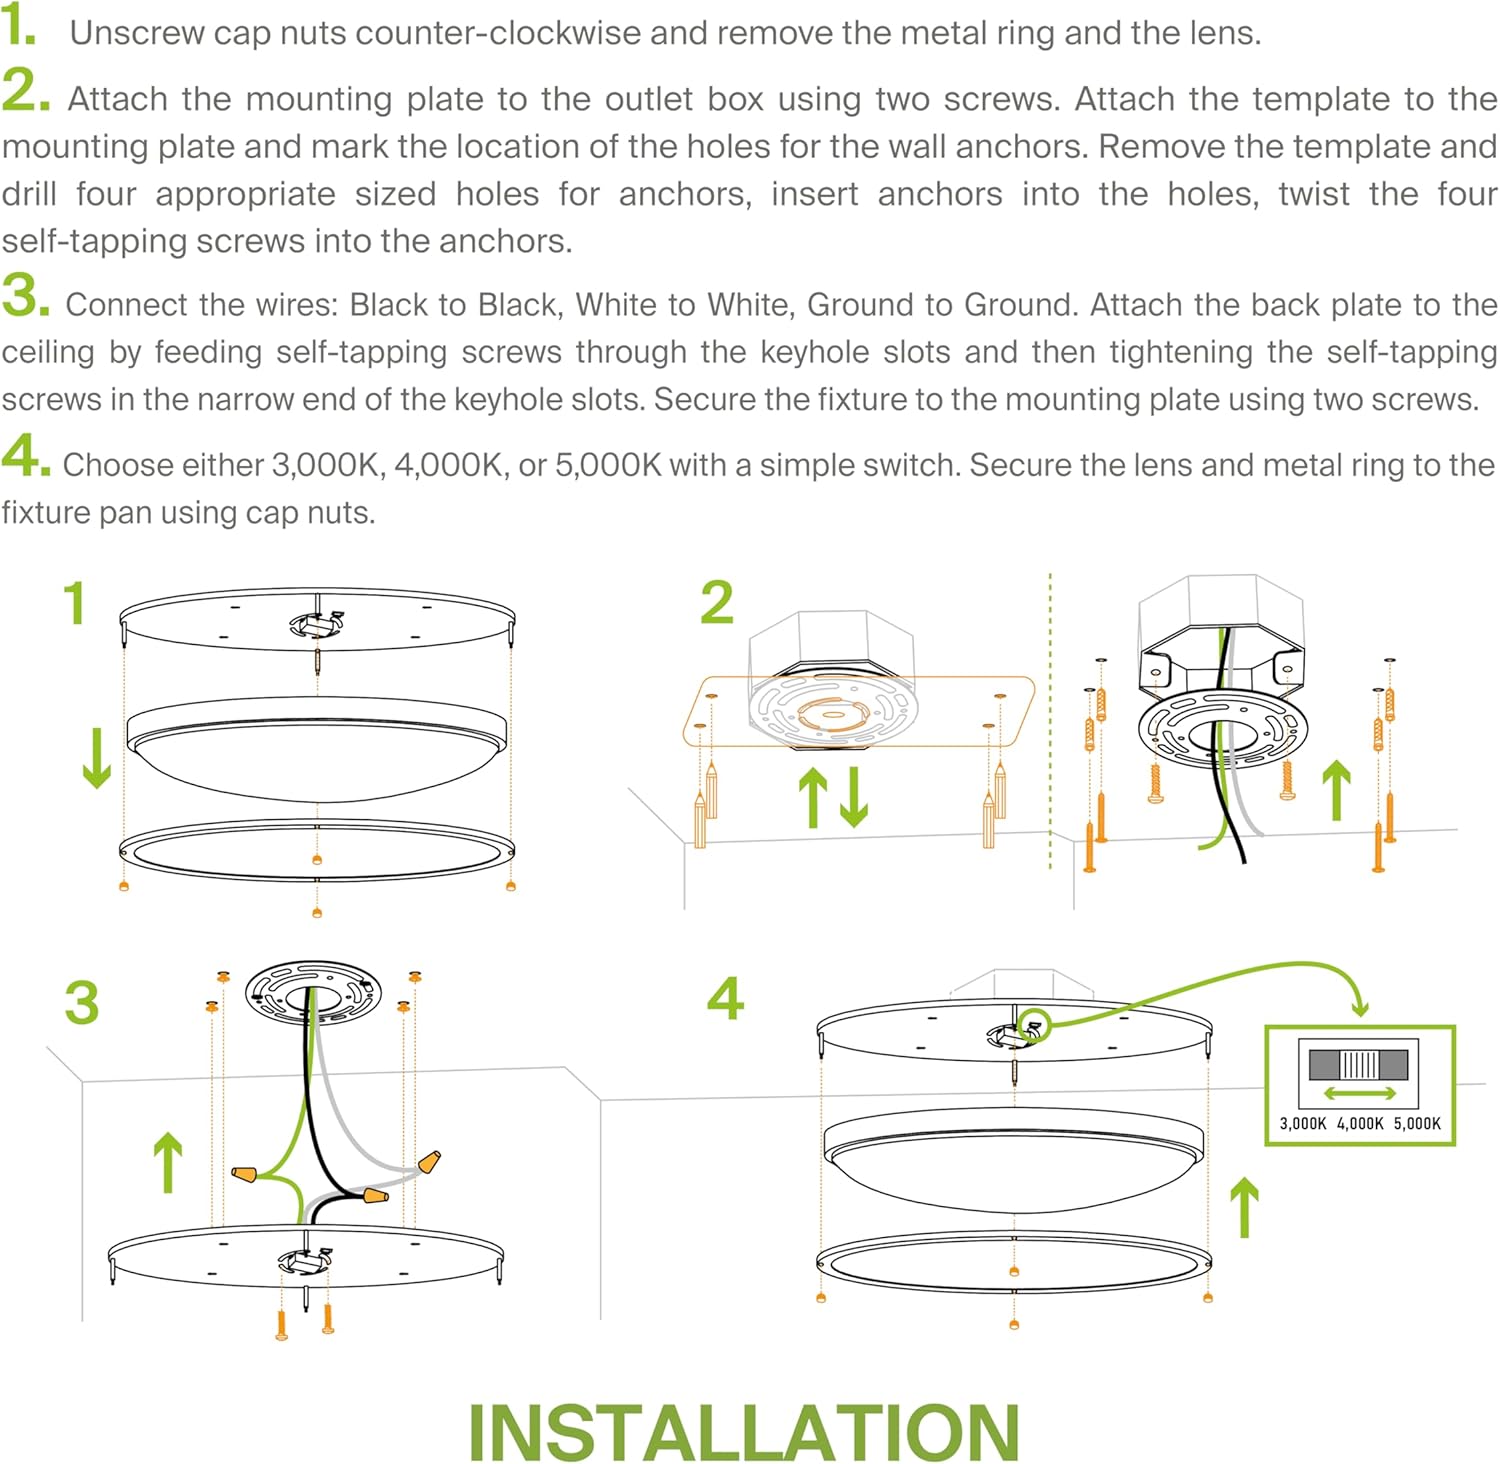
Image: Visual guide for the installation process, from preparing the fixture to securing the lens.

Image: Another detailed diagram illustrating the mounting and wiring steps.
For a full cut sheet and detailed instructions, you can refer to the official user manual PDF: דאַונלאָוד באַניצער מאַנואַל (PDF)
5. אַפּערייטינג ינסטרוקטיאָנס
Color Temperature Selection (3CCT)
Your fixture features a selectable color temperature switch, allowing you to choose between 3000K (Warm White), 4000K (Cool White), and 5000K (Daylight). This switch is located on the fixture body and should be set during installation before the lens is secured.

Image: Illustration of the three selectable color temperature options: 3000K, 4000K, and 5000K.
דימינג פאַנגקשאַנאַליטי
This fixture supports smooth, flicker-free Triac dimming. To utilize the dimming feature, ensure you have a compatible dimmer switch installed. The brightness can be adjusted from 10% to 100%.
6. וישאַלט
The ASD LED Flush Mount Light Fixture requires minimal maintenance. Follow these guidelines to ensure its longevity and optimal performance:
- רייניקונג: Before cleaning, ensure the power to the fixture is turned off. Use a soft, dry or slightly damp cloth to wipe the exterior surfaces. Do not use abrasive cleaners, solvents, or polishes as they may damage the finish or acrylic lens.
- דורכקוק: Periodically inspect the fixture for any signs of damage, loose connections, or wear. If any issues are found, consult a qualified electrician.
- LEDs: The integrated LED light source is designed for a long lifespan (50,000 hours) and is not user-replaceable.
7. טראָובלעשאָאָטינג
אויב איר האָט פּראָבלעמען מיט אייער לאַמפּ, זעט די פאלגענדע געוויינטלעכע פּראָבלעמען און לייזונגען:
| פּראָבלעם | מעגלעך סיבה | לייזונג |
|---|---|---|
| ליכט טוט נישט קער אויף | No power to the fixture, loose wiring, faulty switch, incorrect installation. | Check circuit breaker. Verify all wire connections are secure. Test the switch. Re-check installation steps. |
| ליכט פליקערט אדער טונקט נישט קאנסיסטענט | Incompatible dimmer switch, loose wiring, voltage פלאַקטשויישאַנז. | Ensure you are using a compatible Triac dimmer. Check wire connections. The fixture is designed for 100-277V to handle fluctuations, but extreme voltage issues may require professional assessment. |
| פאַלש קאָליר טעמפּעראַטור | CCT סוויטש נישט ריכטיק איינגעשטעלט. | Turn off power, remove lens, and adjust the CCT switch to your desired setting (3000K, 4000K, or 5000K). Reattach lens. |
| בוזזינג ראַש פון ייַנאָרדענונג | Incompatible dimmer, loose wiring, internal component issue. | Try a different compatible dimmer. Check wiring. If the issue persists, contact customer support. |
8. וואָראַנטי און שטיצן
ASD products are covered by a 5-יאָר וואָראַנטי פון די דאַטע פון קויפן. די וואָראַנטי קאָווערס חסרונות אין מאַטעריאַלס און ווערקמאַנשיפּ אונטער נאָרמאַל נוצן.
For warranty claims, technical assistance, or any other inquiries, please contact ASD Customer Support. Ensure you have your proof of purchase and model number ready.
- פאַבריקאַנט: עס.עס.די. לייטינג קאָרפּ.
- סאָרט: אַסד
- מאָדעל נומער: A-LFMOV-M32D45C-N
- UPC: 810050732055
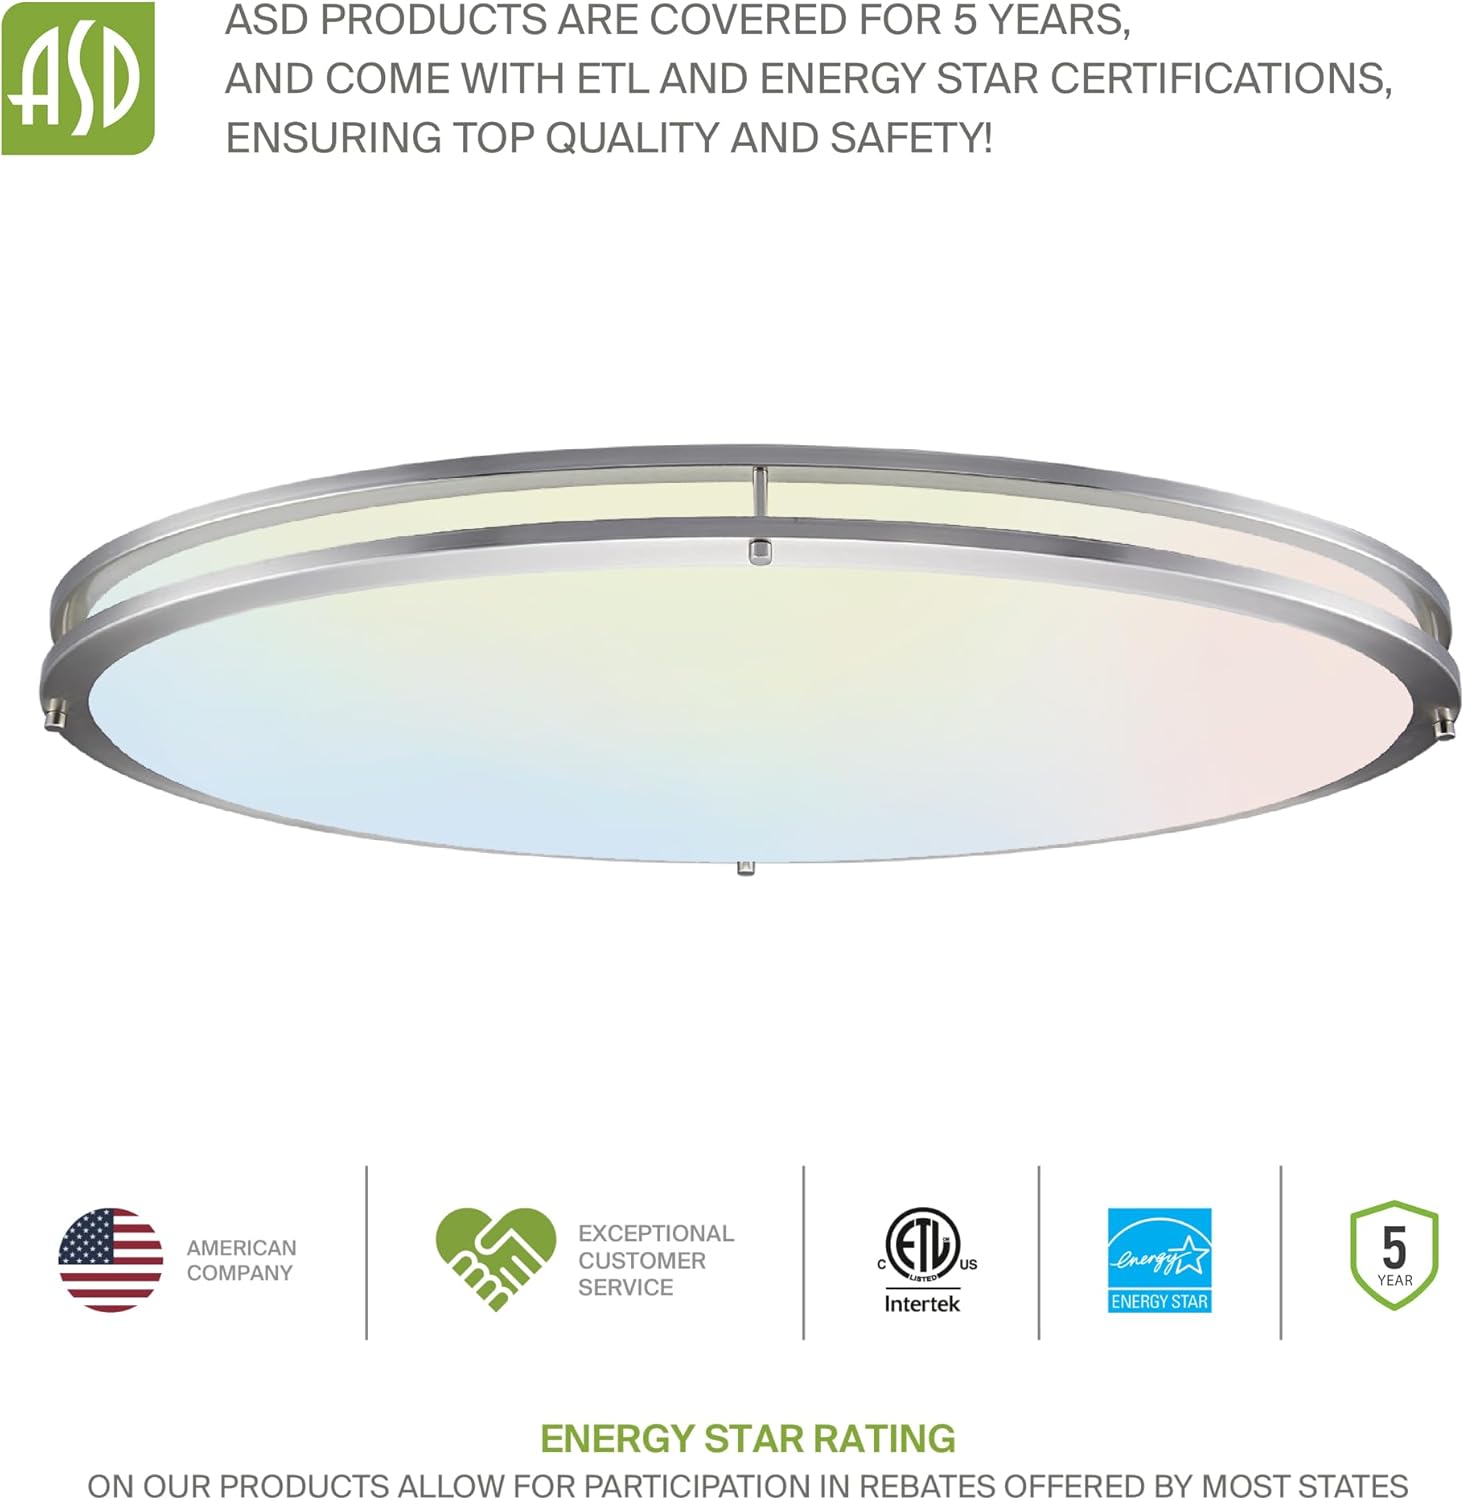
Image: ASD's commitment to quality, safety, and certifications like ETL and Energy Star.