1. הקדמה
This manual provides detailed instructions for the installation, operation, and maintenance of your GIGABYTE GA-H77N-WIFI Mini ITX Motherboard. This motherboard supports 3rd and 2nd generation Intel Core processors with an LGA1155 socket, features Intel H77 chipset, integrated Wi-Fi and Bluetooth 4.0, dual Gigabit LAN, and multiple display outputs including HDMI and DVI.
2. סעטאַפּ און ייַנמאָנטירונג
2.1 מאָטהערבאָאַרד אויסלייג
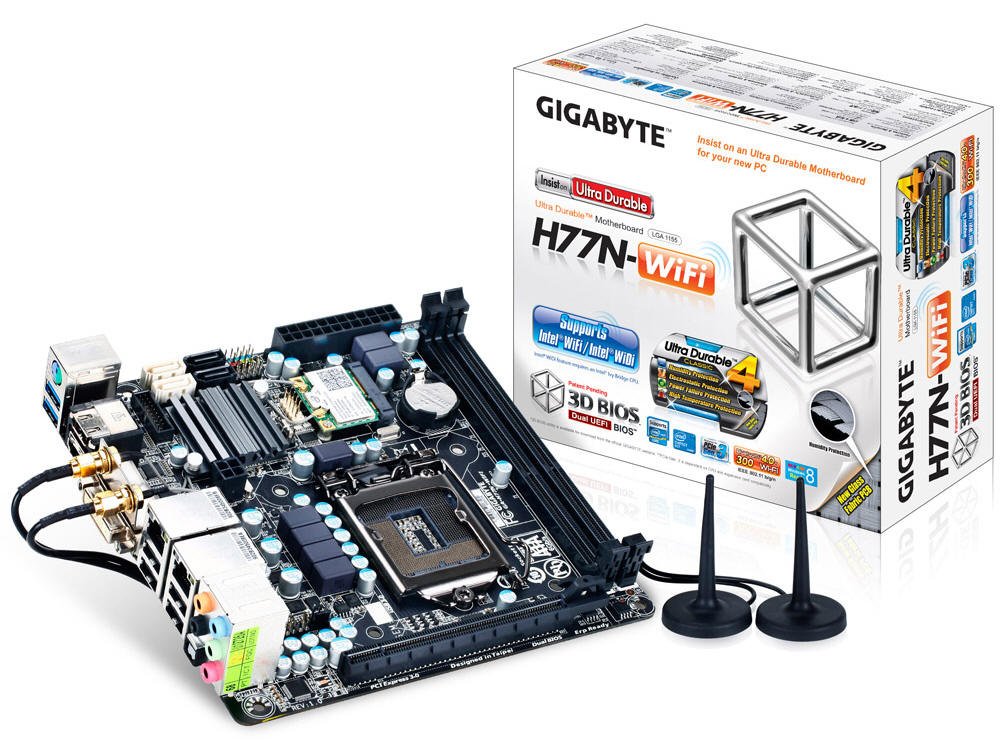
פיגור 1: פון אויבן אַראָפּ view of the GA-H77N-WIFI motherboard, showing CPU socket, DIMM slots, and various connectors.
Familiarize yourself with the layout of the motherboard before proceeding with installation. Refer to Figure 1 for a general overview of component placement.
2.2 קפּו ינסטאַלירונג
- געפינט די LGA1155 CPU סאָקעט אויף די מאָטהערבאָאַרד.
- לײַכט הייבט אויף דעם לאָוד הייבער און עפֿנט דעם סי־פּי־יו סאָקעט דעקל.
- גלייכט אויס דעם דרייעקיקן צייכן אויפן סי-פי-יו מיט דעם קארעספאנדירנדיקן צייכן אויפן סאקעט. לייגט פארזיכטיג דעם סי-פי-יו אין סאקעט אן אים צווינגען.
- פֿאַרמאַכט דעם סאָקעט דעקל און דריק אַראָפּ דעם לאָד הייבער ביז עס פֿאַרשליסט זיך אין פּלאַץ.
- אינסטאלירט דעם סי-פי-יו קולער לויט די אינסטרוקציעס פונעם פאבריקאנט.
2.3 זכּרון (RAM) אינסטאַלאַציע
- Locate the two DDR3 DIMM sockets.
- עפֿנט די קליפּס אויף ביידע עקן פֿון די DIMM סאָקעט.
- Align the notch on the DDR3 memory module with the key in the DIMM socket.
- Insert the memory module firmly into the socket until the clips snap into place. Ensure both clips are closed.
2.4 סטאָרידזש מיטל ינסטאַלירונג
Connect your SATA 6Gb/s storage devices (HDDs, SSDs) to the SATA ports on the motherboard using SATA data cables. Ensure the power cables from your power supply are also connected to the storage devices.
2.5 מאַכט קאַנעקשאַנז
- Connect the 24-pin ATX main power connector from your power supply to the corresponding socket on the motherboard.
- Connect the 4-pin ATX 12V power connector to its socket, typically located near the CPU.
2.6 פראָנט פּאַנעל און פּעריפערישע קאַנעקשאַנז

פיגור 2: ווינקלדיק view of the GA-H77N-WIFI motherboard, showing various onboard headers and rear I/O ports.
Connect the front panel headers (power switch, reset switch, HDD LED, power LED, front audio, front USB) from your computer case to the corresponding pins on the motherboard. Refer to the motherboard's printed labels for correct orientation.
2.7 הינטערשטע I/O פּאַנעל קאַנעקשאַנז

Figure 3: Rear I/O panel of the GA-H77N-WIFI motherboard, showing connectivity options.
Connect your peripherals to the rear I/O panel (Figure 3):
- וסב פּאָרץ: Connect USB devices such as keyboard, mouse, and external drives.
- ווידעא אַוטפּוץ: Connect your monitor(s) to the HDMI or DVI ports.
- LAN Ports: Connect Ethernet cables for network access.
- אַודיאָ דזשעקס: Connect speakers, headphones, or microphones.
- ווירעלעסס אַנטענאַז: Screw in the included Wi-Fi antennas to the connectors.
3. אַפּערייטינג ינסטרוקטיאָנס
3.1 בייאָס/UEFI קאָנפיגוראַציע
ביים ערשטן אנצינדן, דריק די DEL key during the POST (Power-On Self-Test) to enter the BIOS Setup Utility. The GIGABYTE 3D BIOS (Dual UEFI) provides an intuitive interface for configuring system settings, boot order, and hardware parameters.
3.2 אַפּערייטינג סיסטעם ינסטאַלירונג
Insert your operating system installation media (USB drive or DVD) and set the boot priority in the BIOS to boot from the installation media. Follow the on-screen instructions to install your preferred operating system.
3.3 דרייווער ינסטאַלירונג
After installing the operating system, install the necessary drivers for the motherboard components. These typically include chipset drivers, graphics drivers (if using integrated graphics), audio drivers, LAN drivers, and Wi-Fi/Bluetooth drivers. Drivers are usually provided on a support CD or can be downloaded from the GIGABYTE webפּלאַץ.
3.4 נעטוואָרק קאָנפיגוראַטיאָן
The motherboard features dual Realtek Gigabit Ethernet LAN for wired network connections and an Intel Wi-Fi module for wireless connectivity. Configure your network settings within your operating system. For Wi-Fi, ensure the antennas are connected and select your network from the available options.
3.5 GIGABYTE On/Off Charge
The GIGABYTE On/Off Charge feature allows for faster charging of USB devices, even when the PC is turned off or in standby mode. Ensure the necessary drivers/utilities are installed for this feature to function.
4. וישאַלט
4.1 רייניקונג
Regularly clean the interior of your computer case to prevent dust buildup, which can lead to overheating. Use compressed air to remove dust from components, especially heatsinks and fans. Ensure the system is powered off and unplugged before cleaning.
4.2 BIOS and Driver Updates
טשעקט פּעריִאָדיש די גיגאַבייט website for updated BIOS versions and drivers. Updating these can improve system stability, performance, and compatibility. Follow the instructions provided by GIGABYTE carefully when performing updates.
5. טראָובלעשאָאָטינג
אויב איר טרעפט פּראָבלעמען, באַטראַכט די פאלגענדע גרונטלעכע טראָובלעשווטינג טריט:
- קיין מאַכט: Check all power connections from the power supply to the motherboard and components. Ensure the power supply switch is on.
- קיין ווייַז: Verify that the monitor is connected correctly to the motherboard's video output (HDMI/DVI) and is powered on. Try reseating the memory modules.
- סיסטעם אינסטאביליטעט: Ensure all components are properly seated. Check for overheating by monitoring CPU and system temperatures. Update BIOS and drivers.
- נעץ ישוז: Verify Ethernet cables are securely connected. Check Wi-Fi antenna connections. Ensure network drivers are installed and configured correctly.
- פּעריפעראַל נישט דעטעקטירט: Ensure USB devices are connected to functional ports. Check device manager for driver issues.
For more advanced troubleshooting or persistent issues, refer to the GIGABYTE support webזייטל אדער קאנטאקט זייער טעכנישע שטיצע.
6. ספּעסאַפאַקיישאַנז
| קאָמפּאָנענט | באַשרייַבונג |
|---|---|
| קפּו סאָקקעט | LGA 1155 |
| קאָמפּאַטיבלע פּראַסעסאָרן | Intel Core i7/i5/i3/Pentium/Celeron (3rd and 2nd Gen) |
| טשיפּסעט | אינטעל H77 עקספּרעס |
| זכּרון סלאָץ | 2 x DDR3 DIMM סאַקאַץ |
| מאַקסימום זכּרון קאַפּאַציטעט | 16 גיגאבייט |
| זכּרון טיפּ | DDR3 1600/1333/1066/800 MHz |
| לאַן | 2 x Realtek GbE LAN (10/100/1000 Mbit) |
| ווירעלעסס | Intel Wi-Fi module, Bluetooth 4.0 |
| SATA פּאָרץ | סאַטאַ 6 גיגאבייט / s |
| וסב פּאָרץ | וסב 3.0, וסב 2.0 |
| ווידעא אַוטפּוץ | HDMI, DVI |
| יקספּאַנשאַן סלאָץ | PCI Express Gen 3.0 |
| פאָרם פאַקטאָר | מיני יטקס |
| דימענשאַנז | 17 X 16 X 10 אינטשעס (פּראָדוקט דימענשאַנז) |
| וואָג | 1.6 פונט |
7. וואָראַנטי און שטיצן
For information regarding product warranty, please refer to the warranty card included with your motherboard or visit the official GIGABYTE website. For technical support, driver downloads, and BIOS updates, please visit the GIGABYTE support portal:


