הקדמה
א דאנק פארן קויפןasing the CASIO TQ-720J-7JF Analog Radio Alarm Clock. This manual provides detailed instructions for the proper setup, operation, and maintenance of your new alarm clock. Please read this manual thoroughly before use and keep it for future reference.
זיכערקייַט פּריקאָשאַנז
- Do not expose the clock to direct sunlight, high temperatures, or high humidity.
- פֿאַרמײַדן שטאַרקע אימפּאַקטן אָדער ווייבריישאַנז.
- Keep the clock away from strong magnetic fields.
- Use only the specified battery type (AA alkaline batteries). Incorrect battery usage can lead to leakage or explosion.
- אַרויסנעמען באַטעריעס אויב די זייגער וועט נישט ווערן גענוצט פֿאַר אַ לענגערע צייט צו פאַרמייַדן ליקאַדזש.
פּראָדוקט איבערview
Familiarize yourself with the components of your CASIO TQ-720J-7JF alarm clock.

פיגורע 1: פראָנט View. This image displays the front of the alarm clock, featuring a white analog dial with clear black numbers, hour, minute, and second hands, and the CASIO logo. The clock has a classic twin-bell design with a white body and silver bells and feet.

פיגורע 2: זייַט View. This image shows the alarm clock from a side angle, highlighting its depth and the design of the twin bells and feet.

פיגורע 3: צוריק View מיט קאָנטראָלס. This image shows the rear of the alarm clock, highlighting the battery compartment, time setting knob, alarm setting knob, alarm ON/OFF switch, and radio wave reception ON/OFF switch. The light button is also visible on the top.
סעטאַפּ
1. באַטאַרייע ייַנמאָנטירונג
- עפֿנט דעם דעקל פֿונעם באַטעריע־אָפּטייל וואָס געפֿינט זיך אויף דער הינטערשטער זײַט פֿונעם זייגער (זעט בילד 3).
- Insert two (2) AA alkaline batteries, ensuring the correct polarity (+ and -) as indicated inside the compartment.
- פאַרמאַכן די באַטאַרייע אָפּטייל דעקן סיקיורלי.
2. Initial Time Setting (Radio Wave Reception)
This clock features a radio reception function to automatically set the time. For optimal reception, place the clock near a window and away from electronic devices that may cause interference.

Figure 4: Wave Ceptor Technology. This image displays the 'Wave Ceptor' logo, signifying the clock's ability to receive radio signals for accurate time synchronization.
- Upon battery installation, the clock will attempt to receive a time calibration signal automatically. This process may take several minutes.
- If automatic reception is unsuccessful, you can manually initiate reception or set the time manually.
- To manually initiate reception: Refer to the specific instructions for your region in the full manual (not provided here, but generally involves holding a button).
- To manually set the time: Use the time setting knob on the back of the clock (refer to Figure 3) to adjust the hour and minute hands.
- Ensure the Radio Wave Reception ON/OFF switch (refer to Figure 3) is in the 'ON' position for automatic synchronization.
Operating the Clock
1. באַשטעטיקן די שרעק
- Use the alarm setting knob on the back of the clock (refer to Figure 3) to move the alarm hand to your desired alarm time.
- Ensure the alarm ON/OFF switch (refer to Figure 3) is in the 'ON' position.
2. שרעק פאַנגקשאַנז
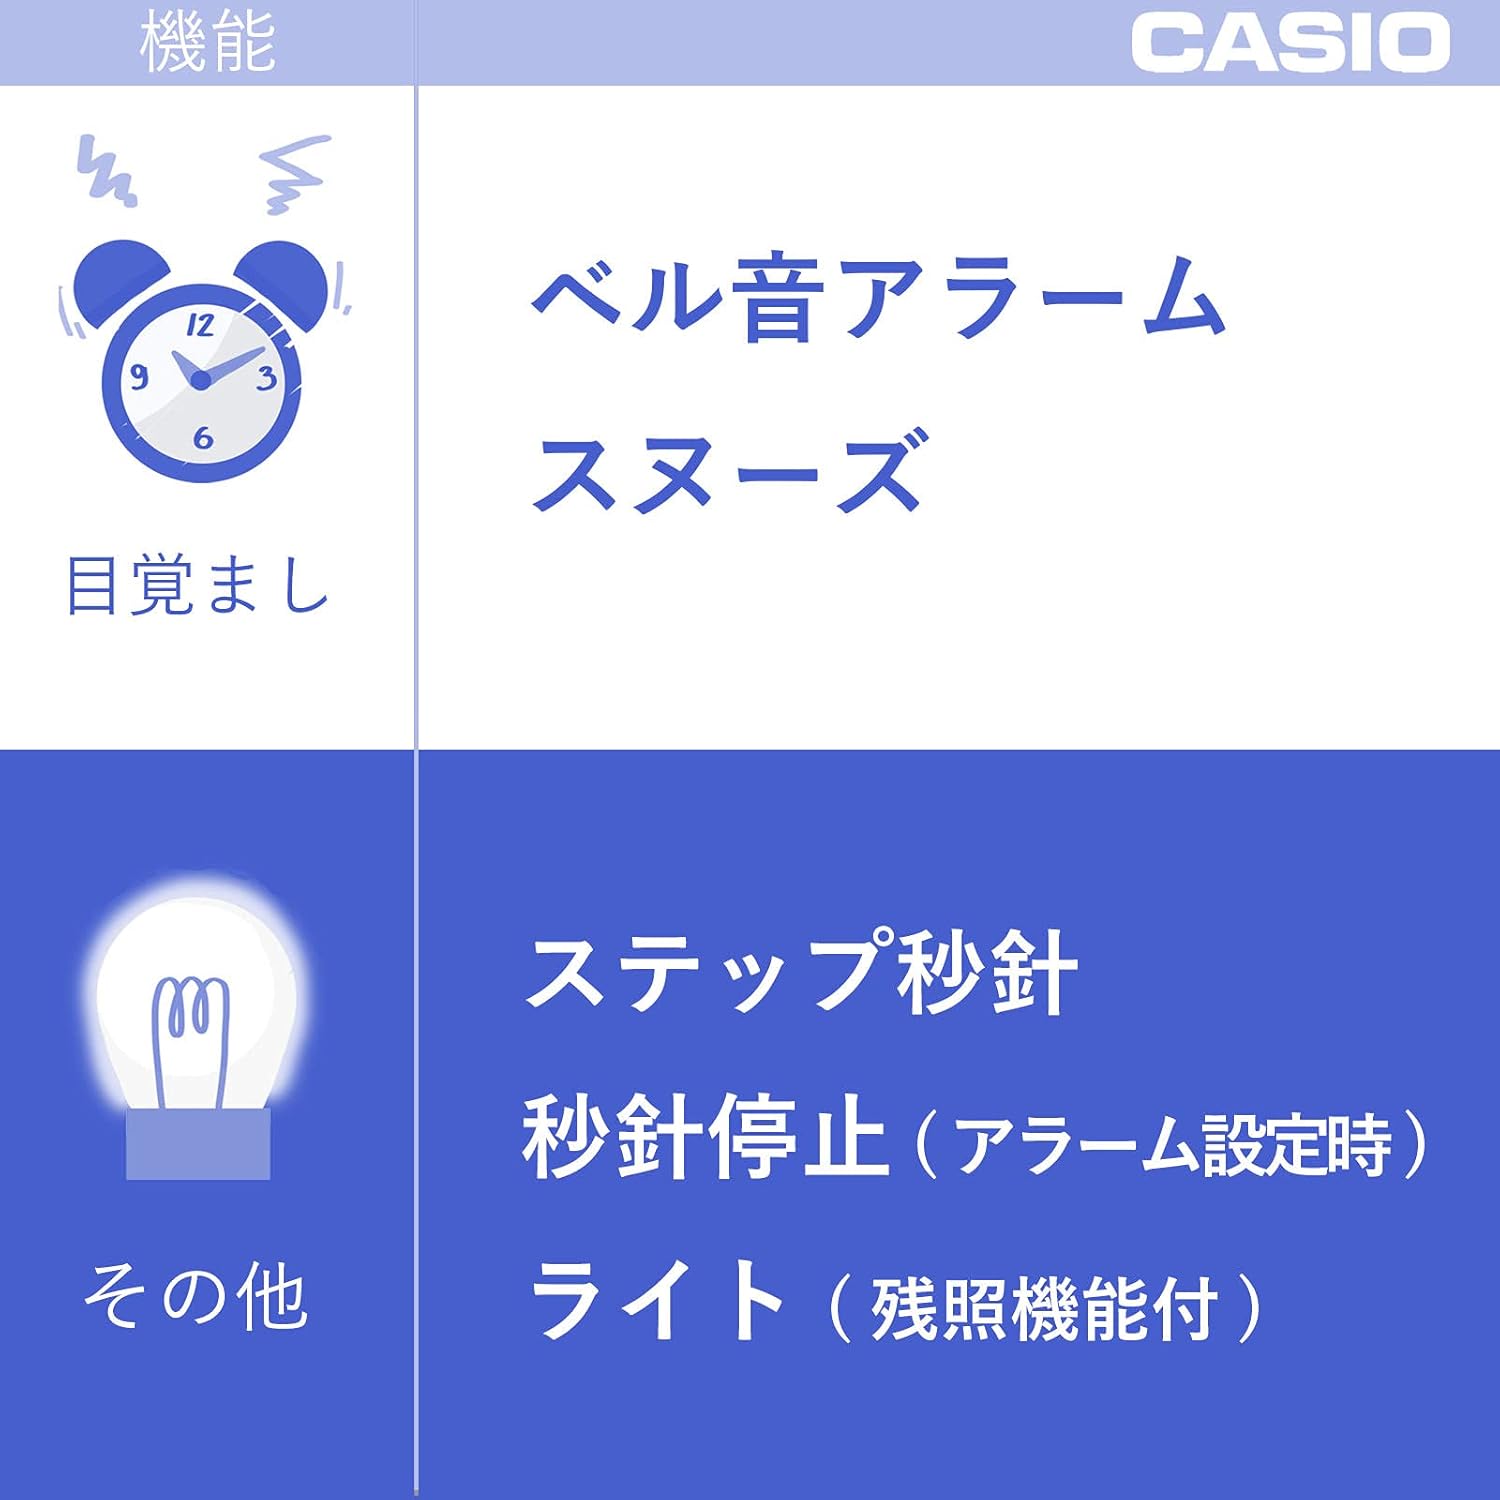
- Bell Alarm: When the alarm time is reached, the twin bells will ring loudly.
- סנוז פונקציע: To temporarily stop the alarm and activate snooze, press the light button on top of the clock. The alarm will sound again after approximately 5 minutes.
- סטאָפּפּינג די שרעק: To permanently stop the alarm, slide the alarm ON/OFF switch to the 'OFF' position.
3. ליכט פונקציע
- Press the light button on the top of the clock to illuminate the dial. The light features an afterglow function, remaining lit for a short period after the button is released.
4. Second Hand Stop Function
- When the alarm is set (alarm ON/OFF switch is 'ON'), the second hand will automatically stop at the 12 o'clock position to reduce noise. It will resume normal movement when the alarm is turned 'OFF'.
וישאַלט
- רייניקונג: ווישט אָפּ דעם זייגער מיט אַ ווייכן, טרוקענעם שטאָף. ניצט נישט קיין שרײַבנדיקע רייניגערס אדער סאָלווענטן.
- באַטערי פאַרבייַט: Replace batteries when the clock's display becomes dim or the alarm sound weakens. Always replace both batteries at the same time with new AA alkaline batteries.
טראָובלעשאָאָטינג
- Clock not displaying correct time: Ensure batteries are correctly installed and have sufficient power. Check if the radio wave reception is enabled and the clock is in a location with good signal. Manually set the time if automatic reception fails.
- דער שרעק קלינגט נישט: Verify that the alarm ON/OFF switch is in the 'ON' position and the alarm time is correctly set. Check battery power.
- קיין ליכט: קוק די באַטאַרייע מאַכט.
- Second hand not moving: If the alarm is set to 'ON', the second hand will stop at 12 o'clock. This is normal operation. If the alarm is 'OFF' and the second hand is still not moving, check battery power.
ספּעסאַפאַקיישאַנז
| מאָדעל נומער | טי-קיו-720דזש-7דזשעף |
| סאָרט | קאַסיאָ |
| ווייַז טיפּ | אַנאַלאָג |
| דימענשאַנז (H X W X D) | אומגעפער 14.9 x 11.3 x 7.7 ס״מ (5.8 x 4.5 x 3.0 אינטשעס) |
| וואָג | בעערעך 385 ג (13.6 אָז) |
| מאַטעריאַל | סמאָלע |
| מאַכט צושטעלן | 2 x AA alkaline batteries (included) |
| פאַנגקשאַנז | Radio reception (automatic/manual), Radio wave reception ON/OFF, Bell alarm, Snooze, Light (with afterglow), Second hand stop (with alarm setting) |
פיגור 5: פּראָדוקט דימענסיעס. This image illustrates the approximate dimensions of the alarm clock: 14.9 cm (height), 11.3 cm (width), and 7.7 cm (depth), with a weight of approximately 385g.
וואָראַנטי און שטיצן
For warranty information or technical support, please refer to the warranty card included with your product or visit the official Casio webזייטל. האַלט אייער קויף קוויטל ווי אַ באַווייַז פון קויפן.
For further assistance, you may contact Casio customer service through their official channels.


