1. הקדמה
Thank you for choosing the Black+Decker KW712 650W Electric Planer. This manual provides essential information for the safe and efficient operation, maintenance, and troubleshooting of your new tool. Please read these instructions carefully before use and keep them for future reference. This planer is designed for planing wood and wood-like materials.
אַלגעמיינע זיכערקייַט וואָרנינגז
- טראָגט שטענדיק פּאַסיק פּערזענלעכע שוץ-עקוויפּמענט, אַרייַנגערעכנט זיכערהייט ברילן, הערן-שוץ און אַ שטויב-מאַסקע.
- זיכער מאַכן אַז די אַרבעטס־געגנט איז ריין, גוט באַלויכטן, און פֿרײַ פֿון שטערונגען.
- האַלטן קינדער און בייסטאַנדערז אַוועק בשעת אַפּערייטינג די געצייַג.
- Disconnect the planer from the power source before making any adjustments, changing accessories, or performing maintenance.
- באַזײַטיקט דעם ווערקפּיס פעסט צו פֿאַרמײַדן באַוועגונג בעתן פּלאַנירן.
- Do not operate the planer in damp אָדער נאַס טנאָים.
2. פּראָדוקט איבערview
Familiarize yourself with the components of your Black+Decker KW712 Electric Planer before operation.

פיגורע 1: קוילעלדיק view of the Black+Decker KW712 Electric Planer. The image shows the orange and black body of the planer with its cord, front handle, and rear handle, along with the planing base and dust port.
שליסל קאַמפּאָונאַנץ:
- טיפקייט אַדזשאַסטמענט קנעפּל: Used to set the desired planing depth.
- פראָנט שעפּן: Provides control and stability during operation.
- Rear Handle (with Trigger): Main grip for operating the tool, includes the power trigger and lock-off button.
- פּלאַנירונג באַזע: The flat surface that glides over the workpiece.
- שטויב עקסטראַקציע פּאָרט: Connects to a dust bag or vacuum cleaner for chip removal.
- V-גרוב: Located on the front shoe for chamfering edges.
- בליידס: Reversible TCT (Tungsten Carbide Tipped) blades for efficient material removal.
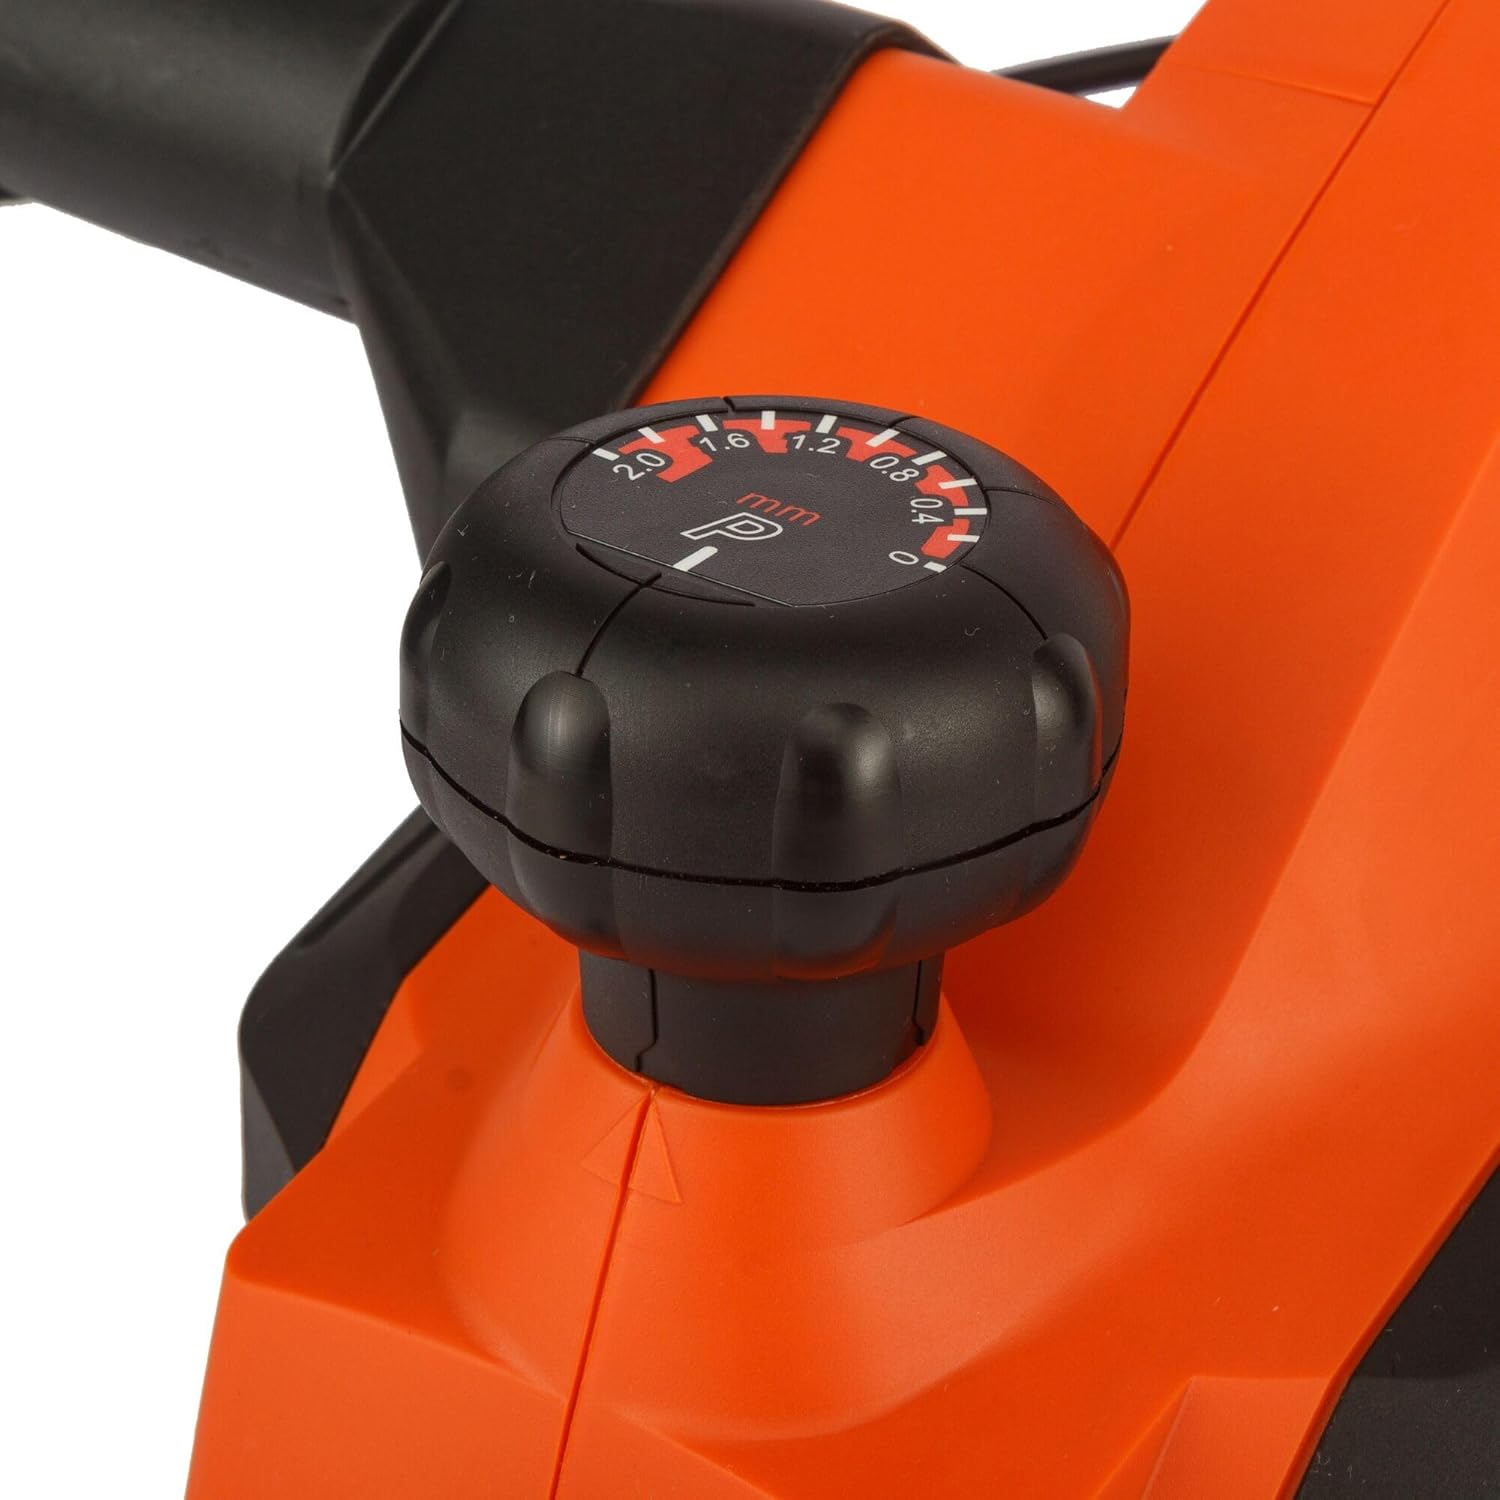
פיגורע 2: נאָענט-אַרויף view of the depth adjustment knob. The knob is black with white markings indicating planing depths from 0 to 2.0 mm.

פיגורע 3: נאָענט-אַרויף view of the dust extraction port. This shows the circular opening on the side of the planer where a dust bag or vacuum hose can be attached.

פיגורע 4: נאָענט-אַרויף view of the power trigger and the safety lock-off button located on the handle of the planer.
3. סעטאַפּ
מאַכט קאַנעקשאַן
- Ensure the power switch is in the 'OFF' position before plugging the tool into a power outlet.
- Connect the planer to a grounded power outlet with the correct voltagE (230 וו).
שטויב עקסטראַקטיאָן
The KW712 planer is equipped with a dust extraction port to maintain a clean work environment.
- Attach a suitable dust bag or connect a vacuum cleaner hose to the dust extraction port.
- זיכער מאַכן אַז די פֿאַרבינדונג איז זיכער צו פאַרמייַדן שטויב ליקאַדזש.
בלייד ינספּעקטיאָן
The planer uses TCT double-sided blades designed for long life. Before each use, inspect the blades.
- Check blades for sharpness, chips, or damage. Damaged blades can affect planing quality and safety.
- If blades are dull or damaged, refer to the Maintenance section for replacement instructions.
4. אַפּערייטינג ינסטרוקטיאָנס
Holding the Planer
- Hold the planer firmly with both hands, one on the front handle and one on the rear handle.
- Maintain a balanced stance to ensure control over the tool.
אַדזשאַסטינג פּלאַנינג טיפקייַט
- Rotate the depth adjustment knob at the front of the planer to select the desired cutting depth. The planer allows for precise adjustments, including a 0.2mm depth setting for fine work.
- The maximum cutting depth is 2mm for quick material removal.
- Start with a shallow depth and gradually increase if needed.
אָנהייב און סטאָפּפּינג
- To start the planer, press the safety lock-off button and then squeeze the trigger switch.
- To stop the planer, release the trigger switch.
פּלאַנירונג טעכניק
- לייגט דעם פאָדערשטן שוך פֿון דער פּלאַנער גלאַט אויף דער ווערקפּיס, און זאָרגט אַז די בליידז זאָלן נישט אָנרירן די ייבערפֿלאַך.
- הייב אָן דעם פּלאַנער און לאָז אים דערגרייכן פולע גיכקייט איידער איר באַוועגט אים פאָרויס.
- Apply even pressure and move the planer smoothly and consistently across the workpiece.
- Maintain control and avoid tilting the planer.
- For chamfering edges, align the V-groove on the front shoe with the edge of the workpiece and guide the planer along.

Figure 5: A user demonstrating the operation of the Black+Decker KW712 planer on a wooden plank, with a dust extraction hose connected to the tool.
5. וישאַלט
רעגולערע אויפהאלטונג גאראנטירט די לאנגעוויטי און אפטימאלע פאָרשטעלונג פון אייער פּלאַנער.
רייניקונג
- Always disconnect the planer from the power supply before cleaning.
- Use a soft brush or compressed air to remove dust and wood chips from the tool, especially around the motor vents and blade area.
- ווישן די יקסטיריער מיט אַדamp שטאָף. דו זאלסט נישט נוצן האַרב קעמיקאַלז אָדער אַברייסיוו קלינערז.
Blade Replacement (TCT Double-Sided Blades)
The KW712 uses durable TCT double-sided blades. When one side becomes dull, the blade can be reversed. When both sides are dull, the blades must be replaced.
- זיכערקייַט ערשטער: Disconnect the planer from the power supply.
- געפינען די בלייד קלamping screws on the cutter head.
- Using the appropriate wrench (usually supplied with the tool), loosen the clampאין סקרוז.
- Carefully remove the dull blade. Blades are extremely sharp; handle with caution.
- רייניקן די בלייד זיצפּלאַץ.
- Insert a new or reversed blade, ensuring it is correctly seated and aligned.
- פאַרשטייַפן די קלampינג סקרוז סיקיורלי.
- Repeat for the other blade if necessary.
- Ensure both blades are at the same height before operating the planer.
סטאָרידזש
- האַלט דעם פּלאַנער אין אַ טרוקענעם, זיכערן אָרט, אַוועק פון קינדער.
- באַשיצן די בליידז פון שעדיקן בעשאַס סטאָרידזש.
6. טראָובלעשאָאָטינג
די סעקציע באהאנדלט אלגעמיינע פראבלעמען וואס איר קענט באגעגענען מיט אייער פלענער.
| פּראָבלעם | מעגלעך סיבה | לייזונג |
|---|---|---|
| פּלאַנער הייבט זיך נישט אָן | No power supply; Faulty switch; Safety lock-off not engaged correctly. | Check power connection and outlet; Ensure safety lock-off button is pressed before trigger; If problem persists, contact service. |
| שלעכטע פּלאַנירונג ענדיקונג (ראָפע ייבערפלאַך, קלאַפּערייַ מאַרקס) | Dull or damaged blades; Incorrect planing depth; Uneven pressure; Blades not set at equal height. | Replace or reverse blades; Reduce planing depth; Apply even pressure; Check and adjust blade height. |
| יבעריק ווייבריישאַן אָדער ראַש | Loose components; Damaged blades; Unbalanced cutter head. | Check all screws and tighten if necessary; Inspect and replace damaged blades; If vibration continues, seek professional service. |
| שטויב אויסציען נישט עפעקטיוו | Dust port clogged; Dust bag full or improperly attached; Vacuum cleaner not powerful enough. | Clear dust port; Empty or reattach dust bag; Use a more powerful vacuum cleaner. |
7. ספּעסאַפאַקיישאַנז
| שטריך | באַשרייַבונג |
|---|---|
| מאָדעל נומער | KW712 |
| מאַכט אַרייַנשרייַב | 650 וו |
| Voltage | 230V |
| פּלאַנינג ברייט | 82 מם |
| Max. Planing Depth | 2 מם |
| טיפקייַט אַדזשאַסטמאַנט | 0.2 מם ינקראַמאַנץ |
| וואָג | 2 ק״ג (2000 גראַם) |
| דימענסיעס (L X W X H) | 10 X 10 X 10 סענטימעטער |
| מאַטעריאַל | אַלומינום |
| מאַכט מקור | קאָרדעד עלעקטריק |
8. וואָראַנטי און שטיצן
For warranty information, please refer to the warranty card included with your product or contact your local Black+Decker dealer or authorized service center. Keep your purchase receipt as proof of purchase.
For technical support or service inquiries, please visit the official Black+Decker webפּלאַץ אָדער קאָנטאַקט זייער קונה סערוויס אָפּטיילונג.


