
1. הקדמה
This manual provides detailed instructions for the installation, operation, and maintenance of your KIMISS 4K DVR Dash Camera. This device features a 10.26-inch touchscreen, 4K front and 1080P rear cameras, Wi-Fi connectivity, and advanced driving assistance functions to enhance your safety on the road.
2. זיכערקייַט אינפֿאָרמאַציע
- Ensure the dash camera is securely mounted and does not obstruct the driver's view אָדער אַרייַנמישנ זיך מיט פאָרמיטל קאָנטראָלס.
- Do not attempt to operate the device or adjust settings while driving. Always pull over to a safe location before making any adjustments.
- ניצט נאָר דעם צוגעשטעלטן מאַכט קאַבל און אַקסעסאָריעס צו פאַרמייַדן שעדיקן צו דעם אַפּאַראַט אָדער פאָרמיטל.
- פֿאַרמײַדט אויסשטעלן דעם אַפּאַראַט צו עקסטרעמע טעמפּעראַטורן, דירעקטע זונשײַן פֿאַר פֿאַרלענגערטע פּעריאָדן, אָדער פֿײַכטקייט.
- Regularly check the memory card for errors and ensure it is functioning correctly.
3. פּעקל אינהאַלט
באַשטעטיקן אַז אַלע זאכן זענען פאַראַן אין פּעקל:
- KIMISS 4K DVR Dash Camera Unit (10.26-inch touchscreen)
- דערציען אַפּאַראַט
- Vehicle Power Cable
- מאַונטינג אַקסעססאָריעס
- באַניצער מאַנואַל
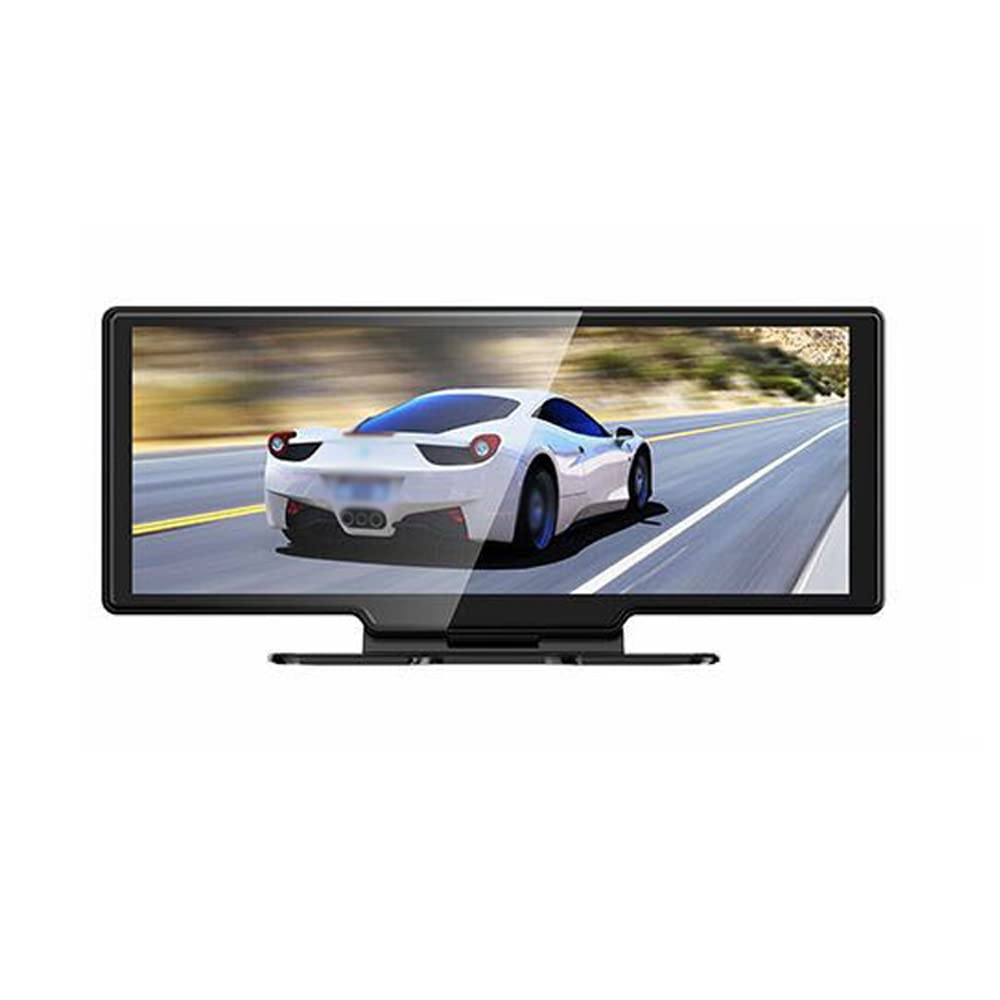
Image: The main dash camera unit, a separate rear camera, and the vehicle power cable.
4. סעטאַפּ
4.1. זכּרון קאַרטל ינסטאַלירונג
Insert a high-speed (Class 10 or higher) MicroSD card (up to 256GB, not included) into the designated slot on the dash camera. Ensure the card is inserted correctly until it clicks into place.
4.2. Mounting the Front Camera
- רייניקט דעם ווינטשילד געגנט וואו די דאַש קאַמעראַ וועט זיין מאָונטעד.
- Attach the mounting bracket to the dash camera unit.
- Securely affix the dash camera to the windshield, ensuring it does not obstruct your view. Adjust the lens angle to capture the road ahead clearly.
4.3. אינסטאַלירן די הינטערשטע קאַמעראַ
- Mount the rear camera on the rear windshield or license plate area, ensuring a clear view.
- Route the rear camera cable to the front dash camera unit, connecting it to the designated port. Ensure cables are tucked away safely and do not interfere with vehicle operation.
4.4. מאַכט קאַנעקשאַן
Connect the vehicle power cable to the dash camera and plug the other end into your car's 12V power outlet (cigarette lighter socket). The camera will typically power on automatically when the vehicle starts.

Image: Front and rear perspectives of the dash camera unit, illustrating its design and camera placement.
5. אַפּערייטינג ינסטרוקטיאָנס
5.1. גרונטלעכע רעקאָרדירונג
The dash camera automatically begins recording when powered on. It records simultaneously with the 4K front camera and 1080P rear camera, providing a wide 170° angle view פֿאַר אַ פולשטענדיקע קאַווערידזש.

Image: A visual representation of the dual camera system, indicating the 4K front and 1080P rear recording capabilities and their respective fields of view.
5.2. טאָוטשסקרין צובינד
Navigate the 10.26-inch touchscreen to access various functions and settings. The intuitive interface allows for easy control of recording, playback, and system configurations.

Image: The dash camera's touchscreen interface displaying icons for 'Driving recorder', 'Carplay', 'Android Auto', 'FM launch', 'BT', 'Replay', 'Screen Brightness', and 'Setting'.
5.3. שלייף רעקאָרדינג
The device supports loop recording. When the memory card is full, the oldest unlocked video files will be automatically overwritten by new recordings. Ensure important footage is saved or backed up to prevent loss.
5.4. Parking Monitoring & G-Sensor
The built-in G-sensor detects sudden movements or impacts while the vehicle is parked. If vibration is detected, the camera will automatically start recording to capture potential incidents, providing 24-hour monitoring.
5.5. WiFi Connectivity & App
Connect your smartphone to the dash camera via Wi-Fi to access the dedicated app. This allows for real-time video playback, downloading recorded footage, and adjusting settings directly from your phone. Compatible with Android and iOS systems.

Image: The dash camera screen showing a driving scene, with a smartphone held below it displaying the same video feed, demonstrating Wi-Fi connectivity and app mirroring.
5.6. Phone Link (CarPlay/Android Auto)
The dash camera supports Apple CarPlay for iOS phones and Android Auto for Android phones. This feature enables voice control, allowing you to manage navigation, calls, and music hands-free, keeping your focus on the road.

Image: The dash camera screen showing a split view with navigation on one side and a driving scene with a truck on the other, indicating a Bluetooth connection to a smartphone.
5.7. Reversing Assist
When the vehicle is put into reverse, the dash camera automatically displays the rear camera view on the screen, providing guidelines to assist with safe parking and reversing maneuvers.
5.8. FM Transmitter
Utilize the built-in FM transmitter to seamlessly play audio from the dash camera through your car's stereo system.
5.9. נאַכט זעאונג
Equipped with a 6-layer full-glass lens, the camera provides enhanced night-vision recording capabilities, ensuring clear footagאפילו אין נידעריק-ליכט טנאָים.
6. וישאַלט
- רייניקונג: Gently wipe the camera lens and screen with a soft, dry cloth. Do not use abrasive cleaners or solvents.
- זכּרון קאָרט: Format the MicroSD card regularly (e.g., once a month) within the camera's settings to maintain optimal performance and prevent data corruption. Replace the card if it shows signs of wear or error.
- Firmware דערהייַנטיקונגען: קוק די פאַבריקאַנט ס webזוכט דעם וועבזייטל פון צייט צו צייט פאר פירמווער דערהייַנטיקונגען צו זיכער מאַכן אַז אייער מיטל האט די לעצטע פֿעיִקייטן און באַג פיקסיז.
7. טראָובלעשאָאָטינג
- קאַמעראַ רעקאָרדירט נישט: Ensure a MicroSD card is inserted and formatted. Check if loop recording is enabled.
- Screen not turning on: Verify the power cable is securely connected and the vehicle's 12V outlet is functioning.
- נעבעך ווידעא קוואַליטעט: Clean the camera lenses. Ensure the protective film is removed. Check resolution settings.
- ווי-פי קשר ישוז: Restart both the dash camera and your smartphone. Ensure you are within range and have selected the correct Wi-Fi network.
- G-sensor too sensitive/not sensitive enough: Adjust the G-sensor sensitivity setting in the camera's menu.
8. ספּעסאַפאַקיישאַנז
| שטריך | באַשרייַבונג |
|---|---|
| סאָרט | KIMISS |
| מאָדעל נאָמען | KIMISS3fkxbdzqi6 |
| פראָנט קאַמעראַ האַכלאָטע | 4K |
| דערציען אַפּאַראַט האַכלאָטע | 1080 פּ |
| ברייט ווינקל | 170° |
| ווייַז גרייס | 10.26 inches (Touchscreen) |
| קאַנעקטיוויטי | Wi-Fi, Ethernet (for certain functions) |
| ספּעציעלע פֿעיִקייטן | Night Vision, Reversing Assist, Hands-free Calling, FM Transmitter, G-Sensing, Parking Monitoring, Adjustable |
| זיקאָרן קאַרד שטיצן | Up to 256GB (MicroSD, not included) |
| פּראָדוקט דימענשאַנז | 11.81"ד רענטגענ 6.69"וו רענטגענ 3.94"ה |
| פאָרמיטל סערוויס טיפּ | ATV (General compatibility) |
9. וואָראַנטי און שטיצן
This KIMISS product comes with a manufacturer warranty for 90 days from the date of purchase. Please retain your proof of purchase for warranty claims.
For technical support or warranty inquiries, please contact KIMISS customer service through your retailer or the official KIMISS support channels.