
1. פּראָדוקט איבערview
The MOVA Robotic Mower Garage is designed to provide essential protection for your MOVA LiDAX Ultra 1000 or 2000 robotic lawn mower. This accessory shields your mower from harsh weather conditions, including rain and direct sunlight, thereby helping to extend its operational lifespan.
1.1 קאַמפּאַטאַבילאַטי
- Compatible with MOVA LiDAX Ultra 1000 Robotic Mower.
- Compatible with MOVA LiDAX Ultra 2000 Robotic Mower.
- ניט קאַמפּאַטאַבאַל with MOVA LiDAX Ultra 3000 AWD Robotic Mower.
1.2 שליסל פֿעיִקייטן
- וועטער שוץ: Safeguards the mower against rain and sun exposure.
- סיגנאַל אָרנטלעכקייט: Designed to prevent interference with the mower's signal or connection.
- גרינג ינסטאַלירונג: Simple and straightforward setup process.
1.3 וואָס איז אין דער קעסטל
ביטע זיכער מאַכן אַז אַלע קאָמפּאָנענטן זענען פאַראַן איידער איר הייבט אָן די אינסטאַלאַציע:
- דאַך x1
- Support Frame x2
- Ground Nail x8
- Quick-Release Fastener x10
- העקס שליסל x1
- שנעל אָנהייב גייד קס 1
- MOVA Sticker x1
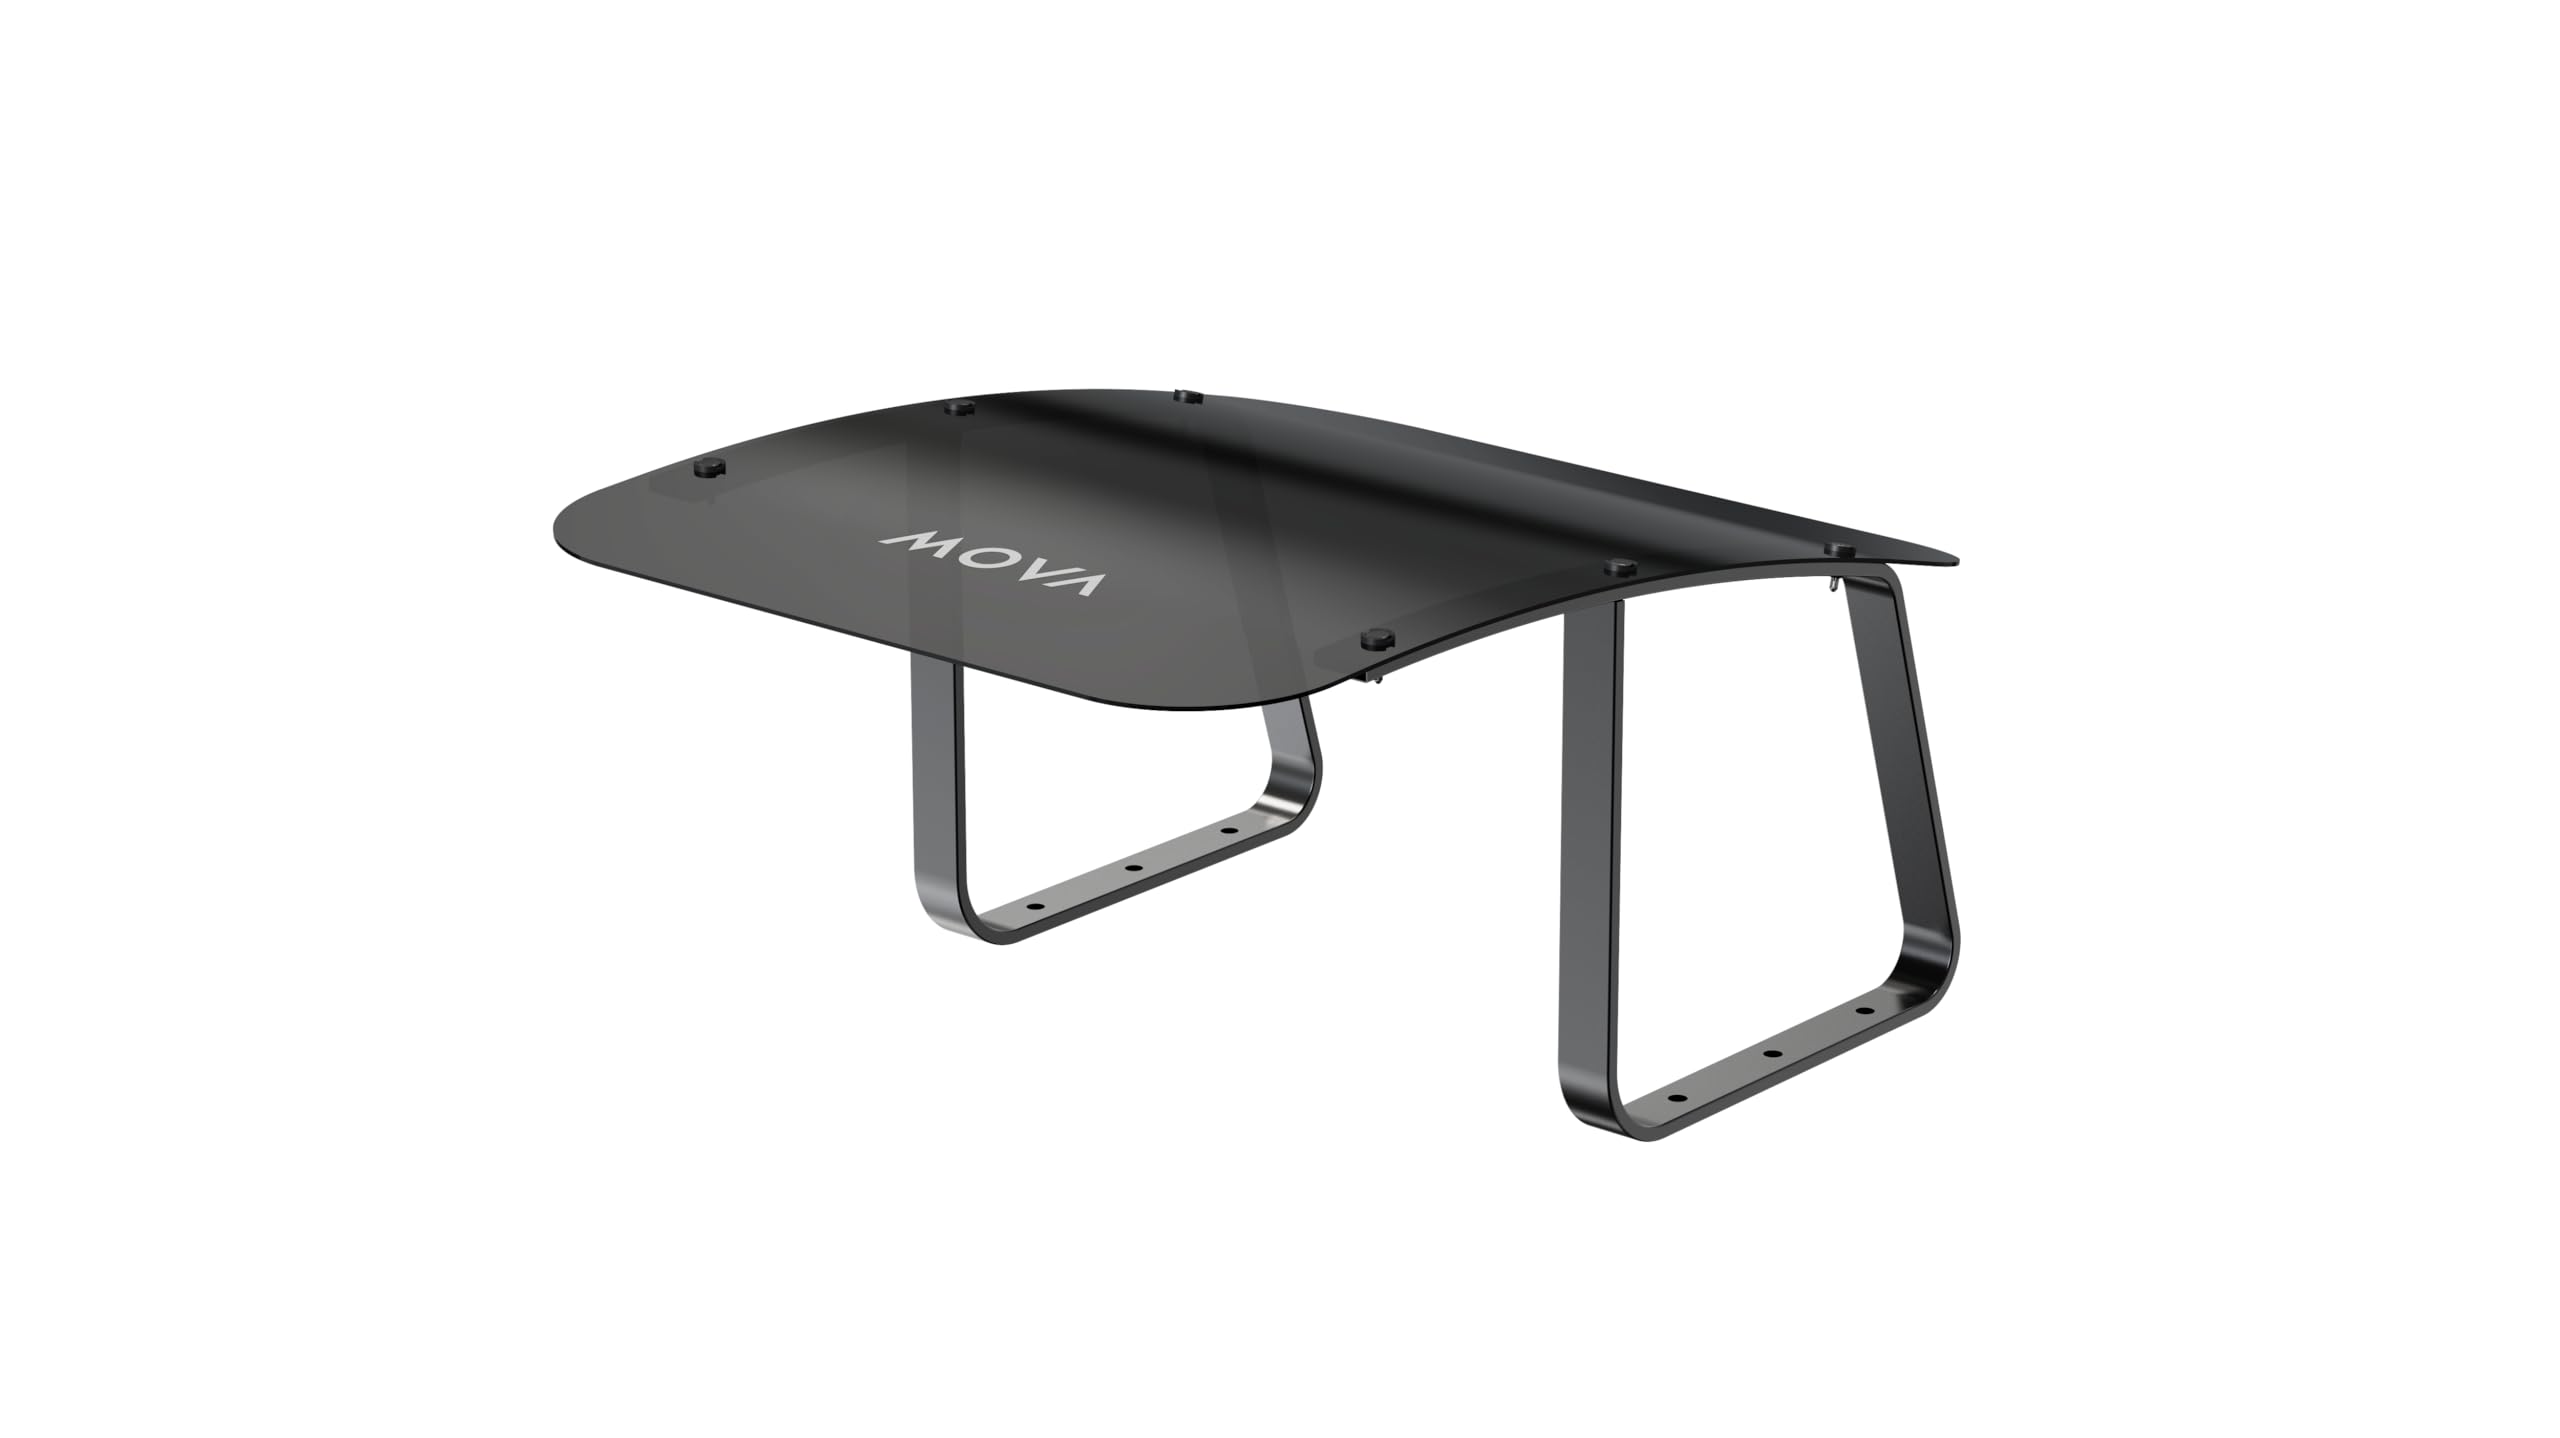
Image 1.1: The MOVA Robotic Mower Garage providing shelter for a robotic mower.
2. זיכערקייַט אינפֿאָרמאַציע
לייענט קערפֿול אַלע אינסטרוקציעס איידער איר אַסעמבלט און ניצט עס. האַלט דעם מאַנואַל פֿאַר צוקונפֿטיקע רעפֿערענץ.
- זיכער מאַכן אַז אַלע קאָמפּאָנענטן זענען זיכער באַפעסטיקט בעת פֿאַרזאַמלונג צו פאַרמייַדן אינסטאַביליטעט.
- טוישט נישט דעם פּראָדוקט אויף קיין אופן, ווייל דאָס קען קאָמפּראָמיטירן זיין סטרוקטורעלע אָרנטלעכקייט און בטל מאַכן די וואָראַנטי.
- האַלטן קינדער און פּעץ אַוועק פון די פֿאַרזאַמלונג געגנט.
- Position the garage on a level surface to ensure stability.
- Regularly inspect the garage for any signs of wear or damage. Replace damaged parts immediately.
3. ינסטאַללאַטיאָן גייד
Follow these steps to properly install your MOVA Robotic Mower Garage:
- אָפּלייגן קאַמפּאָונאַנץ: נעמט פֿאָרזיכטיק אַרויס אַלע זאַכן פֿון דער פּאַקעט און קאָנטראָלירט קעגן דער "וואָס איז אין דער קעסטל" ליסטע.
- Assemble Support Frames: Connect the parts of the two support frames as indicated in the Quick Start Guide. Ensure all connections are firm.
- צוטשעפּען דאַך: Place the roof onto the assembled support frames. Secure the roof to the frames using the provided quick-release fasteners. Tighten them with the hex key.
- Position Garage: Carefully place the assembled garage over your robotic mower's charging station. Ensure it is centered and does not obstruct the mower's entry or exit path.
- זיכער צו דער ערד: Use the eight ground nails to firmly secure the garage to the ground. Push them through the designated holes in the support frames until the garage is stable.
- באַשטעטיקן רעשוס: Confirm that the mower can freely dock and undock without making contact with the garage structure. Ensure there is no interference with the mower's signal.
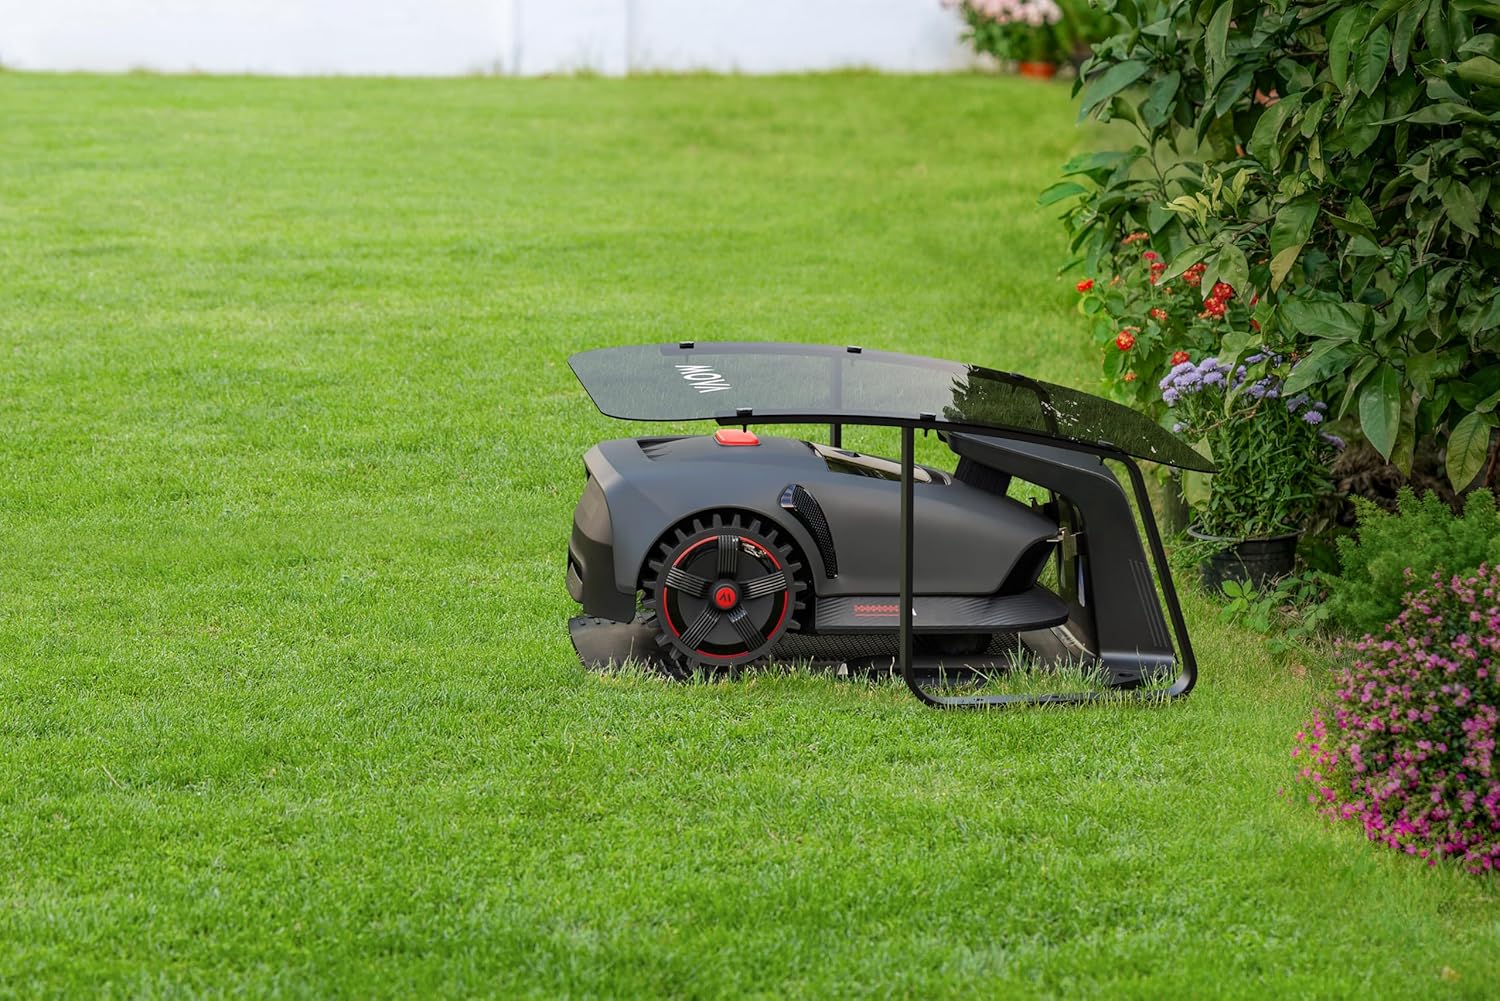
Image 3.1: MOVA Robotic Mower Garage components.
4. אָפּעראַציע
The MOVA Robotic Mower Garage is designed to seamlessly integrate with your MOVA LiDAX Ultra 1000 or 2000. Once installed, the garage provides a protective cover for your mower while it is docked at its charging station.
- אָטאַמאַטיק שוץ: The garage functions passively, providing continuous protection for your mower when it returns to its charging station.
- סיגנאַל אָרנטלעכקייט: The design ensures that the garage does not interfere with the robotic mower's navigation signals or charging connection.
- שניידער דאָקינג: Ensure the garage is positioned correctly to allow the mower to dock and undock without obstruction. Observe the mower's first few docking cycles after installation to confirm proper alignment.
5. וישאַלט
Regular maintenance will ensure the longevity and effectiveness of your robotic mower garage.
- רייניקונג: Clean the roof and support frames periodically with a soft, damp cloth. Avoid using abrasive cleaners, solvents, or harsh chemicals, as these can damage the plastic material.
- דורכקוק: Annually, or more frequently if exposed to severe weather, inspect all fasteners and ground nails to ensure they are tight and secure. Check the structure for any signs of damage or wear.
- דעבריס באַזייַטיקונג: Keep the area around and under the garage clear of leaves, grass clippings, and other debris that could obstruct the mower or charging station.
6. טראָובלעשאָאָטינג
If you encounter issues with your MOVA Robotic Mower Garage, refer to the following common problems and solutions:
- Mower Not Docking Properly:
- Ensure the garage is aligned correctly with the charging station.
- Check for any physical obstructions (e.g., debris, overgrown plants) blocking the mower's path into the garage.
- Verify that the garage is not interfering with the mower's navigation signals. Try slightly adjusting the garage's position.
- Garage Appears Unstable:
- Confirm that all eight ground nails are securely fastened into the ground.
- Ensure the support frames are properly assembled and all quick-release fasteners are tightened using the hex key.
- Verify that the garage is placed on a relatively level and firm surface.
- Damage to Garage Components:
- If any part of the garage is damaged, contact MOVA customer support for replacement parts or guidance. Do not attempt to repair damaged structural components yourself.
7. ספּעסאַפאַקיישאַנז
| שטריך | דעטאַל |
|---|---|
| סאָרט | מאָוואַ |
| מאָדעל נומער | Robotic Mower Garage |
| מאַטעריאַל | פּלאַסטיק |
| פּונקט וואָג | 6.4 קילאָגראַמס |
| אַסעמבלי פארלאנגט | יא |
| UPC | 850071220117 |
8. וואָראַנטי און שטיצן
8.1 פּראָדוקט וואָראַנטי
The MOVA Robotic Mower Garage comes with a 3-יאָר פּראָדוקט וואָראַנטי. This warranty covers manufacturing defects and ensures reliable operation under normal use. Please retain your proof of purchase for warranty claims.

Image 8.1: MOVA Service Policy overview.
8.2 קונה שטיצן
For technical assistance, troubleshooting not covered in this manual, or warranty inquiries, please refer to the Quick Start Guide included in your product packaging. You may also visit the official MOVA website for additional support resources and contact information.
MOVA is committed to providing a 24/7 Rapid Responding Service Team to assist you with any product-related concerns.