
1. הקדמה
The Celestron Origin Mark II is an intelligent home observatory designed to simplify stargazing and astrophotography. This system integrates advanced optical technology with an intuitive companion app, providing a user-friendly experience for observing and capturing celestial objects.
2. פּראָדוקט איבערview
The Origin Mark II features the patented Rowe-Ackermann Schmidt Astrograph (RASA) optical design, which places the imaging sensor at the front of the telescope tube. This configuration results in an ultra-fast f/2.2 system with a wide field of view, producing sharp images across the entire field. Its 152mm (5.98") aperture ensures excellent light gathering for detailed observations of distant galaxies, nebulae, and star clusters.
שליסל פֿעיִקייטן אַרייַננעמען:
- העכערע אָפּטיק: Rowe-Ackermann Schmidt Astrograph design for clear, wide-field views.
- יקספּאַנסיוו Views: 152mm aperture for abundant light gathering.
- Professional-Grade Imaging: Advanced optical system for high-quality astrophotography.
- Enhanced Astrography: Flat field across the entire image for high-resolution deep-sky imaging.
- Optimal Light Gathering: Maximizes light collection for brighter and more detailed observations.
3. וואָס איז אין דער קעסטל
ביים אויספּאַקן דעם קעסטל, קאָנטראָלירט אַז אַלע קאָמפּאָנענטן זענען פאַראַן:
- Celestron Origin Mark II Observatory Unit
If any items are missing or damaged, contact Celestron customer support immediately.
4. סעטאַפּ
4.1 אויספּאַקן און פּלאַצירונג
Carefully remove the Origin Mark II from its packaging. Choose a stable, level outdoor location with a clear view of the sky, away from excessive artificial light sources. Ensure the area is free from obstructions that could impede the telescope's movement.
4.2 מאַכט קאַנעקשאַן
Connect the provided power adapter to the Origin Mark II and then to a suitable power outlet. Ensure the connection is secure.
4.3 אַפּ ינסטאַלירונג און קאַנעקשאַן
- Download the official Celestron Origin companion app from your device's app store (compatible with Smartphone and Tablet).
- Power on the Origin Mark II.
- Open the app on your device and follow the on-screen instructions to connect via Wi-Fi or Bluetooth.
4.4 Initial Alignment
Once connected, the Origin Mark II will automatically determine its orientation, locate stars, and perform a precise self-alignment. This process typically takes a few minutes and requires no manual intervention.
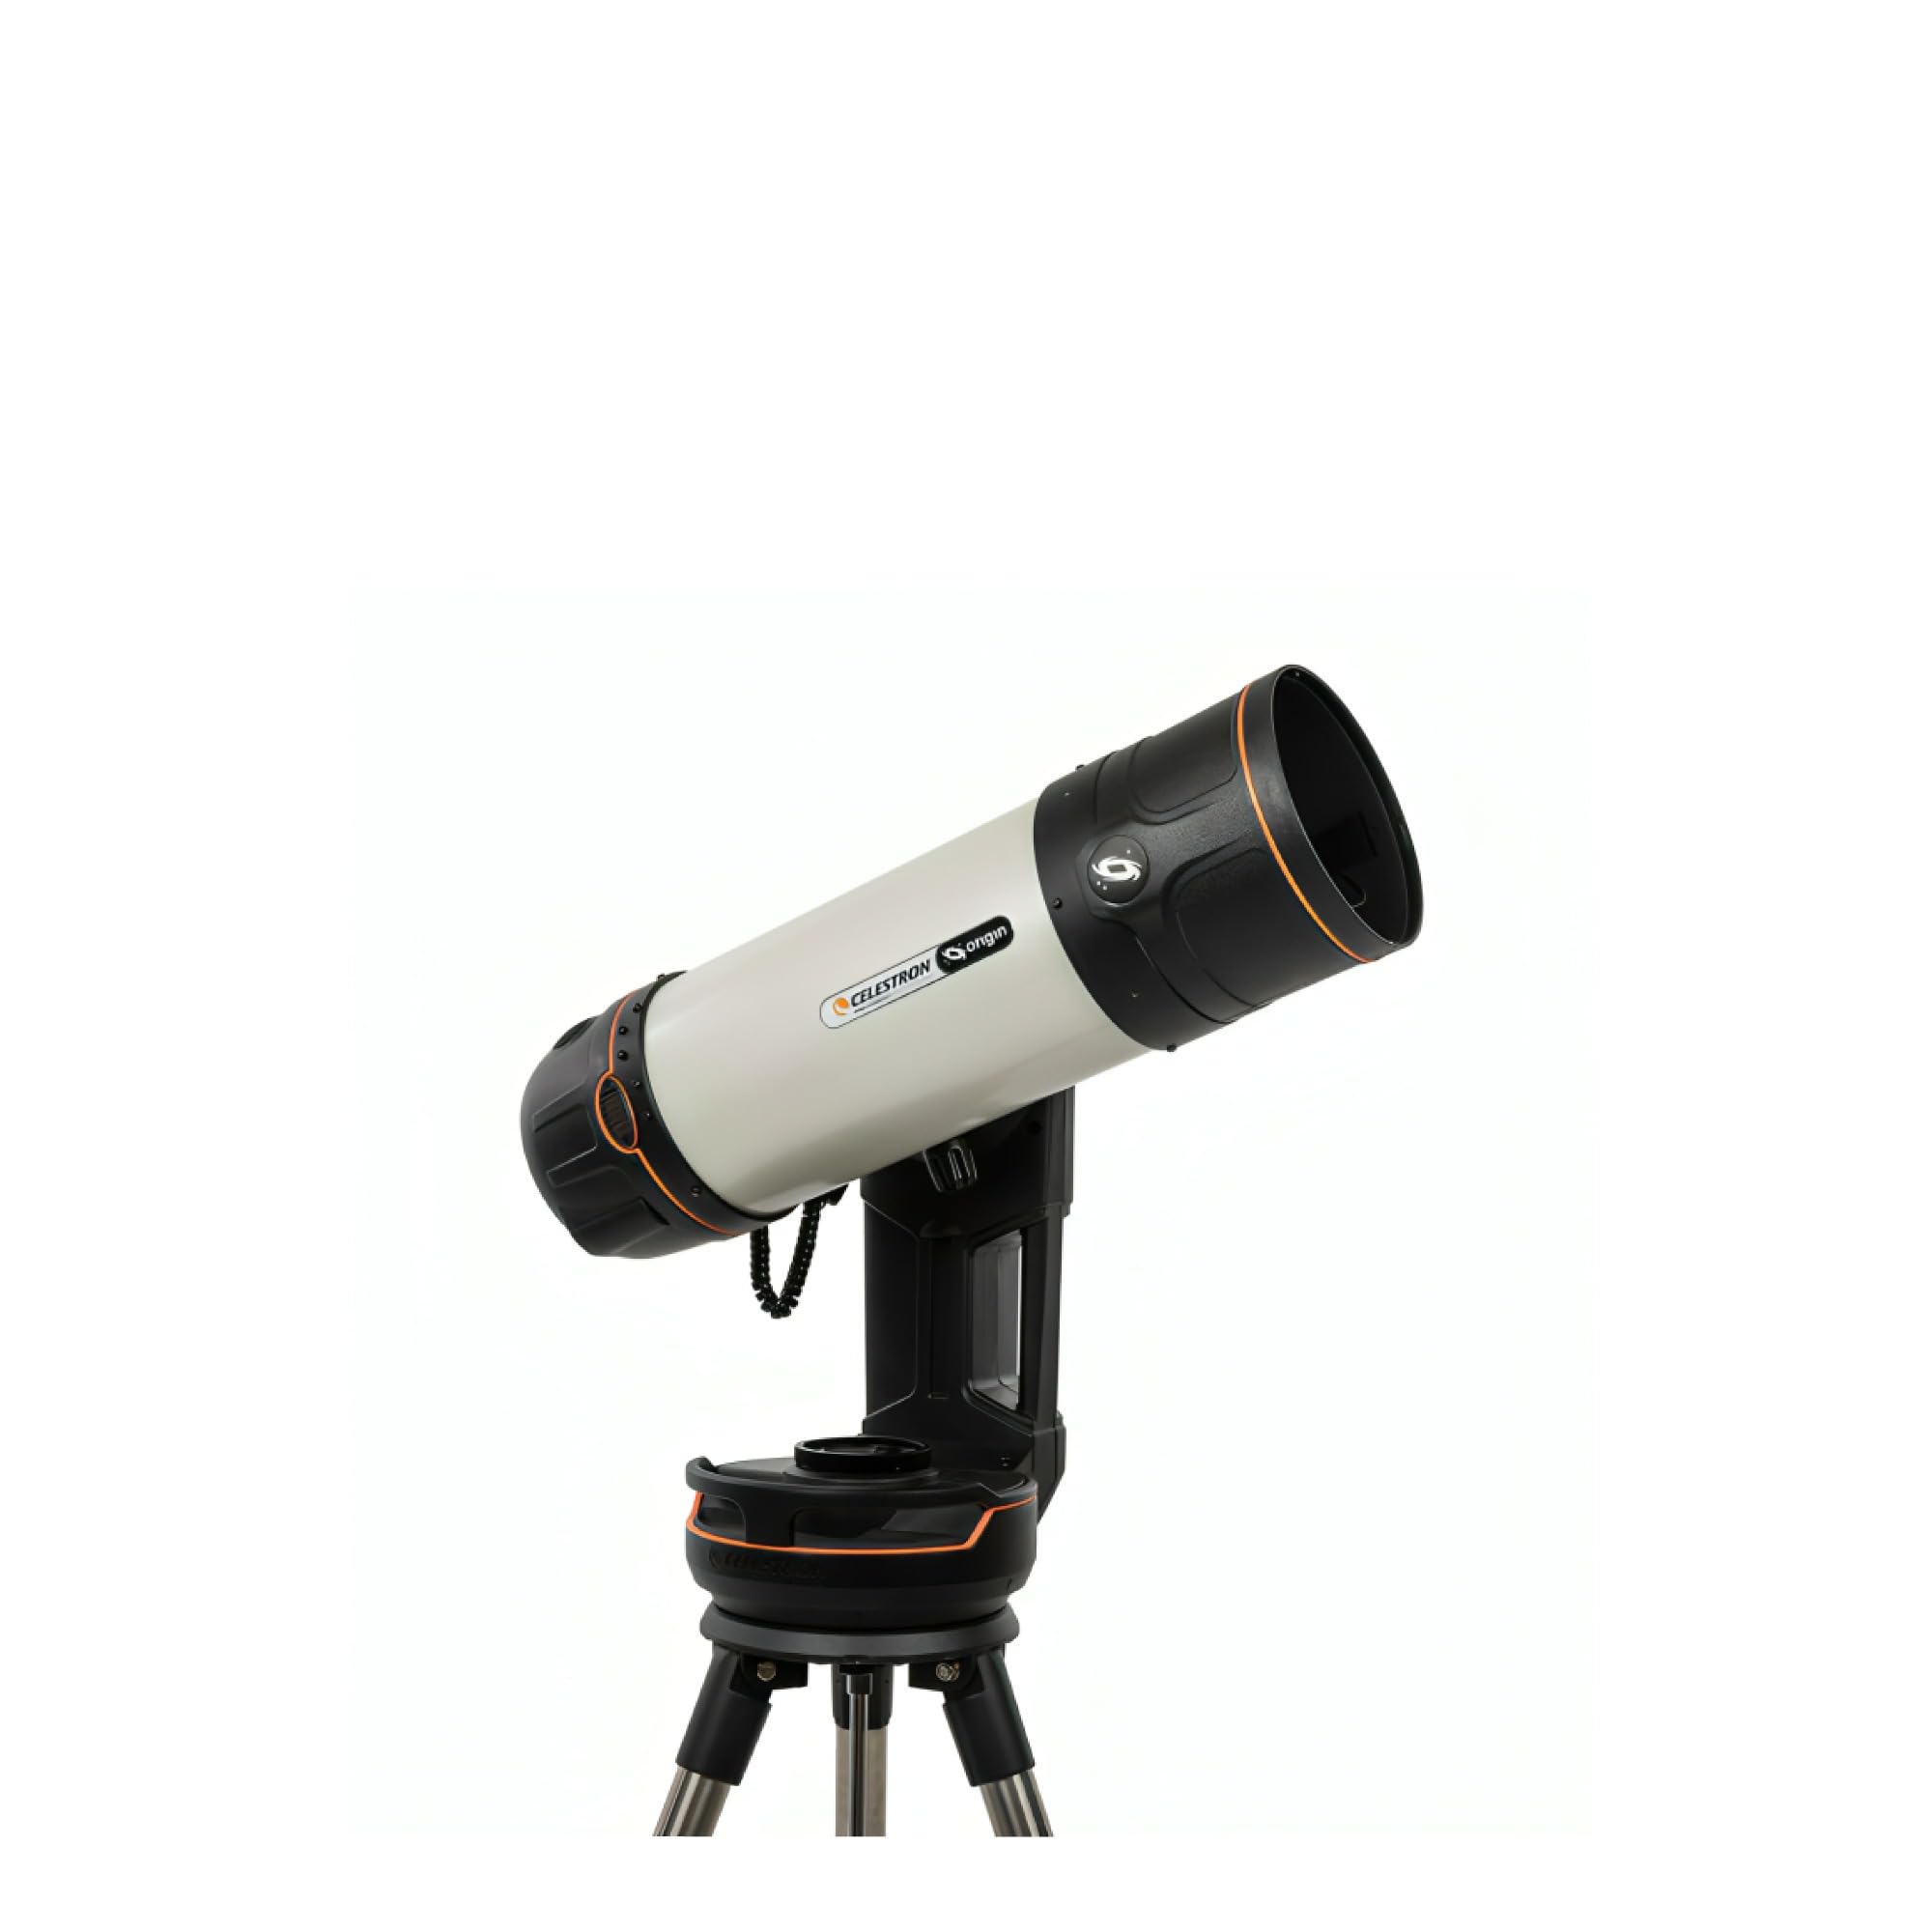
Figure 1: The Celestron Origin Mark II Intelligent Home Observatory set up for use.
5. אָפּערייטינג
5.1 Basic Operation via App
The companion app serves as the primary control interface. From the app, you can:
- Select celestial objects from a catalog for automatic GoTo tracking.
- View live images captured by the observatory.
- Adjust exposure settings for astrophotography.
- Initiate image stacking and processing.
5.2 Astrophotography
The RASA optical system is optimized for astrophotography. The integrated imaging sensor captures high-resolution images of deep-sky objects. The app provides tools for capturing, stacking, and enhancing these images directly on your connected device.
5.3 פאָקוסינג
The Origin Mark II supports both אַוטאָ פאָקוס און מאַנואַל פאָקוס. Auto Focus is typically sufficient for most observations. For critical astrophotography, manual focus adjustments can be made through the app to achieve optimal sharpness.
6. וישאַלט
6.1 רייניקונג פון אָפּטיק
Dust and debris on optical surfaces can degrade image quality. Use a soft, lint-free cloth or a specialized optical brush to gently remove dust. For stubborn smudges, use a lens cleaning solution specifically designed for optics and apply it to a cleaning cloth, not directly to the lens.
6.2 סטאָרידזש
When not in use, store the Origin Mark II in a clean, dry environment, preferably in its original packaging or a protective case. Avoid extreme temperatures and high humidity.
6.3 אַלגעמיינע קער
Avoid exposing the unit to direct sunlight for extended periods when not in use. Do not attempt to disassemble the unit, as this will void the warranty and may cause damage.
7. טראָובלעשאָאָטינג
7.1 פֿאַרבינדונג פּראָבלעמען
- Ensure the Origin Mark II is powered on.
- Verify Wi-Fi or Bluetooth is enabled on your device.
- Restart both the Origin Mark II and your connected device.
- Ensure your device is within range of the observatory's wireless signal.
7.2 שלעכטע בילד קוואַליטעט
- Check for condensation or dust on the optical surfaces (refer to Section 6.1).
- Ensure the focus is properly adjusted (refer to Section 5.3).
- Verify that the sky conditions are clear and stable.
- Adjust exposure settings in the app for optimal brightness and contrast.
For further assistance, refer to the official Celestron support resources or contact customer service.
8. ספּעסאַפאַקיישאַנז
| שטריך | באַשרייַבונג |
|---|---|
| סאָרט | סעלעסטראָן |
| מאָדעל נאָמען | Origin Mark II |
| אָביעקטיוו לענס דיאַמעטער | 152 מילאַמיטערז |
| טעלעסקאָפּ מאָונט באַשרייַבונג | עקוואַטאָריאַל בארג |
| פּראָדוקט דימענשאַנז | 48"ד רענטגענ 26"וו רענטגענ 24"ה |
| פאָקוס טיפּ | Auto Focus, Manual Focus |
| פּונקט וואָג | 41.6 פונט |
| קאַמפּאַטאַבאַל דעוויסעס | Smartphone, Tablet, Camera |
| נאָך פֿעיִקייטן | Intelligent, all-in-one home observatory with integrated astrophotography and patented RASA optical technology |
| מאַנופאַקטורער טייל נומער | 12100 |
| UPC | 050234121002 |
9. וואָראַנטי און שטיצן
9.1 וואָראַנטי אינפֿאָרמאַציע
The Celestron Origin Mark II comes with a 24 months Limited Manufacturer Warrantyדי וואָראַנטי דעקט חסרונות אין מאַטעריאַלן און אַרבעט אונטער נאָרמאַל נוצן. ביטע האַלטן דיין קויפן באַווייַז פֿאַר וואָראַנטי קליימז.
9.2 קונה שטיצן
For technical assistance, warranty service, or general inquiries, please visit the official Celestron website or contact their customer support department. Contact information can typically be found on the Celestron webפּלאַץ אָדער אין די פּראָדוקט פּאַקקאַגינג.