
1. הקדמה
This manual provides essential information for the safe and efficient installation, operation, and maintenance of your Rellytech 9000 BTU Mini Split AC/Heating System. Please read it thoroughly before using the product and keep it for future reference. This system offers powerful cooling and heating, dehumidification, and fan-only modes for year-round comfort.
2. זיכערקייַט אינפֿאָרמאַציע
אַלגעמיינע זיכערקייַט פּריקאָשאַנז
- Installation must be performed by professional personnel.
- פאַרזיכערן געהעריק ווענאַליישאַן פֿאַר ביידע דרינענדיק און דרויסנדיק וניץ.
- Do not operate near open flames or combustible gases.
- Verify all connections for gas leakage after installation.
- Ensure the system is vacuumed to remove all air before refrigerant release.
- All electrical connections must be correct and reliably secured.
פֿאַרווערטע אינסטאַלאַציע געביטן
Avoid installing the unit in the following locations:
- Near heat or steam sources.
- Areas with smoke or oil.
- Locations with obstructions around the inlet and outlet of indoor and outdoor units.
- Areas with flammable, explosive, or corrosive gases.
3. פּעקל אינהאַלט
Your Rellytech Mini Split AC/Heating System comes in two boxes. Packages may arrive at different times.

Figure: Detailed package list for the Rellytech Mini Split AC/Heating System.
Box 1 (Indoor Unit & Accessories):
- דרינענדיק אַפּאַראַט
- ווייַט קאָנטראָל
- אַאַאַ באַטעריז (קס 2)
- באַניצער מאַנואַל
- קלאַמער מוסטער
- מאַונטינג פּלאַטע
- Communication Cable (12.5ft)
- Power Cable (5.9ft)
Box 2 (Outdoor Unit & Installation Kit):
- דרויסנדיק אַפּאַראַט
- פּלאַסטיק רימען
- Connecting Pipes (9.84ft)
- לוטינג (פּאַטי)
- Pipe Protection Ring (6.56ft)
- Drain Pipe (6.56ft)
- Screws (4.2*50 x 8)
- אַנקערז (קס 6)
4. סעטאַפּ און ייַנמאָנטירונג
Proper installation is crucial for the optimal performance and longevity of your mini split system. It is highly recommended that installation be performed by a certified professional.
4.1 דרינענדיק יוניט ינסטאַלירונג
- צוגרייטונג: Ensure the wall for the indoor unit is hard, flat, and firm to prevent vibration and noise. Remove the mounting bracket pre-installed on the back of the indoor unit.
- Mounting Bracket Placement: Use the provided paper pattern/template to identify the exact location for the mounting bracket and drill screw holes. Insert expansion tubes for expansion screws and securely mount the bracket on the wall.
- Wall Hole for Pipes: Drill a wall hole with a hole punch, ensuring a certain angle of inclination (high on the inside, low on the outside) for proper drainage.
- Duct Board Removal: Confirm the direction of placing the air conditioning ducts. Use tools to remove the duct boards from the indoor unit.
- אַראָפּנעמען פּראַטעקטיוו פילם: Carefully remove the protective film from the surface of the indoor unit.
- Electrical Connections (Indoor Unit): Lift the cover and remove the two screws of the power cord and the internal screws holding the cord. Thread the 5.9ft communication cable through the hole on the back of the indoor unit. Unscrew the terminals and fix the wires according to their color in the corresponding positions. Secure the presser plate over the main cable and re-attach the cover.
- Pipe and Wire Wrapping: Line up all wires and pipes neatly. Turn them to the position of the corresponding holes and wrap them together with plastic tapes for insulation and protection.
- מאָנטירן אינעווייניקסטע אַפּאַראַט: Hang the indoor unit on the shelf. Run the pipes and wires through the previously punched holes and cover them with pipe protection rings inside and outside the walls. Plug any excess holes using putty.

Figure: Indoor unit mounting bracket installation.
4.2 דרויסנדיק יוניט ינסטאַלירונג
- Drain Pipe and Remaining Pipes: Leave out the drain pipe and tape off the remaining pipes, ensuring the drain pipe is positioned for proper water flow.
- Place Outdoor Unit: Place the outdoor unit in a suitable location (outside the wall bracket or on the ground). Note: The equipment stand/bracket will need to be purchased separately.
- Connect Refrigerant Pipes (Outdoor Unit): Connect the two pipes to the outdoor unit, ensuring the joints fit snugly and are tightened with a wrench.
- Electrical Connections (Outdoor Unit): Remove the 3 screws from the cover of the electrical box. Use a tool to open the two holes at the lower end of the cover. Pass the wires through the cover hole (usually the right-hand hole). Fix the 3 wires of the power cable one by one according to the color (ground, fire, zero). Secure the fixing plate. Fix the 4 wires of the communication cable one by one according to the color.
4.3 Vacuuming the System
- Unscrew Nuts: Unscrew the three nuts circled on the outdoor unit's refrigerant lines.
- פאַרבינדן וואַקוום פּאָמפּע: Connect the stop valve, charging hose manifold valve, and vacuum pump to the outdoor unit's service port.
- וואַקווםיזירן: Vacuumize for at least 15 minutes. Make sure the value on the pressure gauge is ≤ -0.1MPa (-76cmHg / 500µm). Keep the pressure for 35 minutes after vacuumizing to ensure springback is ≤ 0.05MPa.
- Open Liquid Valve: Open the 1/4 liquid valve, then remove the charging hose.
- Open Gas Valves: Using an allen wrench, open all the liquid valves and gas valves, and finally retighten the three caps.
5. אַפּערייטינג ינסטרוקטיאָנס
Your Rellytech Mini Split AC/Heating System offers multiple modes and features for personalized comfort, controllable via the included remote or smart app (if applicable).
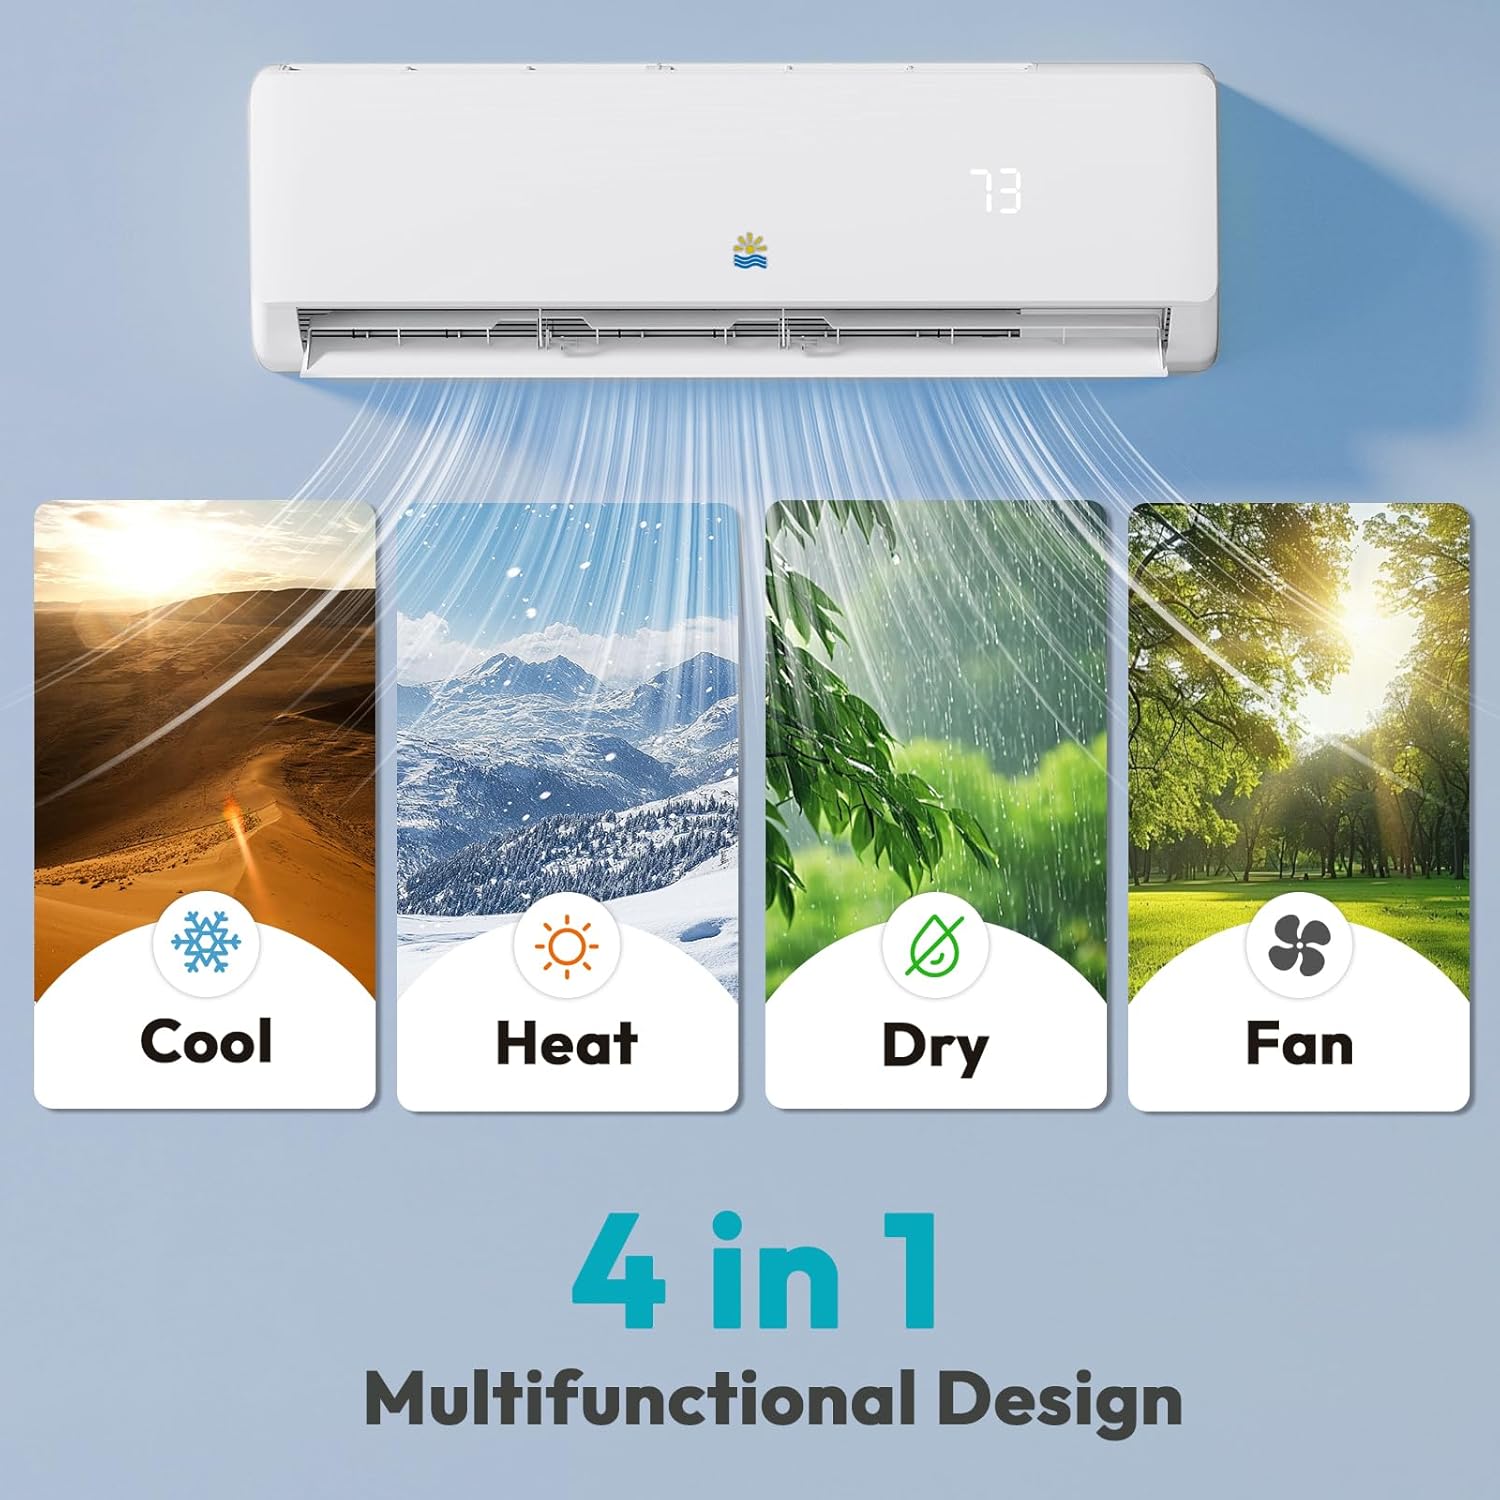
Figure: 4-in-1 Multifunctional Design.
אַפּערייטינג מאָדעס:
- קאָאָלינג מאָדע: Provides powerful 9,000 BTU cooling for areas up to 450 sq. ft.
- באַהיצונג מאָדע: Delivers 9,000 BTU heating. Note: Heating function may be unavailable below -7°C (19.4°F) outdoor temperature.
- פאָכער מאָדע: סערקיאַלייץ לופט אָן קאָאָלינג אָדער באַהיצונג.
- דעהומידיפיקאַטיאָן מאָדע: רעדוצירט די הומידיטי אין דער לופט.
- עקאָ מאָדע: Optimizes energy use for both cooling and heating.
שליסל פֿעיִקייטן:
- אַדזשאַסטאַבאַל לופט לויפן: 4 fan speeds (high/medium/low/Auto) and 90° vertical swing.
- שטיל אָפּעראַציע: Operates at just 42dB for peaceful environments.
- שלאָפן מאָדע: Gradually adjusts temperature for comfort during sleep.
- שטיל מאָדע: Disables beeping from the remote control.
- 24 שעה טיימער: Allows you to program operation times.
- LED-off Function: Reduces light disturbance.

Figure: Remote Control with Full Functionality.
6. וישאַלט
Regular maintenance ensures the efficiency and longevity of your mini split system.

Figure: Removable and Easy-to-Clean Air Filter.
- לופט פילטער רייניקונג: The indoor unit features removable and easy-to-clean air filters. Regularly clean these filters to maintain optimal airflow and air quality.
- דרויסנדיק אַפּאַראַט: Keep the outdoor unit free from obstructions and debris. Periodically clean the coils to ensure efficient heat exchange.
- דריינאַדזש: Ensure the drainage pipe is clear and free-flowing to prevent water accumulation.
7. טראָובלעשאָאָטינג
If you encounter issues with your mini split system, refer to the following basic troubleshooting steps. For complex problems, contact a qualified technician.
- די אַפּאַראַט איז נישט אַקטיוו: Check the power supply and ensure the unit is properly plugged in. Verify that the circuit breaker has not tripped.
- נישט גענוג קילן/הייצן: Ensure air filters are clean. Check for any obstructions around the indoor or outdoor units. Verify that the temperature settings are correct.
- ומגעוויינטלעך נויזיז: Minor noises during operation are normal. If you hear loud or unusual noises, turn off the unit and contact support.
- וואַסער ליקאַדזש: קאָנטראָלירט די דריינאַדזש רער פֿאַר בלאַקאַדזשאַז אָדער אומריכטיקע אינסטאַלאַציע.
8. ספּעסאַפאַקיישאַנז
| שטריך | דעטאַל |
|---|---|
| סאָרט | Rellytech |
| מאָדעל אינפֿאָרמאַציע | CE0-1 |
| פּונקט וואָג | 66.4 פונט |
| פּראָדוקט דימענשאַנז | 11.4 X 30.7 X 8.7 אינטשעס |
| עפעקטיווקייַט | High (19 SEER2, HSPF2 8.5) |
| קאַפּאַציטעט | 9000 BTU Cooling & Heating (up to 450 sq. ft.) |
| ראַש מדרגה | 42 דעציבעלן |
| ייַנמאָנטירונג טיפּ | שפּאַלטן סיסטעם |
| פאָרם פאַקטאָר | מיני-ספּליט |
| ספּעציעלע פֿעיִקייטן | Fast Cooling, Heating & Cooling Function, Inverter Compressor, Remote Controlled, Sleep Mode |
| קאָליר | ווייַס |
| Voltage | 115 וואלטס |
| וואָסtage | 1000 וואטס |
| מאַטעריאַל טיפּ | פּלאַסטיק |
| אַרייַנגערעכנט קאַמפּאָונאַנץ | ינסטאַלירונג קיט, רימאָוט קאָנטראָל |
9. וואָראַנטי און שטיצן
For warranty information and customer support, please refer to the documentation included in your package or contact the seller directly. Ensure you register your product if required to activate your warranty.