
1. הקדמה
This manual provides detailed instructions for the installation, operation, and maintenance of your ELUSH 60Amp MPPT Solar Charge Controller. This device is designed to efficiently manage power from your solar panels to charge various battery types, including LiFePO4, AGM, and Gel batteries, in 12V, 24V, and 48V systems.
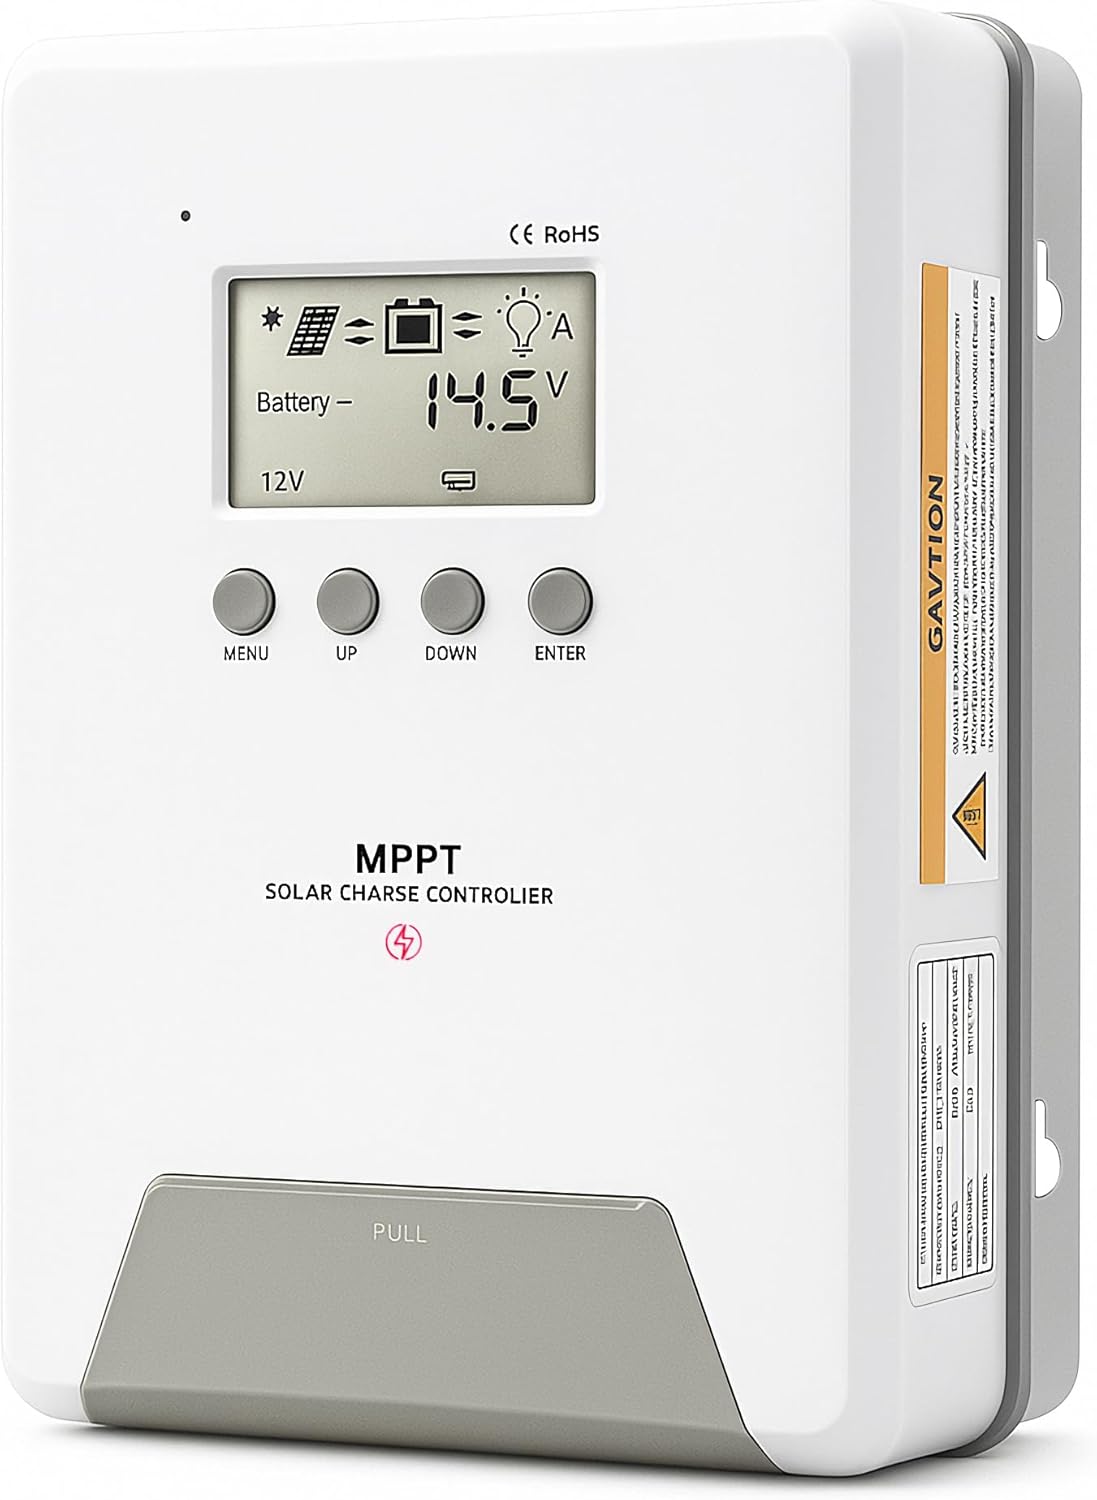
Image 1.1: ELUSH 60Amp MPPT Solar Charge Controller.
2. שליסל פֿעיִקייטן
- אַוואַנסירטע MPPT טעכנאָלאָגיע: Maximizes energy harvest from solar panels with tracking efficiency no less than 99% and peak conversion efficiency up to 98%.
- System Auto-Detection: Automatically detects 12V, 24V, and 48V DC system voltages upon startup.
- ברייטע באַטערי קאָמפּאַטאַביליטי: Supports Sealed (AGM), Gel, Flooded lead-acid batteries, and Lithium batteries (LiFePO4, Ternary Lithium/Li-ion).
- קלאָר לקד ווייַז: Provides real-time monitoring of PV voltagE, באַטאַרייע וואָלtage/current, charging power, accumulated energy generation, and load status.
- Essential Built-in Protections: Includes safeguards against overvoltage, איבערקעראַנט, אַנדערוואָלtage, and high temperature.
- עפעקטיוו היץ דיסיפּיישאַן: Features a high-quality aluminum heatsink for stable operation and optimal performance.

Image 2.1: MPPT Technology highlighting 99% tracking efficiency and 98% peak conversion efficiency.
3. Safety Information and System Protection
The ELUSH MPPT Solar Charge Controller is equipped with multiple protection features to ensure safe and reliable operation of your solar power system. Always adhere to local electrical codes and safety guidelines during installation and operation.
- Over-discharging Protection: Prevents batteries from being discharged below a safe voltagE מדרגה.
- אָווערלאָאַד שוץ: Safeguards against excessive current draw from the load terminals.
- Short-circuiting Protection: Protects against short circuits in the solar panel, battery, or load circuits.
- פאַרקערט פּאָלאַריטי פּראַטעקשאַן: Prevents damage from incorrect battery or solar panel connections.
- איבערטשאַרדזשינג שוץ: Ensures batteries are not overcharged, extending their lifespan.
- טעמפּעראַטור פאַרגיטיקונג: Adjusts charging parameters based on battery temperature for optimal charging.
- פאַרקערט קראַנט שוץ: Prevents current from flowing back from the battery to the solar panel at night.

Image 3.1: Visual representation of the controller's system protection features.
4. ינסטאַלירונג און וויירינג
א ריכטיגע אינסטאַלאַציע איז קריטיש פֿאַר די זיכערע און עפֿעקטיווע אָפּעראַציע פֿון אייער זונ - טשאַרדזש קאָנטראָללער. פֿאָלגט די סטעפּס קערפֿול.
4.1 פֿאַרבינדונג סיקוואַנס
Always connect components in the following order to prevent damage:
- פאַרבינדן די באַטאַרייע: Connect the battery to the controller's battery terminals. Ensure correct polarity (+ to + and - to -). The battery terminals should be installed with safety fuses. Ensure the distance does not exceed 150mm.
- פאַרבינדן די מאַסע: Connect your DC loads to the controller's load terminals.
- Connect the solar panel: Connect the solar panel to the controller's solar energy terminals. Ensure correct polarity.
- Power on the controller: The controller will automatically power on once all connections are secure.
באַמערקונג: If you want to connect an inverter, connect it directly to the battery, not to the load terminal of the controller.

Image 4.1: Diagram showing the connection points for solar energy, battery, and load.

Image 4.2: Step-by-step visual guide for connecting the system components.
4.2 Hidden Installation Wiring
For a clean and secure installation, the wiring can be routed and hidden. After all connections are properly made and tested, tighten the screws on the terminals and close the bottom cover of the controller to complete the installation. This protects the wiring and provides a neat appearance.
5. אַפּערייטינג ינסטרוקטיאָנס
The controller features an intuitive LCD display and buttons for monitoring and configuration.
5.1 LCD דיספּלעי און קנעפּלעך
The LCD screen provides real-time information about your system. The buttons allow you to navigate menus and adjust settings.
- טעמפּעראַטור סענסאָר: Located on the controller, it measures ambient temperature for accurate charging compensation.
- LCD ווייַז: ווייזט PV באַנדtagE, באַטאַרייע וואָלtage, charging current, load status, and other system parameters.
- MENU קנעפּל: Used to enter and exit menu settings.
- UP קנעפּל: Navigates upwards through menu options or increases values.
- אַראָפּ קנעפּל: Navigates downwards through menu options or decreases values.
- ENTER קנעפּל: באַשטעטיקט אויסוואַלן אָדער גייט אַרײַן אין אונטער-מעניועס.
Image 5.1: The controller's LCD display and button layout for user interaction.
5.2 אָטאַמאַטיק וואָלtage Recognition and Battery Compatibility
The controller automatically detects the system voltage (12V, 24V, or 48V) upon startup. It is compatible with a wide range of battery types, ensuring efficient and safe charging for your specific setup.
- Lithium-ion batteries (Li): For standard lithium-ion chemistries.
- Lithium Iron Phosphate batteries (LiFePO4): Specifically designed for LiFePO4 batteries.
- Lead-acid batteries (BAT): Includes Sealed (AGM), Gel, and Flooded types.

Image 5.2: Illustration of automatic voltage recognition and compatibility with various battery types.
6. ספּעסאַפאַקיישאַנז
| סאָרט | ELUSH |
| מאָדעל נומער | DM60A |
| קראַנט רייטינג | 60 א |
| סיסטעם וואָלtage | 12V/24V/48V Auto Detection |
| מאַקס פּוו ינפּוט וואָלtage | 150V |
| מאַטעריאַל | אַלומינום |
| ווייַז טיפּ | לקד |
| קאָליר | שוואַרץ |
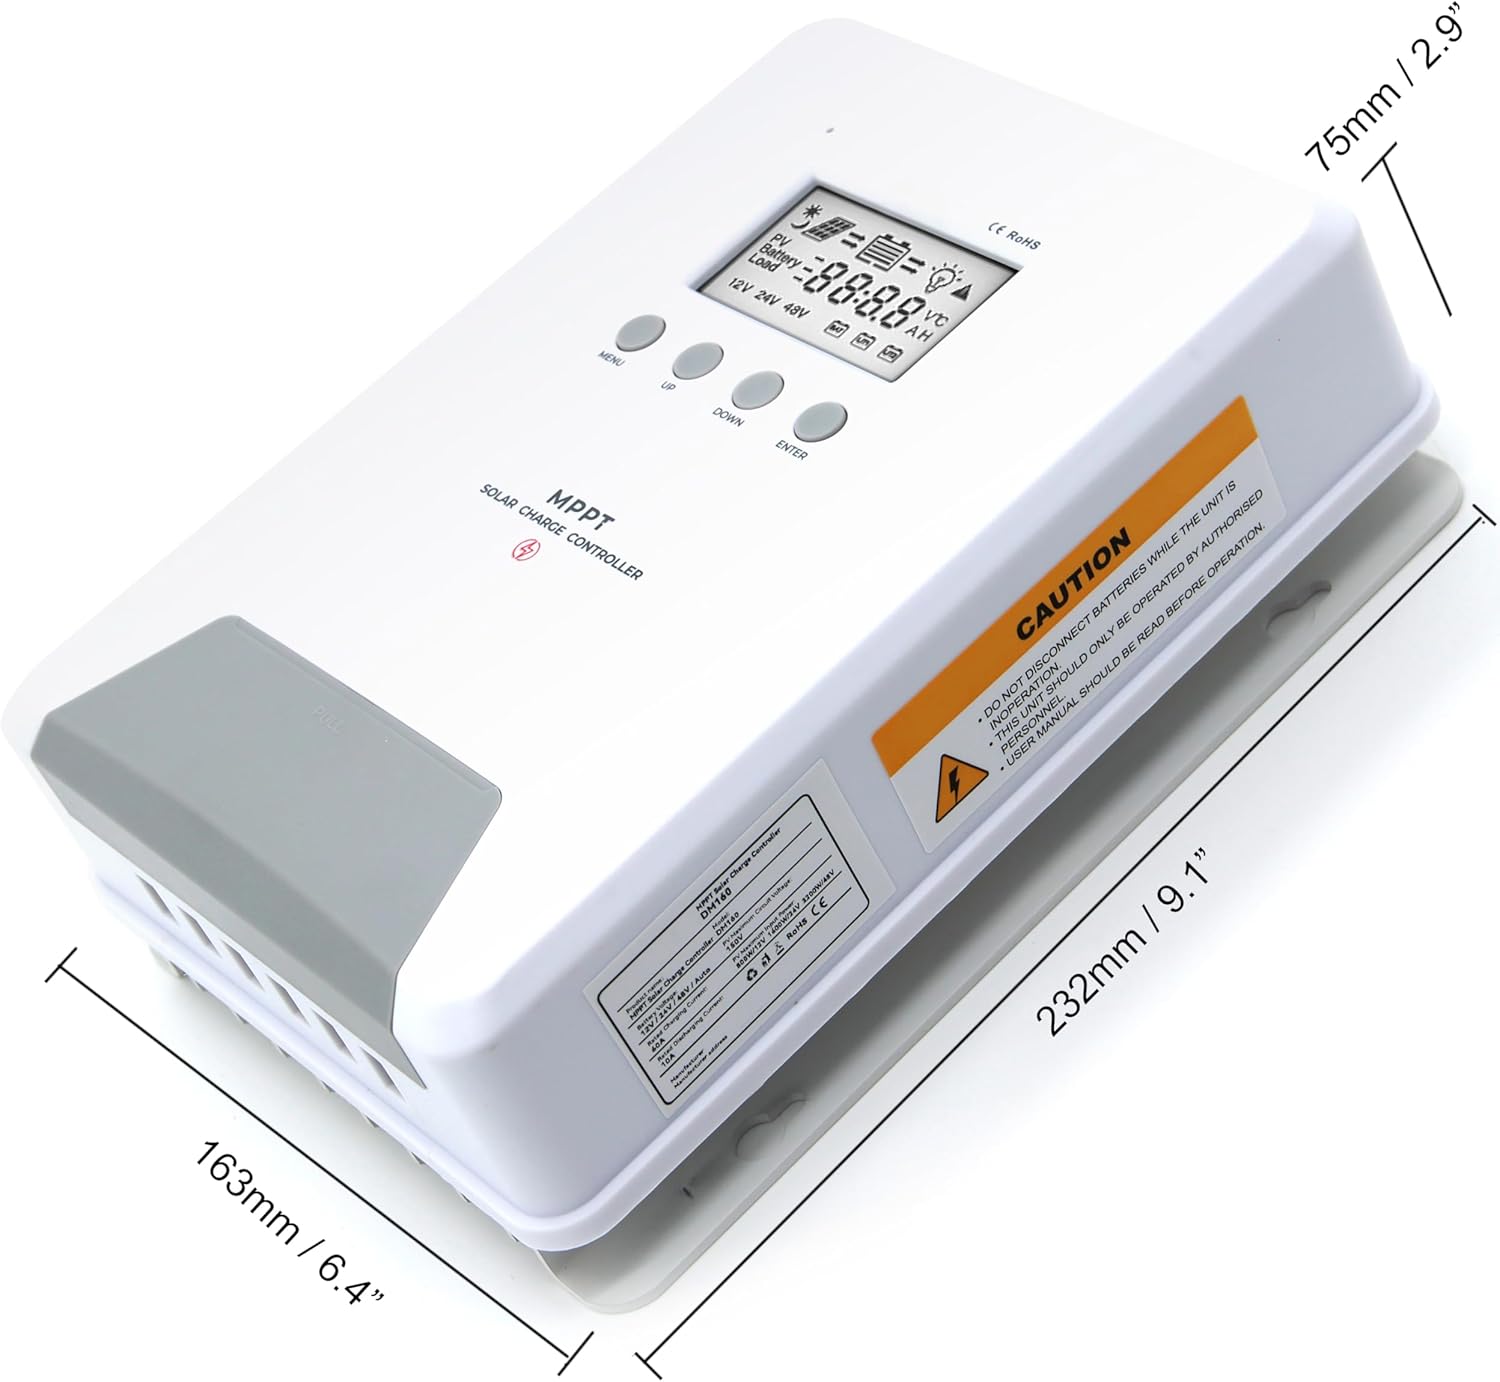
Image 6.1: Physical dimensions of the ELUSH 60Amp MPPT Solar Charge Controller.
7. וישאַלט
צו זיכער מאַכן אָפּטימאַלע פאָרשטעלונג און לאַנגלעבעדיקייט פון דיין זונ - אָפּצאָל קאָנטראָללער, איז רעגולער וישאַלט רעקאָמענדירט:
- דורכקוקן קאַנעקשאַנז: קאָנטראָלירט פּעריִאָדיש אַלע דראָט פֿאַרבינדונגען פֿאַר פעסטקייט און קעראָוזשאַן. לויזע פֿאַרבינדונגען קענען פֿאַראורזאַכן איבערהיצונג און שעדיקן.
- רייניקן דעם קאָנטראָללער: האַלט דעם קאָנטראָללער ריין און פריי פון שטויב און שמוץ. ניצט אַ טרוקענעם שטאָף צו ווישן די אויסערלעכע זייט. מאַכט זיכער אַז די ווענטילאַציע עפענונגען זענען נישט פאַרשטאָפּט.
- מאָניטאָר פאָרשטעלונג: Regularly check the LCD display for normal operating parameters. Note any unusual readings or error codes.
- באַטערי געזונט: Ensure your batteries are well-maintained according to their manufacturer's guidelines.
8. טראָובלעשאָאָטינג
If you encounter issues with your ELUSH MPPT Solar Charge Controller, refer to the following basic troubleshooting steps:
- קיין דיספּלעי/קיין מאַכט: קאָנטראָלירט די באַטאַריע פֿאַרבינדונגען און זיכערט זיך אַז די באַטאַריע איז פֿול מיט וואַסערtage is within the controller's operating range. Verify fuses are intact.
- באַטאַרייע ניט טשאַרדזשינג: Confirm solar panel connections and polarity. Check for sufficient sunlight and ensure solar panel voltage איז העכער די באַטאַרייע וואָלומעןtage. Verify battery type settings are correct.
- לאָדן אַרבעט נישט: Check load connections and ensure the load current does not exceed the controller's rating. Verify load output settings on the controller.
- טעות קאָדעס: If the LCD displays an error code, consult the full product manual (if available) or contact technical support for specific guidance.
- איבערהייצונג: Ensure the controller is installed in a well-ventilated area, away from direct sunlight or heat sources. Check for any obstructions to the heatsink.
9. וואָראַנטי און שטיצן
ELUSH provides professional technical support for its products. If you have any questions, require assistance with installation, operation, or troubleshooting, please feel free to contact us. Refer to your purchase documentation for specific warranty terms and contact information.