
Dasan AT249W-ORB
DASAN AT249W-ORB Wall Mount Shower System Instruction Manual
Model: AT249W-ORB | Brand: Dasan
1. הקדמה
This manual provides detailed instructions for the installation, operation, and maintenance of your DASAN AT249W-ORB Wall Mount Shower System. Please read this manual thoroughly before installation and retain it for future reference. Proper installation and care will ensure optimal performance and longevity of your shower system.
2. זיכערקייַט אינפֿאָרמאַציע
- שטענדיק אויסדרייען די הויפּט וואַסער צושטעל איידער איר הייבט אן קיין פּלאַמבינג אַרבעט.
- טראָגן צונעמען פערזענלעכע פּראַטעקטיוו עקוויפּמענט, אַזאַ ווי זיכערקייַט ברילן און גלאַווז.
- אויב איר זענט נישט זיכער וועגן קיין טייל פון די אינסטאַלאַציע פּראָצעס, קאָנסולטירט אַ קוואַליפֿיצירטן פּלאָמבער.
- זיכער מאַכן אַז אַלע פֿאַרבינדונגען זענען זיכער צו פאַרמייַדן ליקס.
- Do not overtighten components, as this may cause damage.
3. פּעקל אינהאַלט
Verify that all components are present and undamaged before installation. If any parts are missing or damaged, please contact customer support.

בילד: עקספּלאָדירט view of the DASAN AT249W-ORB shower system components.
- שפּריץ קאָפּ
- פּנים פּלאַטע
- פּראָסט-אין וואַלוו
- שפּריץ אַרם
- Handheld Wand
- וואנט סופּפּלי עלנבויגן
- Body Jets (4 units)
- Shower Handle
- מאַונטינג ייַזנוואַרג
- דייווערטער קנאָפּ
- Flange for Handheld
- דוש שלאַנג (59 אינטשעס)
- Flange for Shower Arm
4. ספּעסאַפאַקיישאַנז
| שטריך | באַשרייַבונג |
|---|---|
| סאָרט | Dasan |
| מאָדעל נומער | AT249W-ORB |
| קאָליר | אָיל ראַבד בראָנדז |
| מאַטעריאַל | מעש, ומבאַפלעקט שטאָל |
| ענדיקן טיפּ | מאַט |
| נומער פון כאַנדאַלז | 1 |
| מאַונטינג טיפּ | וואנט-מאָונטעד |
| לויפן קורס | 1.8 גפּם |
| שפּריץ קאָפּ גרייס | 9 אינטשעס |
| שפּריץ קישקע לענג | 59 אינטשעס |
| In-Wall Depth (Min-Max) | 2-3/16" (55 mm) to 3-1/16" (78 mm) |
| קאַנעקשאַנז | 1/2" Male NPT |

Image: Pressure balance rough-in valve details, including in-wall depth and connections.
5. ינסטאַלירונג אינסטרוקציעס
It is recommended to have this product installed by a professional plumber. Ensure the main water supply is turned off before proceeding.
5.1 פאַר-ינסטאַלירונג סטעפּס
- באַשטעטיקן אַז אַלע אינהאַלטן פֿון פּאַקעט זענען פֿאַראַן און נישט געשעדיגט.
- Prepare the wall opening according to the rough-in valve dimensions, ensuring the in-wall depth is between 2-3/16" (55 mm) and 3-1/16" (78 mm).
- Flush the water lines to remove any debris before connecting the valve.
5.2 איינגעבויטע ווענטיל אינסטאַלאַציע
- Mount the rough-in valve (3) securely within the wall, ensuring it is level and at the correct depth.
- Connect the hot and cold water supply lines to the designated inlets on the valve (1/2" NPT connections).
- Connect the mixed outlets from the valve to the rain shower, handheld shower, and body jet supply lines.
- Perform a leak test by turning on the main water supply and checking all connections.
5.3 קאָמפּאָנענט אינסטאַלאַציע
- Shower Arm and Head: Install the shower arm (4) into the wall outlet, ensuring it is securely tightened. Attach the shower head (1) to the shower arm.
- האַנט-דוש: Install the wall supply elbow (6) for the handheld shower. Connect the shower hose (12) to the wall supply elbow and the handheld wand (5). Mount the flange (11) for the handheld.
- קערפער דזשעטס: Install the body jets (7) into their respective wall outlets. Ensure they are securely tightened and oriented as desired.
- Face Plate and Handle: Install the face plate (2) over the rough-in valve. Attach the shower handle (8) and diverter knob (10) according to the valve's instructions, securing them with the provided mounting hardware (9).

בילד: איבערview of the assembled DASAN AT249W-ORB shower system.
6. אָפּעראַציע אינסטרוקציעס
Your DASAN shower system offers multiple functions for a customized showering experience.

Image: Control functions for the shower system.
6.1 Temperature and Flow Control
- The main handle controls both water temperature and flow.
- Rotate the handle to adjust the temperature from cold to hot.
- Pull the handle outwards to increase water flow and push inwards to decrease it.
6.2 Function Selection (Diverter Knob)
The diverter knob allows you to switch between the rain shower, handheld shower, and body jets.
- רעגן שפּריץ: Rotate the diverter knob to activate the overhead rain shower. The 9-inch shower head provides broad coverage.
- האַנט-דוש: Rotate the diverter knob to activate the handheld shower. The 59-inch hose allows for flexible use.
- קערפער דזשעטס: Rotate the diverter knob to activate the body spray jets. These jets feature a 360-degree adjustable angle for targeted water flow.

Image: Rain shower head with adjustable angle feature.
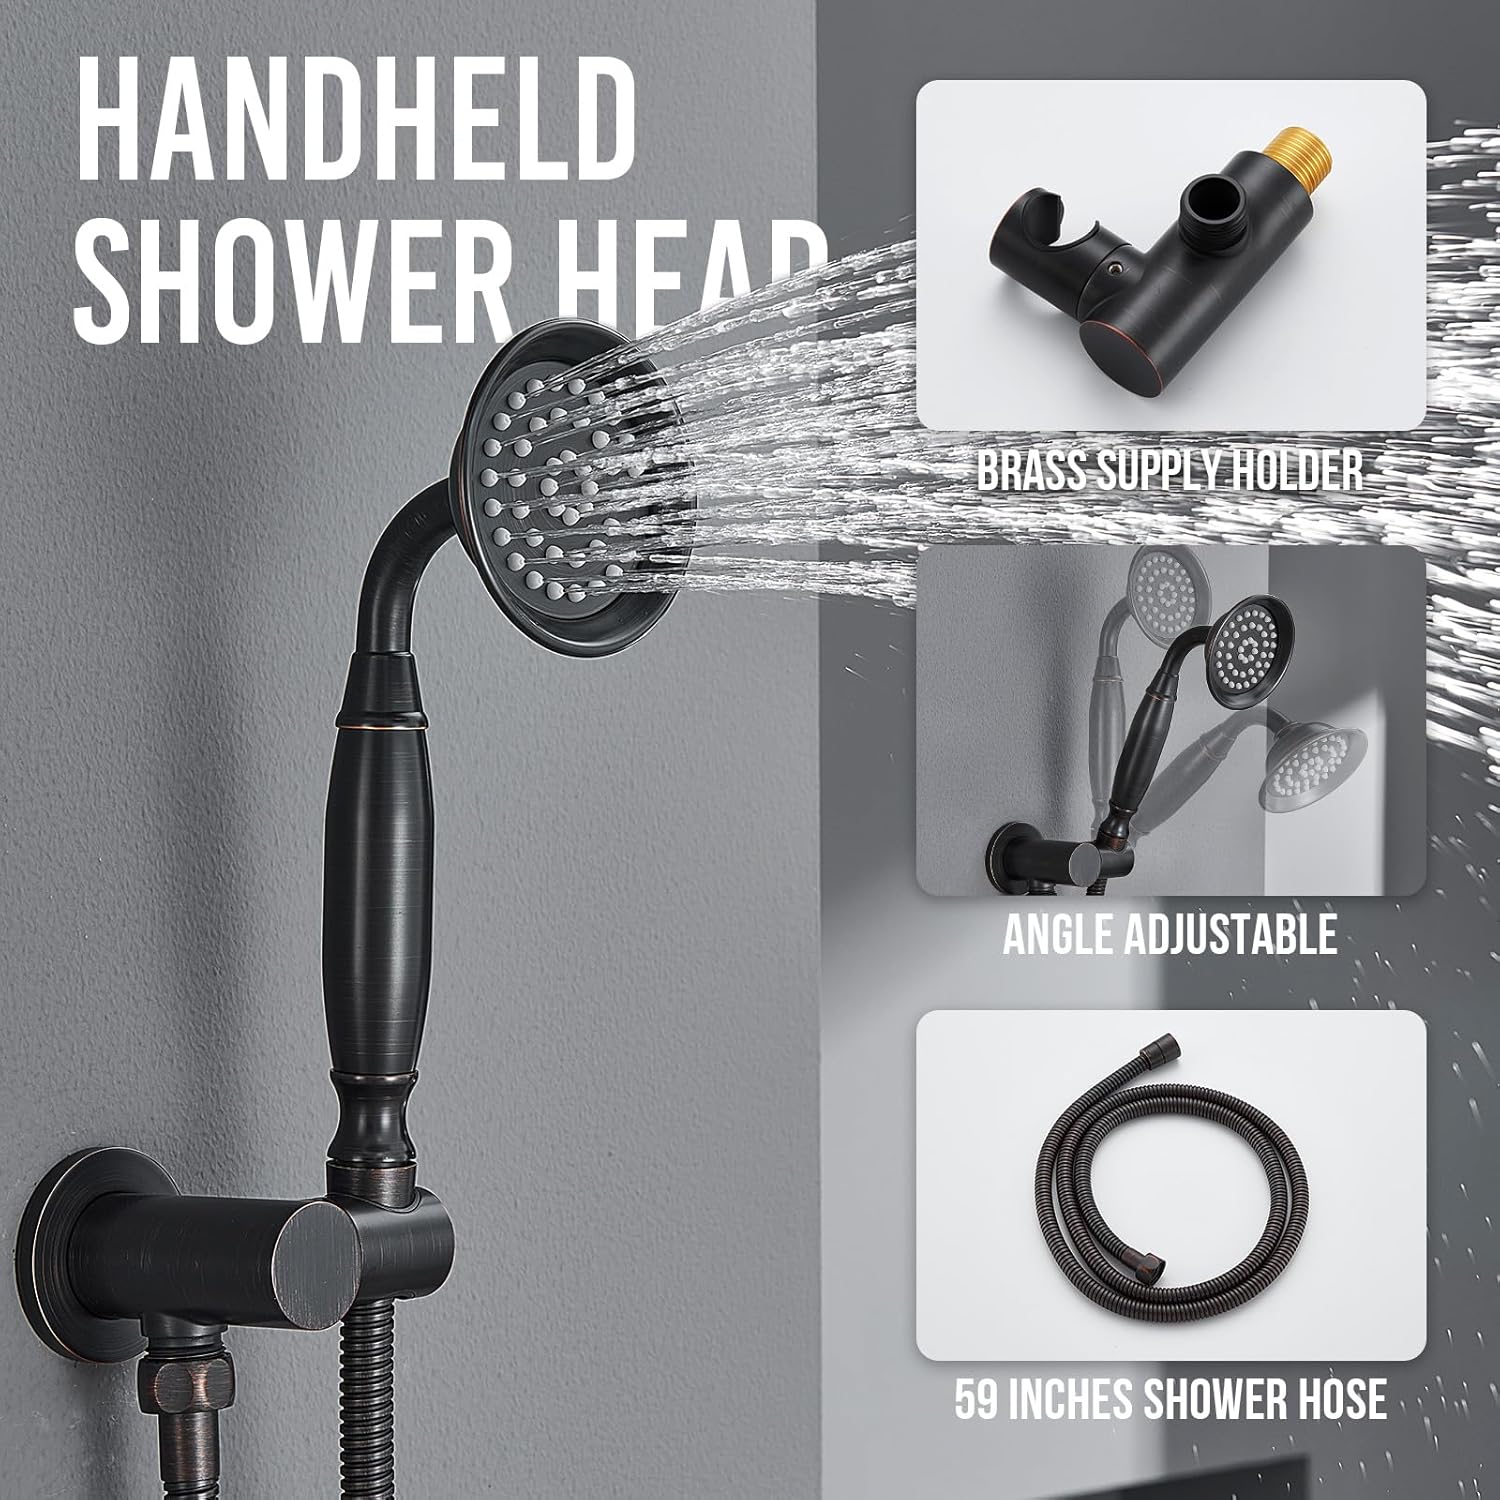
Image: Handheld shower head with 59-inch hose and brass supply holder.

Image: Body jets with easy-clean nozzles and 360-degree adjustable angle.
7. וישאַלט
רעגולערע רייניקונג און וישאַלט וועט העלפֿן צו באַוואָרענען די ענדיקונג און פאַנגקשאַנאַליטי פון דיין שפּריץ סיסטעם.
- רייניקונג פון די ענדיקונג: Clean the oil rubbed bronze finish with a soft, damp שטאָף. פֿאַרמײַדט אַברייסיוו רייניגער, שאַרפע כעמיקאַלן, אָדער שאַרענדיקע פּאַדס, ווײַל די קענען שאַטן די ענדיקונג.
- רייניקונג נאַזאַלז: The rain shower head, handheld shower, and body jets feature silicone nozzles. To remove mineral buildup (limescale), gently rub the nozzles with your finger or a soft brush. This helps maintain consistent water flow.
- פּעריאָדיש טשעקס: Periodically check all connections for tightness and signs of leaks.
8. טראָובלעשאָאָטינג
אויב איר טרעפט פּראָבלעמען מיט אייער שפּריץ סיסטעם, זעט די פאלגענדע געוויינטלעכע פּראָבלעמען און לייזונגען:
| פּראָבלעם | מעגלעך סיבה | לייזונג |
|---|---|---|
| נידעריק וואַסער פלאָו | Clogged nozzles, partially closed shut-off valves, debris in lines. | Clean silicone nozzles. Ensure shut-off valves are fully open. Flush water lines if debris is suspected. |
| וואַסער ליקס | Loose connections, damaged O-rings/washers. | Tighten all connections. Inspect and replace any damaged O-rings or washers. Do not overtighten. |
| אומקאנסיסטענט וואַסער טעמפּעראַטור | Pressure balance valve issue, hot/cold water supply imbalance. | Ensure hot and cold water supplies are balanced. If the problem persists, consult a plumber to inspect the pressure balance valve. |
| Diverter Not Switching Functions | Debris in diverter mechanism, worn diverter cartridge. | Flush the system. If the issue continues, the diverter cartridge may need inspection or replacement by a professional. |
If these solutions do not resolve the issue, please contact Dasan customer support.
9. וואָראַנטי אינפֿאָרמאַציע
The DASAN AT249W-ORB Wall Mount Shower System comes with the following warranty:
- רעזידענטשאַל נוצן: 10-יאָר לימיטעד וואָראַנטי
- קאמערציאלע באנוץ: 5-יאָר לימיטעד וואָראַנטי
Please retain your proof of purchase for warranty claims. The warranty covers manufacturing defects under normal use and service. For full warranty terms and conditions, please refer to the official Dasan webפּלאַץ אָדער קאָנטאַקט קונה שטיצן.
10. שטיצן
For further assistance, technical support, or to inquire about replacement parts, please visit the official Dasan store or contact their customer service department.
Visit the Dasan Store: Dasan Official Store
Ask a question about this manual
Ask about setup, troubleshooting, compatibility, parts, safety, or missing instructions. Manuals+ will review the question and use this page’s manual context to help answer it.