
1. הקדמה
This manual provides essential instructions for the installation, operation, and maintenance of your SECULINK S11-12V 20W Solar Panel with a built-in 26000mAh battery. This device is designed to provide a stable 12V DC power supply for various outdoor applications, including security cameras and outdoor lighting, ensuring continuous operation even in challenging weather conditions.
2. זיכערקייַט אינפֿאָרמאַציע
- לייענען אַלע ינסטראַקשאַנז קערפאַלי איידער ייַנמאָנטירונג און נוצן.
- Do not attempt to disassemble or modify the solar panel or battery unit. This can lead to damage, electric shock, or fire.
- Ensure the solar panel is installed in a location with adequate sunlight exposure and away from flammable materials.
- Handle the product with care to avoid physical damage.
- האַלט קינדער און חיות אַוועק פון דער אינסטאַלאַציע געגנט.
- In case of damage or malfunction, contact customer support.
3. פּעקל אינהאַלט
באַשטעטיקן אַז אַלע זאכן זענען פאַראַן אין דיין פּעקל:
- SECULINK S11-12V Solar Panel with Integrated Battery
- וואַנט-אָנקלאַפּן קלאַמער
- Metal Straps (for alternative mounting)
- אינסטאַלאַציע שרויפן און אַנקערס
- באַניצער מאַנואַל (דעם דאָקומענט)
4. פּראָדוקט איבערview
The SECULINK S11-12V solar panel is designed for efficient power generation and storage, featuring a robust construction suitable for outdoor environments.

Figure 4.1: SECULINK S11-12V Solar Panel Assembly
This image displays the complete SECULINK S11-12V solar panel unit, including the panel itself, the integrated battery housing, and the attached mounting bracket, ready for installation.
שליסל פֿעיִקייטן:
- 20W High-Efficiency Solar Panel: Utilizes photovoltaic technology for excellent performance, even in low-light conditions, ensuring a high conversion rate.
- איינגעבויטע 26000mAh באַטאַרייע: Provides a substantial power reserve to ensure continuous operation of connected devices.
- 12VDC רעזולטאַט: Features an external 12-Volt DC jack for broad compatibility with 12V load equipment such as security cameras, outdoor lights, and other devices.
- IP66 Waterproof and Dust Resistant: Designed to withstand rain, snow, and dust, ensuring durability and reliable operation in various outdoor environments.
- גרינג ינסטאַלירונג: Comes with a wall-mount bracket and metal straps for flexible and quick mounting options.

Figure 4.2: Solar Panel Construction
This diagram illustrates the internal layers of the solar panel, highlighting the tempered glass for protection and the solar cells responsible for energy conversion. This construction ensures stable power supply throughout the year, even on cloudy or rainy days.

פיגור 4.3: שליסל ספעציפיקאציעס איבערview
אַן איבערview of the solar panel's key features, including its high conversion rate, IP66 waterproof rating, and the integrated 26000mAh battery capacity.

Figure 4.4: DC 12V Output Connector
This image shows the standard DC 12V output connector, designed for plug-and-play compatibility with various 12V devices.
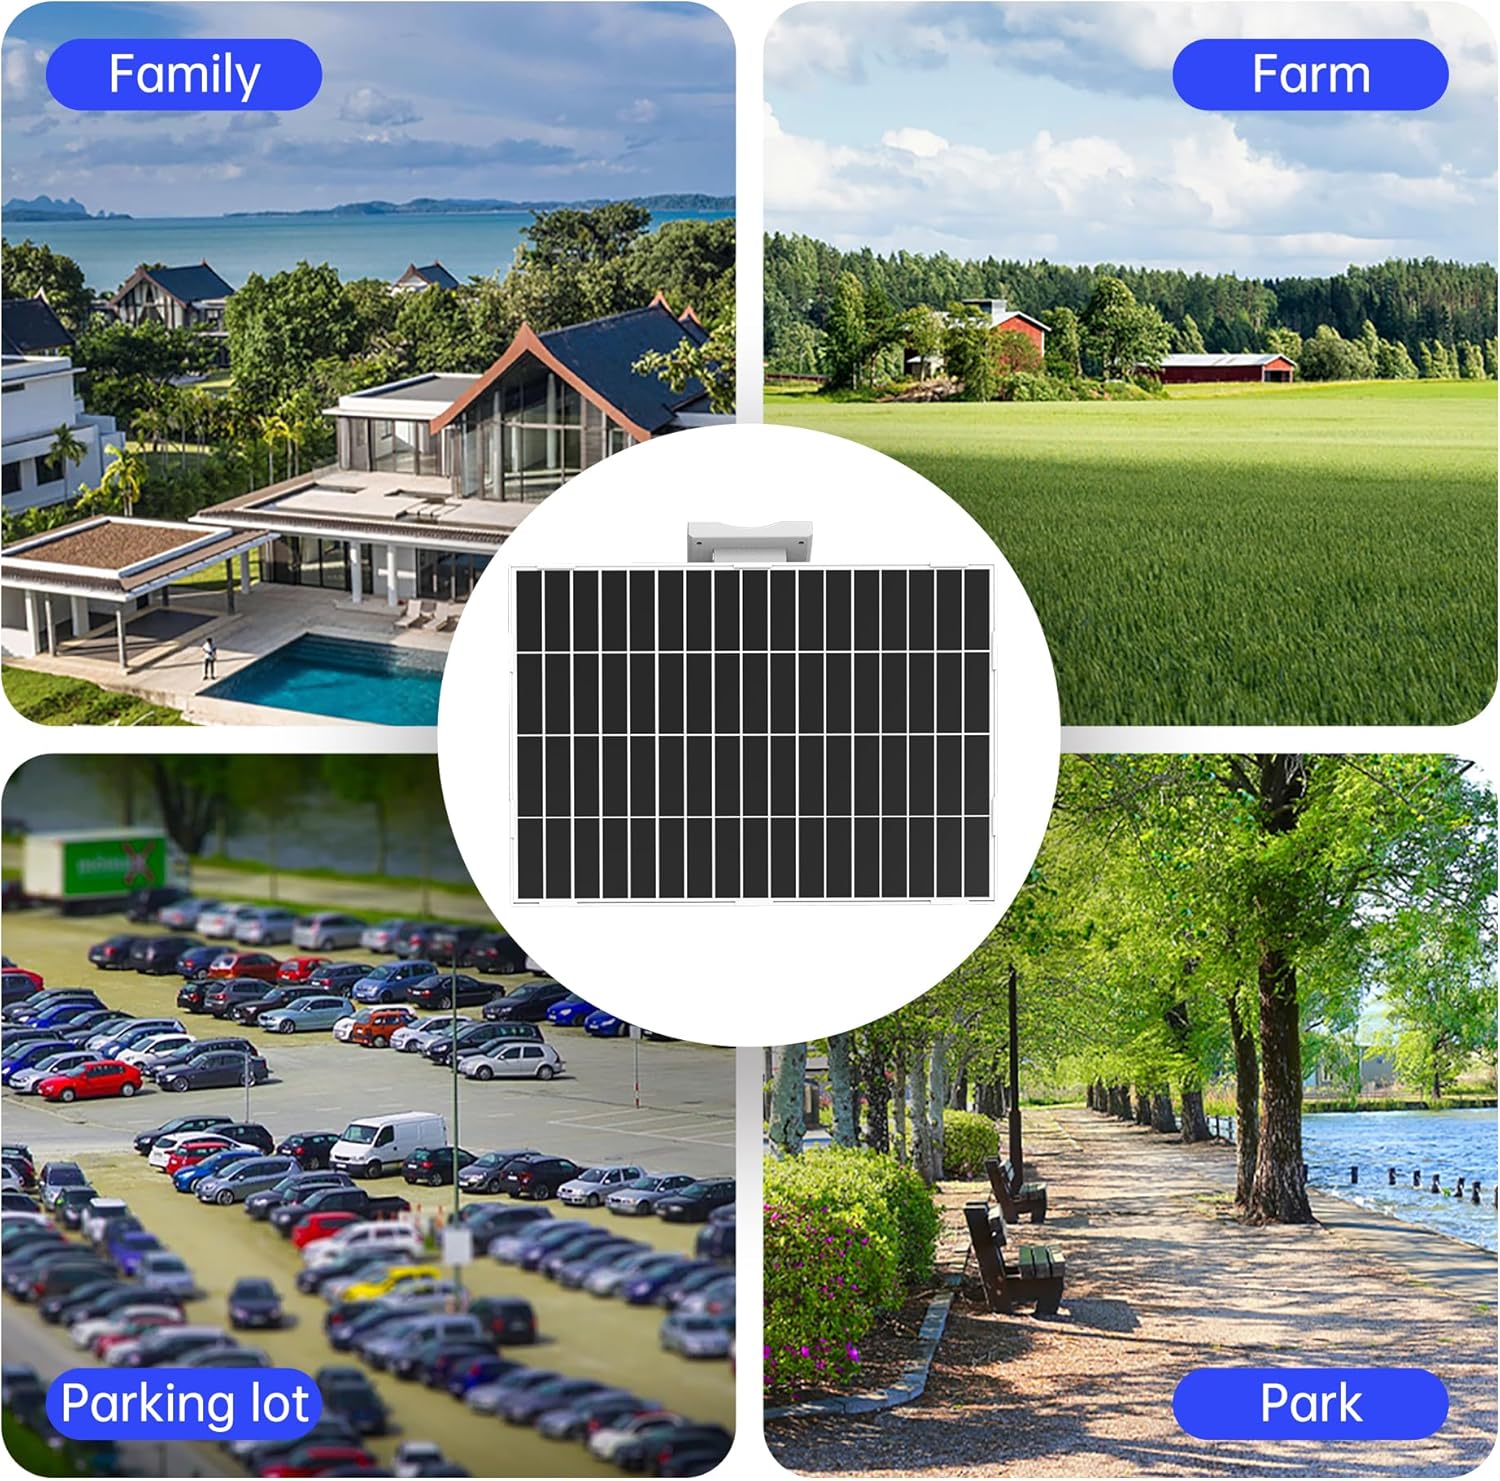
פיגור 4.5: פילזייַטיקע אַפּליקאַציעס
The solar panel is suitable for a wide range of outdoor applications, including residential properties, farms, parking lots, and public parks, providing reliable power in diverse settings.

Figure 4.6: Compact Design and Easy Installation
The solar panel features a minimalist design and compact size, making it easy to install. It incorporates a lower power consumption chip for efficient operation and comes with a stand for convenient mounting.

Figure 4.7: IP66 Weather Resistance
The solar panel boasts an IP66 rating, indicating its resistance to water and dust. This ensures normal function even in rainy, cold, or sunny conditions, providing robust protection against the elements.

Figure 4.8: Integrated 26000mAh Battery
An illustration of the internal structure, showing the high-capacity 26000mAh battery composed of multiple cells, designed to provide a reliable and continuous power supply.

Figure 4.9: Advanced Protection Features
The solar panel system includes multiple protection mechanisms to safeguard the battery and connected devices. These include synchronous rectification, short circuit protection, overvoltage protection, overcurrent protection, internal overheating protection, and overcharge protection, ensuring safe and stable operation.
5. סעטאַפּ און ייַנמאָנטירונג
Proper installation is crucial for optimal performance. Choose a location that receives maximum direct sunlight throughout the day.
5.1 טשוזינג אַן ינסטאַללאַטיאָן אָרט
- Select a spot free from obstructions like trees or buildings that could cast shadows on the panel.
- Orient the panel to face south (in the Northern Hemisphere) for maximum sun exposure. Adjust the angle for seasonal changes if possible.
- Ensure the mounting surface is sturdy enough to support the weight of the solar panel.
5.2 מאָנטירן די זונ פּאַנעל
The solar panel can be mounted using the included wall-mount bracket or metal straps.
- וואַנט מאָונטינג:
- Position the wall-mount bracket on the desired surface and mark the drilling points.
- באָרט פּילאָט לעכער און אַרײַנשטעלן די וואַנט אַנקערס אויב נייטיק.
- זיכער די קאַנטיקער צו די וואַנט ניצן די צוגעשטעלט סקרוז.
- Attach the solar panel unit to the bracket, ensuring it is firmly secured. Adjust the angle for optimal sunlight capture.
- Pole Mounting (using metal straps):
- Wrap the metal straps around the pole and through the designated slots on the solar panel's bracket.
- Tighten the straps securely to prevent movement.
- Adjust the panel's orientation and angle for best sun exposure.
5.3 קאַנעקטינג דעוויסעס
- Locate the 12V DC output port on the solar panel unit.
- Connect your 12V DC compatible device (e.g., security camera, outdoor light) to this port using an appropriate DC power cable.
- Ensure the connection is secure to prevent power interruptions.
6. אַפּערייטינג ינסטרוקטיאָנס
Once installed, the SECULINK S11-12V solar panel operates automatically.
- זונ טשאַרדזשינג: The solar panel will convert sunlight into electrical energy, which is then stored in the internal 26000mAh battery. Charging occurs automatically when sufficient sunlight is available.
- מאַכט רעזולטאַט: The stored energy in the battery will power your connected 12V DC devices. The system is designed to provide a continuous and stable power supply.
- באַטערי פאַרוואַלטונג: The integrated battery management system protects against overcharge, over-discharge, overcurrent, and short circuits, ensuring the longevity of the battery and safety of connected devices.
7. וישאַלט
Regular maintenance helps ensure the longevity and optimal performance of your solar panel.
- רייניקונג: רייניקן פּעריִאָדיש די ייבערפלאַך פון די זונ - פּאַנעל מיט אַ ווייכן, דamp cloth to remove dust, dirt, or debris that may reduce efficiency. Do not use abrasive cleaners or harsh chemicals.
- דורכקוק: Regularly check the mounting hardware and connections to ensure they are secure and free from corrosion or damage.
- מניעות: Ensure no new obstructions (e.g., growing tree branches) are shading the panel.
8. טראָובלעשאָאָטינג
If you encounter issues, refer to the following troubleshooting guide:
| פּראָבלעם | מעגלעך סיבה | לייזונג |
|---|---|---|
| No power output to device |
|
|
| נידעריק מאַכט רעזולטאַט |
|
|
| פּאַנעל איז נישט טשאַרדזשינג |
|
|
9. ספּעסאַפאַקיישאַנז
| שטריך | דעטאַל |
|---|---|
| סאָרט | SECULINK |
| מאָדעל נומער | ס11-12וו |
| מאַקסימום מאַכט | 20 וואטס |
| מאַקסימום וואָלtage | 12 וואלטס (דק) |
| באַטאַרייע קאַפּאַציטעט | 26000 מאַה (ליטהיום יאָן) |
| מאַטעריאַל | פּלאַסטיק |
| פּראָדוקט דימענשאַנז | 15"ל x 10"בר x 2.5"ה |
| פּונקט וואָג | 4 פונט |
| וואָטערפּרוף רייטינג | IP66 |
| אַרייַנגערעכנט קאַמפּאָונאַנץ | קלאַמער |
10. וואָראַנטי און שטיצן
For warranty information and technical support, please refer to the product packaging or contact SECULINK customer service. Keep your purchase receipt as proof of purchase.
For further assistance, visit the official SECULINK store: SECULINK Store on Amazon