
1. וויכטיק סאַפעטי אינפֿאָרמאַציע
Please read this entire manual carefully before assembling, operating, or servicing your sweeek Edmond Gas Barbecue. Failure to follow these instructions could result in property damage, bodily injury, or death.
- בלויז פֿאַר דרויסנדיק נוצן. ניצט נישט דעם אפּאַראַט אינעווייניק.
- האַלטן קינדער און פּעץ אַוועק פון די באַרביקיו אין אַלע צייט.
- Ensure the barbecue is placed on a stable, level surface, away from flammable materials.
- Always check for gas leaks before each use. Refer to the 'Operating Instructions' section for leak testing procedures.
- A gas hose and pressure regulator are required for connection to a gas bottle and are ניט ינקלודעד with this product. Ensure they are compatible with Butane or Propane gas and meet local safety standards.
- דו זאלסט נישט קראָם אָדער נוצן גאַזאָלין אָדער אנדערע ברענעוודיק ליקווידס אָדער וואַפּערז אין דער געגנט פון דעם אָדער קיין אנדערע אַפּפּליאַנסע.
- טראָגט שטענדיק פּראַטעקטיוו הענטשקעס ווען איר האַנדלט מיט הייסע סערפאַסיז.
2. פּראָדוקט איבערview
The sweeek Edmond Gas Barbecue is designed for outdoor cooking, featuring multiple burners and a robust construction for efficient grilling.
- בראנרים: 6 main burners + 1 side burner for versatile cooking.
- צינדונג: Electronic Piezo ignition for easy startup.
- טעמפּעראַטור קאָנטראָל: Integrated thermometer in the lid for monitoring cooking temperature.
- קאַנסטראַקשאַן: High-quality steel frame with heat-resistant epoxy paint. Stainless steel burners.
- קוקינג ייבערפלאַך: Enameled cast iron grill grates.
- מאָביליטי: Equipped with 4 wheels for easy relocation.
- סטאָרידזש: Front cabinet with 2 doors.
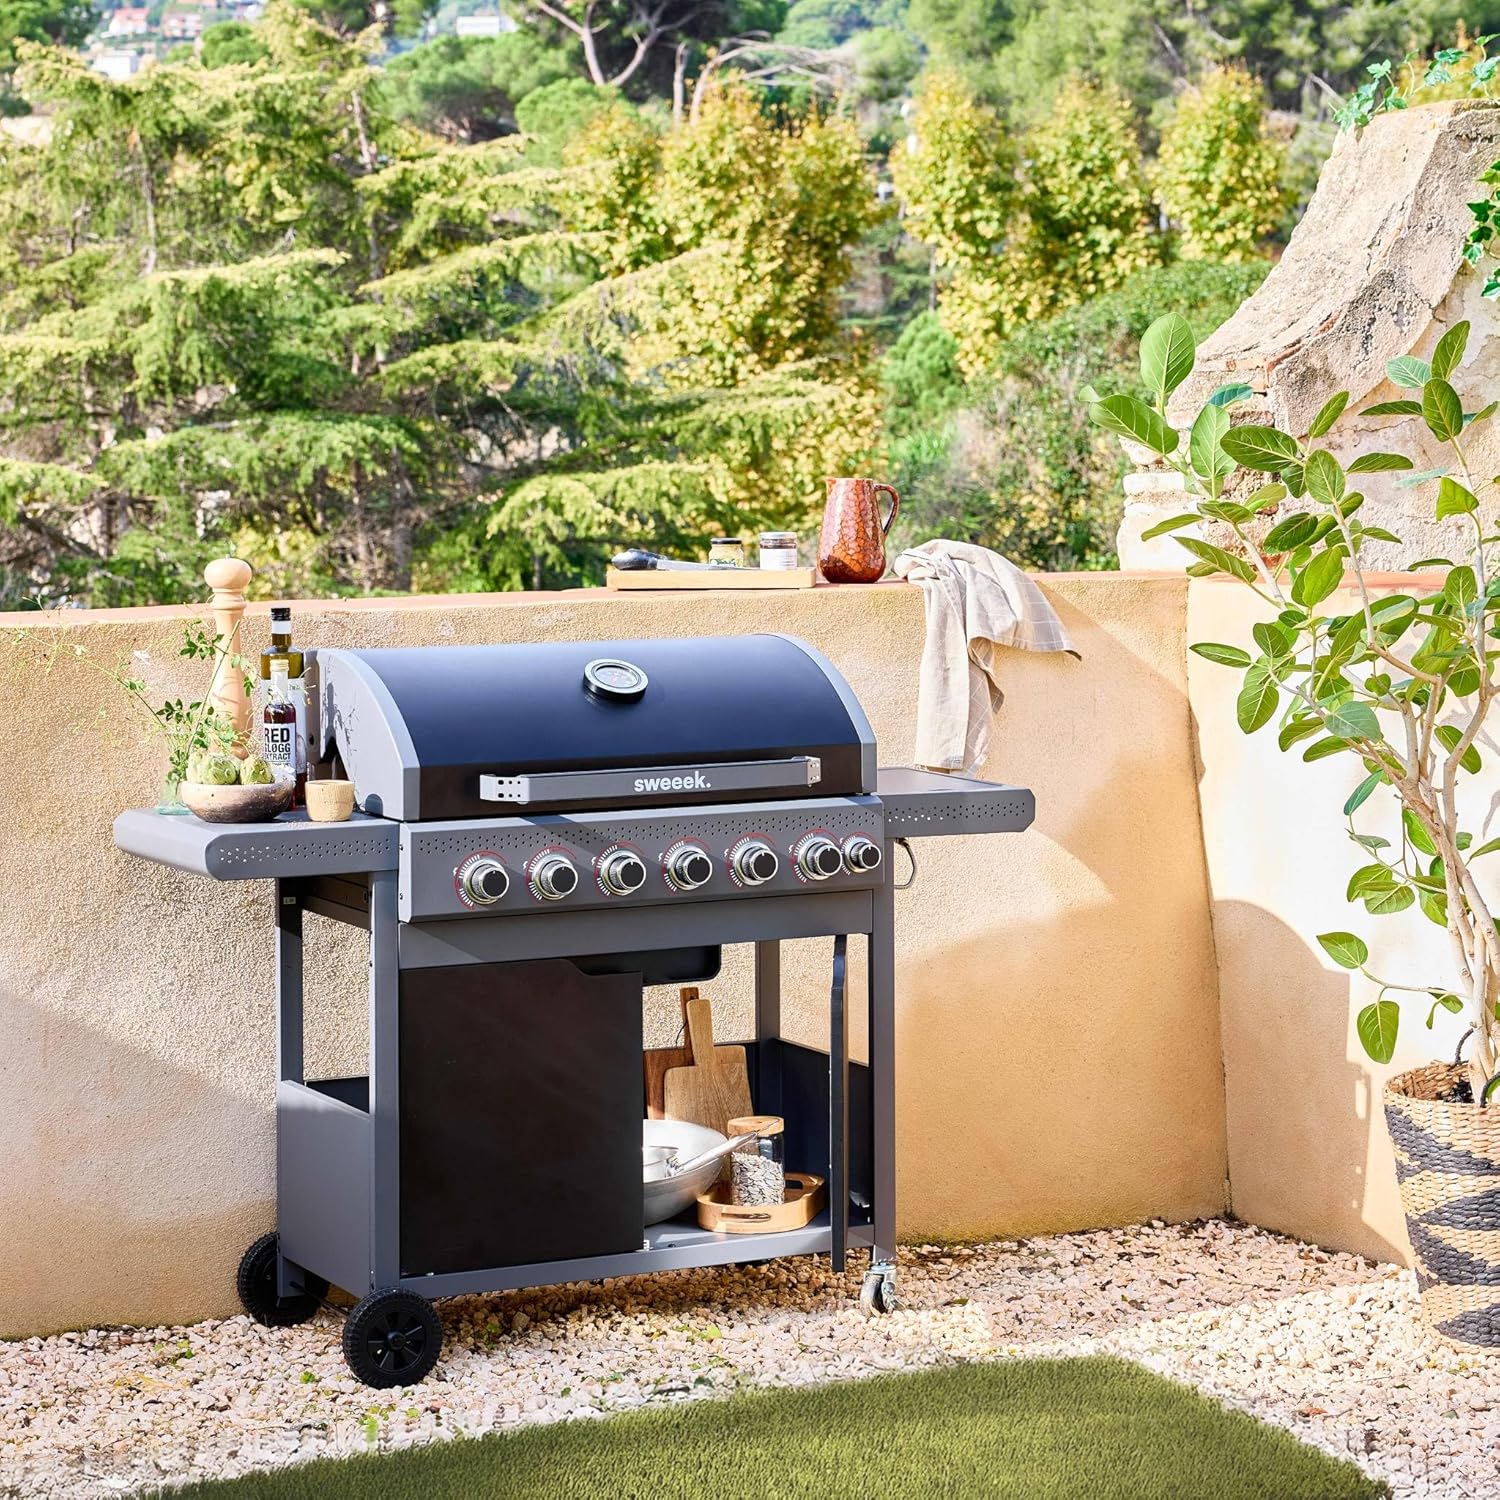
פיגורע 2.1: איבערview of the sweeek Edmond Gas Barbecue with the lid closed.
3. סעטאַפּ און אַסעמבלי
Assembly of the sweeek Edmond Gas Barbecue is straightforward. A detailed assembly manual is included in the product packaging. Ensure all components are present and undamaged before beginning assembly.
3.1 קאָמפּאָנענט קאָנטראָל
Before assembly, unpack all parts and verify against the included parts list. Contact customer support if any parts are missing or damaged.
3.2 אַסעמבלי סטעפּס
- Follow the step-by-step instructions provided in the separate assembly manual.
- זיכער מאַכן אַז אַלע פאַסטאַנינגז זענען זיכער צוגעצויגן.
- Attach the wheels to the base for mobility.
- Install the side shelves and the main grill body.
- Place the enameled cast iron grill grates and warming rack into position.
3.3 גאַז קאַנעקשאַן
Connect a suitable gas hose and pressure regulator (not supplied) to your gas bottle and the barbecue's gas inlet. Ensure all connections are tight and perform a leak test before first use.

Figure 3.1: Dimensional diagram of the barbecue, useful for planning placement.
4. אַפּערייטינג ינסטרוקטיאָנס
This section details how to safely operate your gas barbecue.
4.1 ליק טעסטינג
Perform a leak test every time you connect a new gas bottle or if you suspect a leak.
- מישן אַ לייזונג פון גלייכע טיילן פליסיק שיסל זייף און וואַסער.
- זיכער מאַכן אַז אַלע ברענער קאָנטראָל קנעפּלעך זענען אין דער 'אויס' פּאָזיציע.
- Turn on the gas supply at the bottle.
- Apply the soap solution to all gas connections (hose to regulator, regulator to bottle, hose to barbecue inlet).
- If bubbles appear, there is a leak. Immediately turn off the gas supply. Tighten connections and re-test. If the leak persists, do not use the barbecue and contact customer support.
4.2 אָנצינדן די הויפּט ברענערס
- עפענען די באַרביקיו דעקל.
- זיכער מאַכן אַז אַלע ברענער קאָנטראָל קנעפּלעך זענען אין דער 'אויס' פּאָזיציע.
- Open the gas supply valve on the gas bottle.
- Push in and turn one main burner control knob counter-clockwise to the 'HIGH' position.
- Press and hold the electronic piezo ignition button until the burner ignites. You should hear a clicking sound.
- Once ignited, release the ignition button. If the burner does not light within 5 seconds, turn the control knob to 'OFF', wait 5 minutes for gas to dissipate, and repeat the process.
- Repeat for other main burners as needed. Each burner operates independently.
- Adjust the flame intensity by turning the control knobs between 'HIGH' and 'LOW'.
4.3 אָנצינדן דעם זייטיקן ברענער
- עפענען די זייַט בורנער דעקל.
- Ensure the side burner control knob is in the 'OFF' position.
- Open the gas supply valve on the gas bottle.
- Push in and turn the side burner control knob counter-clockwise to the 'HIGH' position.
- Press and hold the electronic piezo ignition button until the burner ignites.
- Once ignited, release the ignition button. If the burner does not light within 5 seconds, turn the control knob to 'OFF', wait 5 minutes, and repeat.
- Adjust the flame intensity as required.

Figure 4.1: Control knobs and integrated thermometer.

Figure 4.2: The auxiliary side burner.
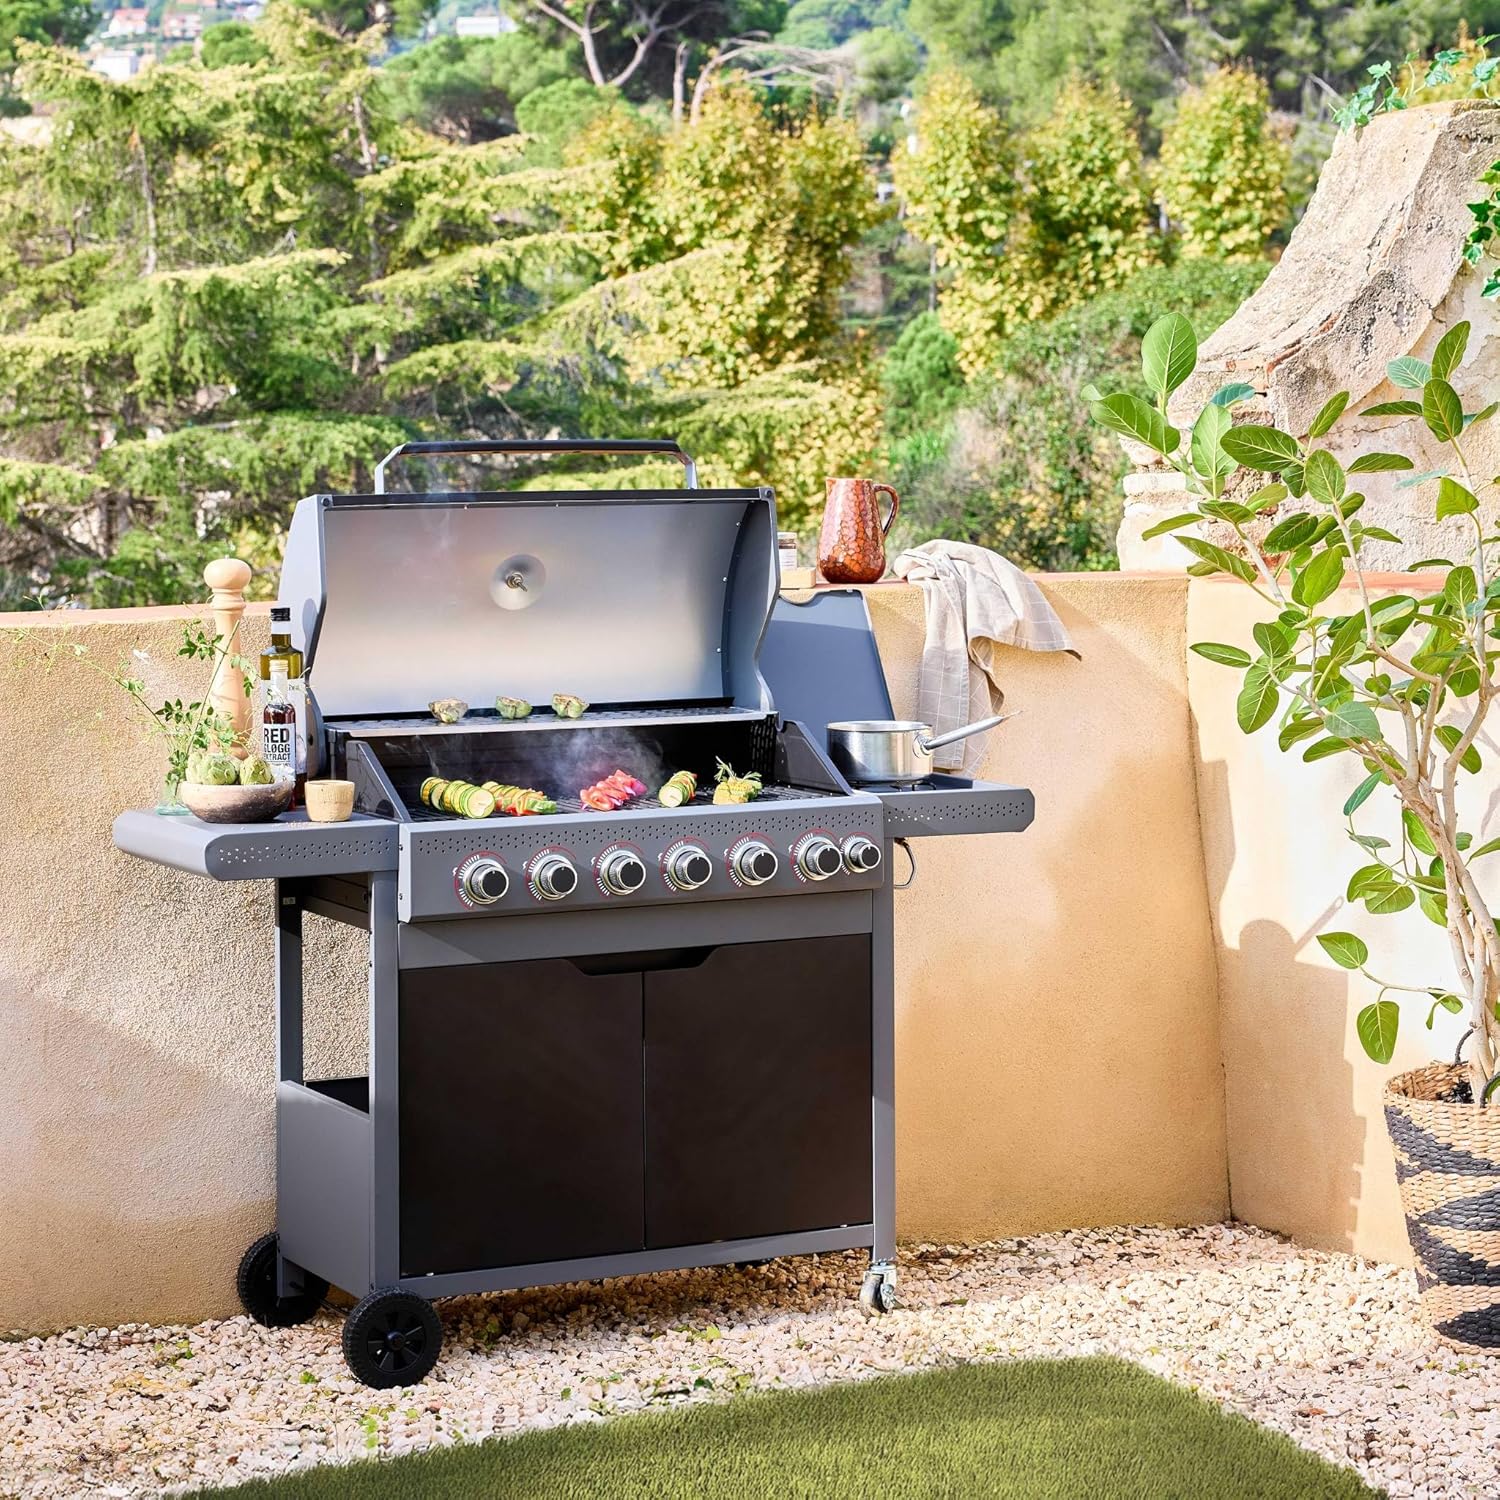
Figure 4.3: Barbecue in operation with food on the grill.
5. וישאַלט
רעגולערע רייניקונג און אויפהאלטונג וועט פארלענגערן דאס לעבן פון אייער גריל און זיכער מאכן זיכערע אפעראציע.
5.1 Cleaning the Grill Grates
The enameled cast iron grill grates should be cleaned after each use once they have cooled down.
- Use a grill brush to remove food residue.
- For stubborn residue, wash with warm soapy water and a non-abrasive sponge. Rinse thoroughly and dry completely to prevent rust.
5.2 שמירן טאַץ
The grease tray collects drippings during cooking. It should be emptied and cleaned regularly to prevent grease fires.
- לאָזן די באַרביקיו גאָר קיל.
- Carefully slide out the grease tray (dimensions: 11.5 x 18 x 3.5 cm).
- Dispose of collected grease responsibly.
- Wash the tray with warm soapy water, rinse, and dry before replacing.
5.3 עקסטעריאָר רייניקונג
Clean the exterior surfaces with a mild detergent and a soft cloth. Avoid abrasive cleaners or pads that could damage the finish.
6. טראָובלעשאָאָטינג
This section addresses common issues you might encounter with your gas barbecue.
| פּראָבלעם | מעגלעך סיבה | לייזונג |
|---|---|---|
| בורנער טוט נישט ליכט | קיין גאז צושטעל, פארשטאפטער ברענער פארט, דעפעקטיווער צינדאר. | Check gas bottle, regulator, and hose connections. Ensure gas valve is open. Clean burner ports. Check igniter electrode for spark. |
| אַניוואַן באַהיצונג | פארשטאפטע ברענער פארטס, נידעריגער גאז דרוק. | Clean burner ports. Check gas level in bottle. Ensure regulator is functioning correctly. |
| געלע אדער אראנדזשע פלאם | Improper air/gas mixture, clogged burner. | Clean burner ports. Ensure air vents are clear. |
| גאַז שמעקן | גאַז רינען. | Immediately turn off gas supply. Perform a leak test (Section 4.1). Do not use if leak persists. |
7. ספּעסאַפאַקיישאַנז
Detailed technical specifications for the sweeek Edmond Gas Barbecue.
| שטריך | באַשרייַבונג |
|---|---|
| סאָרט | sweeek |
| מאָדעל נומער | 3701672509965 |
| קאָליר | שוואַרץ |
| ברענוואַרג טיפּ | Gas (Butane or Propane recommended) |
| גאַנץ בורנערס | 7 (6 main burners + 1 side burner) |
| Total Heating Power | 20.5 kW (20500 watts) |
| הויפּט ברענער מאַכט | 3 kW per burner (total 18 kW for 6 main burners) |
| זייט ברענער מאַכט | 2.5 קוו |
| יגנישאַן טיפּ | עלעקטראָניש פּיעזאָ |
| מאַטעריאַל (ראַם) | Alloy Steel with epoxy paint |
| Material (Burners) | ומבאַפלעקט שטאָל |
| Material (Cooking Surface) | ענאַמעלעד וואַרפן אייַזן |
| קוילעלדיק דימענשאַנז (L X W X H) | 144 X 62 X 143 סענטימעטער |
| Grill Surface Dimensions | 41.5 x 22.5 cm (Note: This seems to be for one grate, not total. The description states 3 grates, so total cooking area would be larger.) |
| גרילל הייך | 85.5 סענטימעטער |
| Lid Dimensions | 82.5 X 45 X 24.5 סענטימעטער |
| Grease Tray Dimensions | 11.5 X 18 X 3.5 סענטימעטער |
| וואָג | 40 קג |
| אַסעמבלי פארלאנגט | יא |
| ספּעציעלע פֿעיִקייטן | Integrated thermometer, portable (with wheels) |
8. וואָראַנטי און שטיצן
For warranty information, please refer to the documentation provided with your purchase or contact the retailer where the product was acquired. Specific warranty terms and conditions may vary.
If you require technical assistance, have questions about assembly, operation, or maintenance, please contact sweeek customer support or your authorized dealer. Please have your model number (Edmond Gas Barbecue Model 3701672509965) and proof of purchase available when contacting support.