
Rebel Electro RBA-4501
Rebel Brett SUP Inflatable Stand-Up Paddleboard with Kayak Seat 350 cm - User Manual
Model: RBA-4501 | Brand: Rebel Electro
הקדמה
Thank you for choosing the Rebel Brett SUP. This inflatable stand-up paddleboard is designed for versatility and performance, featuring Drop-Stitch technology for rigidity and a comfortable EVA deck. It comes complete with a kayak seat, adjustable paddle, pump, and transport backpack, making it ideal for touring and recreational paddling. Please read this manual carefully before use to ensure proper setup, safe operation, and optimal maintenance of your SUP.
פּעקל אינהאַלט
באַשטעטיקט אַז אַלע זאכן וואָס זענען אויסגערעכנט אונטן זענען אַרייַנגערעכנט אין אייער פּעקל:
- 1x Inflatable Stand-Up Paddleboard (SUP)
- 1x Removable Slide-in Fin
- 1x Leash
- 1x Adjustable 4-piece Paddle
- 1x Kayak Seat
- 1x Hand Pump with Pressure Gauge
- 1x Transport Backpack
- 1x רעפּאַראַטור קיט

בילד: איבערview of the Rebel Brett SUP complete package, showing all included components.
סעטאַפּ אינסטרוקציעס
1. Inflating the SUP
- Unroll the SUP on a clean, flat surface, free from sharp objects.
- Locate the inflation valve, typically at the tail of the board. Ensure the valve pin is in the UP position (closed) to prevent air from escaping after inflation.
- באַפעסטיקט דעם שלאַנג פֿון דער האַנט־פּאָמפּע צום ווענטיל דורך אים דרייען אין זייגער־ריכטונג ביז ער איז זיכער.
- Begin pumping. The pressure gauge will start to show a reading once the board gains some rigidity. Inflate the board to the recommended pressure of 12-15 פּסי. Do not overinflate.
- Once the desired pressure is reached, quickly detach the pump hose and secure the valve cap.

Image: The included hand pump, essential for inflating the SUP to the correct pressure.
2. Attaching the Fin
The SUP comes with a removable slide-in fin for improved tracking and stability.
- Locate the fin box at the bottom rear of the board.
- Slide the fin into the fin box, ensuring it clicks securely into place.
- To remove, press the release tab and slide the fin out.
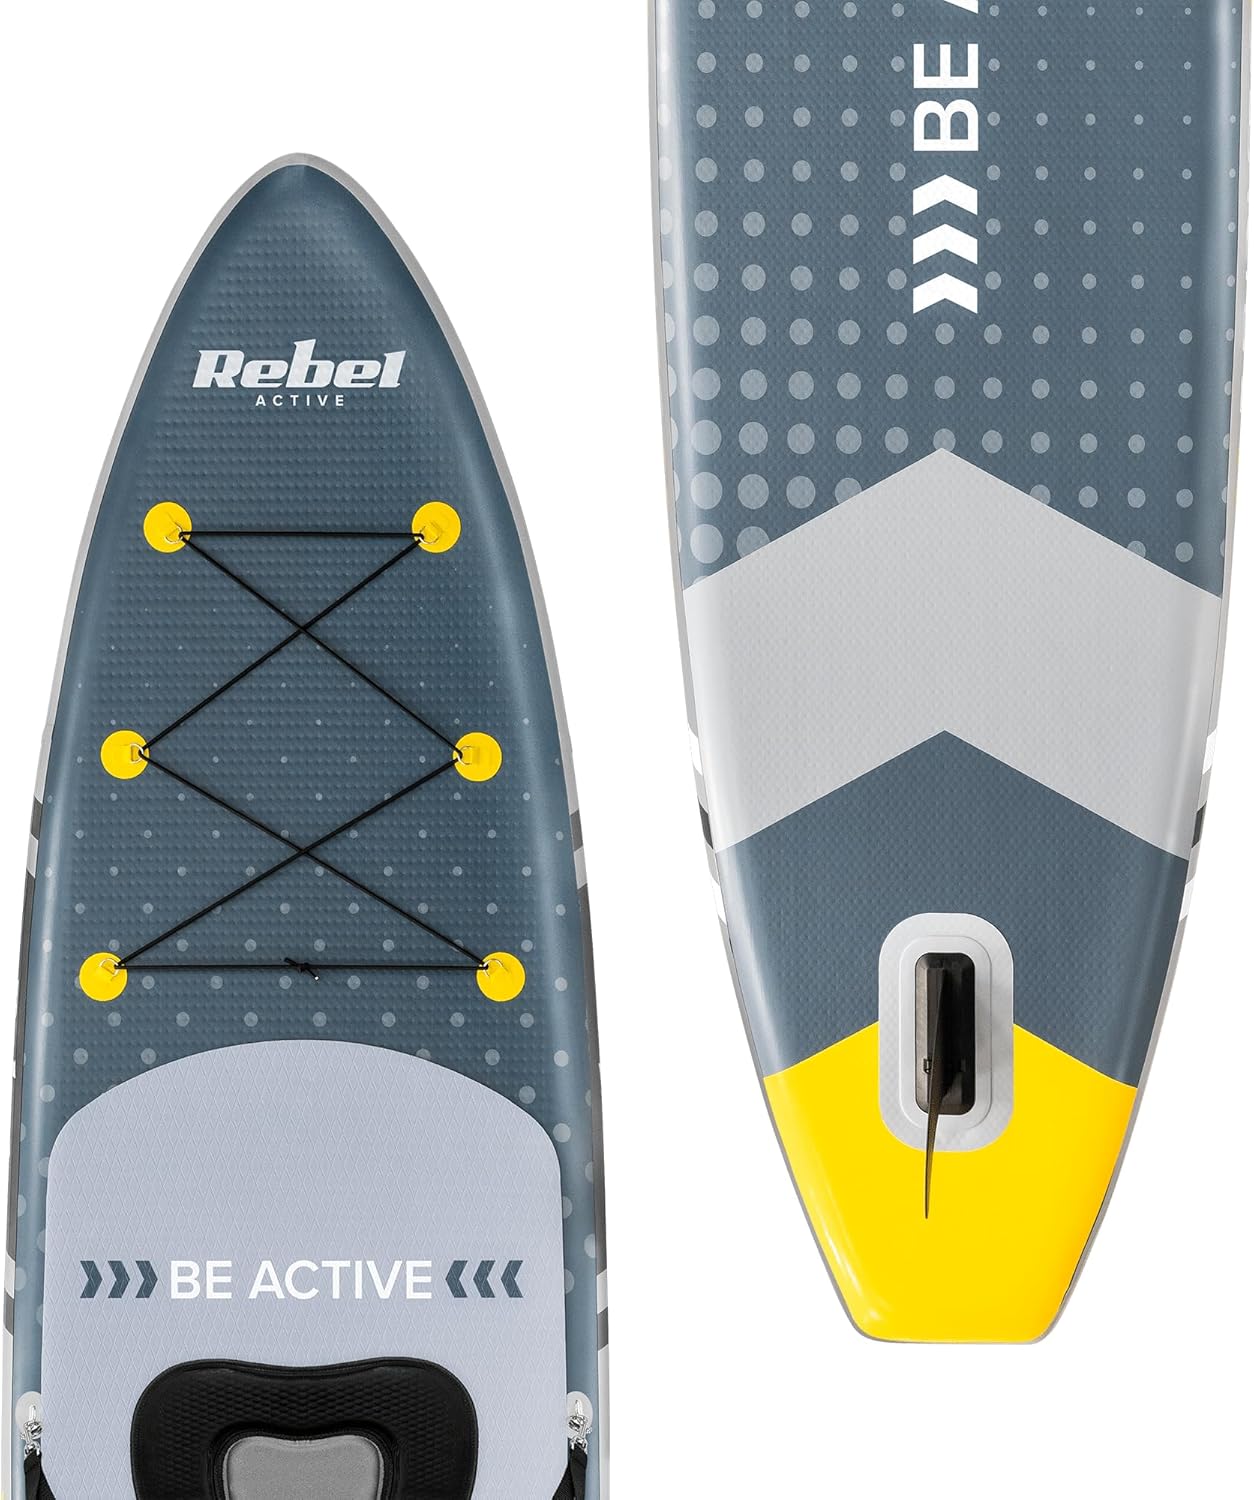
Image: Detail of the fin box and the removable slide-in fin.
3. צוזאמענשטעלן דעם פאדל
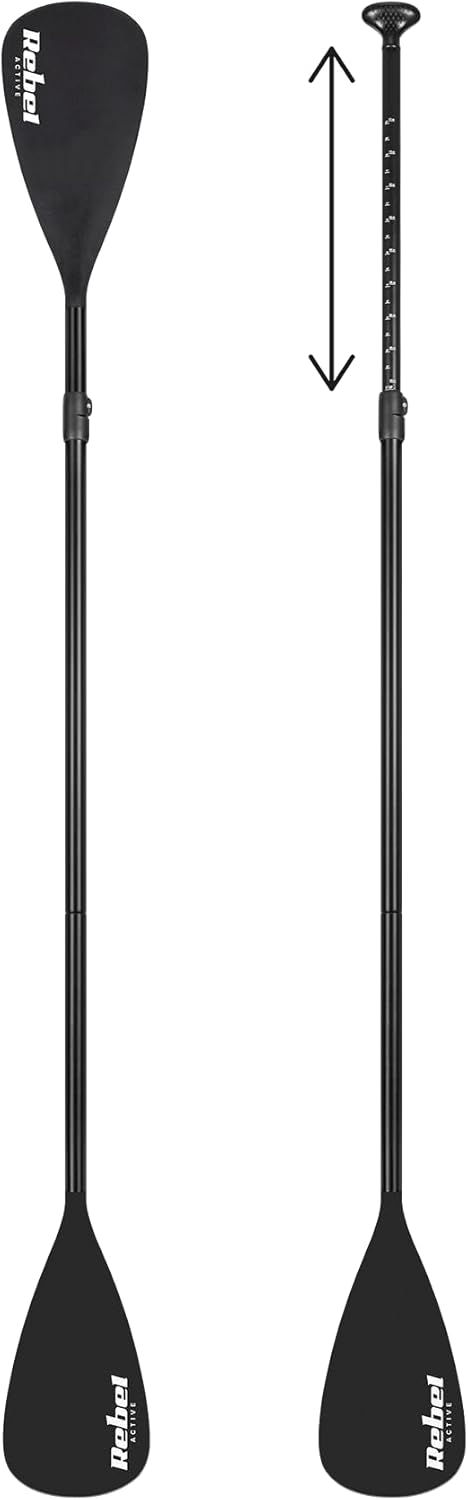
The 4-piece adjustable paddle can be configured for stand-up paddling or kayaking.
- Connect the paddle sections by aligning the buttons with the holes and pushing them together until they click.
- Adjust the paddle length to your height. For stand-up paddling, the paddle handle should reach your wrist when your arm is extended overhead. Secure the adjustment clamp.
- For kayak use, attach the second blade section instead of the handle.

Image: The adjustable paddle, demonstrating its length customization for different users and paddling styles.
4. Attaching the Kayak Seat
The included kayak seat provides additional comfort and versatility.
- Locate the D-rings on the SUP deck, designed for seat attachment.
- Clip the straps of the kayak seat to the corresponding D-rings.
- Adjust the strap length to achieve a comfortable and secure seating position.

Image: The Rebel Brett SUP with the kayak seat installed, ready for use.
בילד: א דעטאַלירטע view of the comfortable kayak seat with backrest.
אַפּערייטינג ינסטראַקשאַנז
זיכערקייַט ערשטער
- Always wear a personal flotation device (PFD) when using the SUP.
- Attach the leash to your ankle and the D-ring at the tail of the board. This keeps the board close if you fall off.
- Check weather conditions and water currents before heading out. Avoid strong winds and currents.
- Do not exceed the maximum user weight of 140 kg (maximum load 170 kg).
- Inform someone of your paddling plans and expected return time.

Image: The coiled leash, an essential safety accessory to keep the board tethered to the user.
פּאַדדלינג טעקניקס
שטייענדיק אויף: Start by kneeling on the board with your hands on either side. Slowly stand up one foot at a time, placing your feet shoulder-width apart over the center of the board. Keep your knees slightly bent and your core engaged for balance.
Paddling Stroke: Hold the paddle with one hand on the top of the handle and the other on the shaft. Insert the blade fully into the water near the nose of the board and pull it back towards your feet. Use your core muscles, not just your arms. Alternate sides to maintain a straight course.
ווענדן: To turn, paddle on one side only, or perform a sweep stroke by paddling in a wide arc away from the board. For sharper turns, step back on the tail of the board to lift the nose slightly.
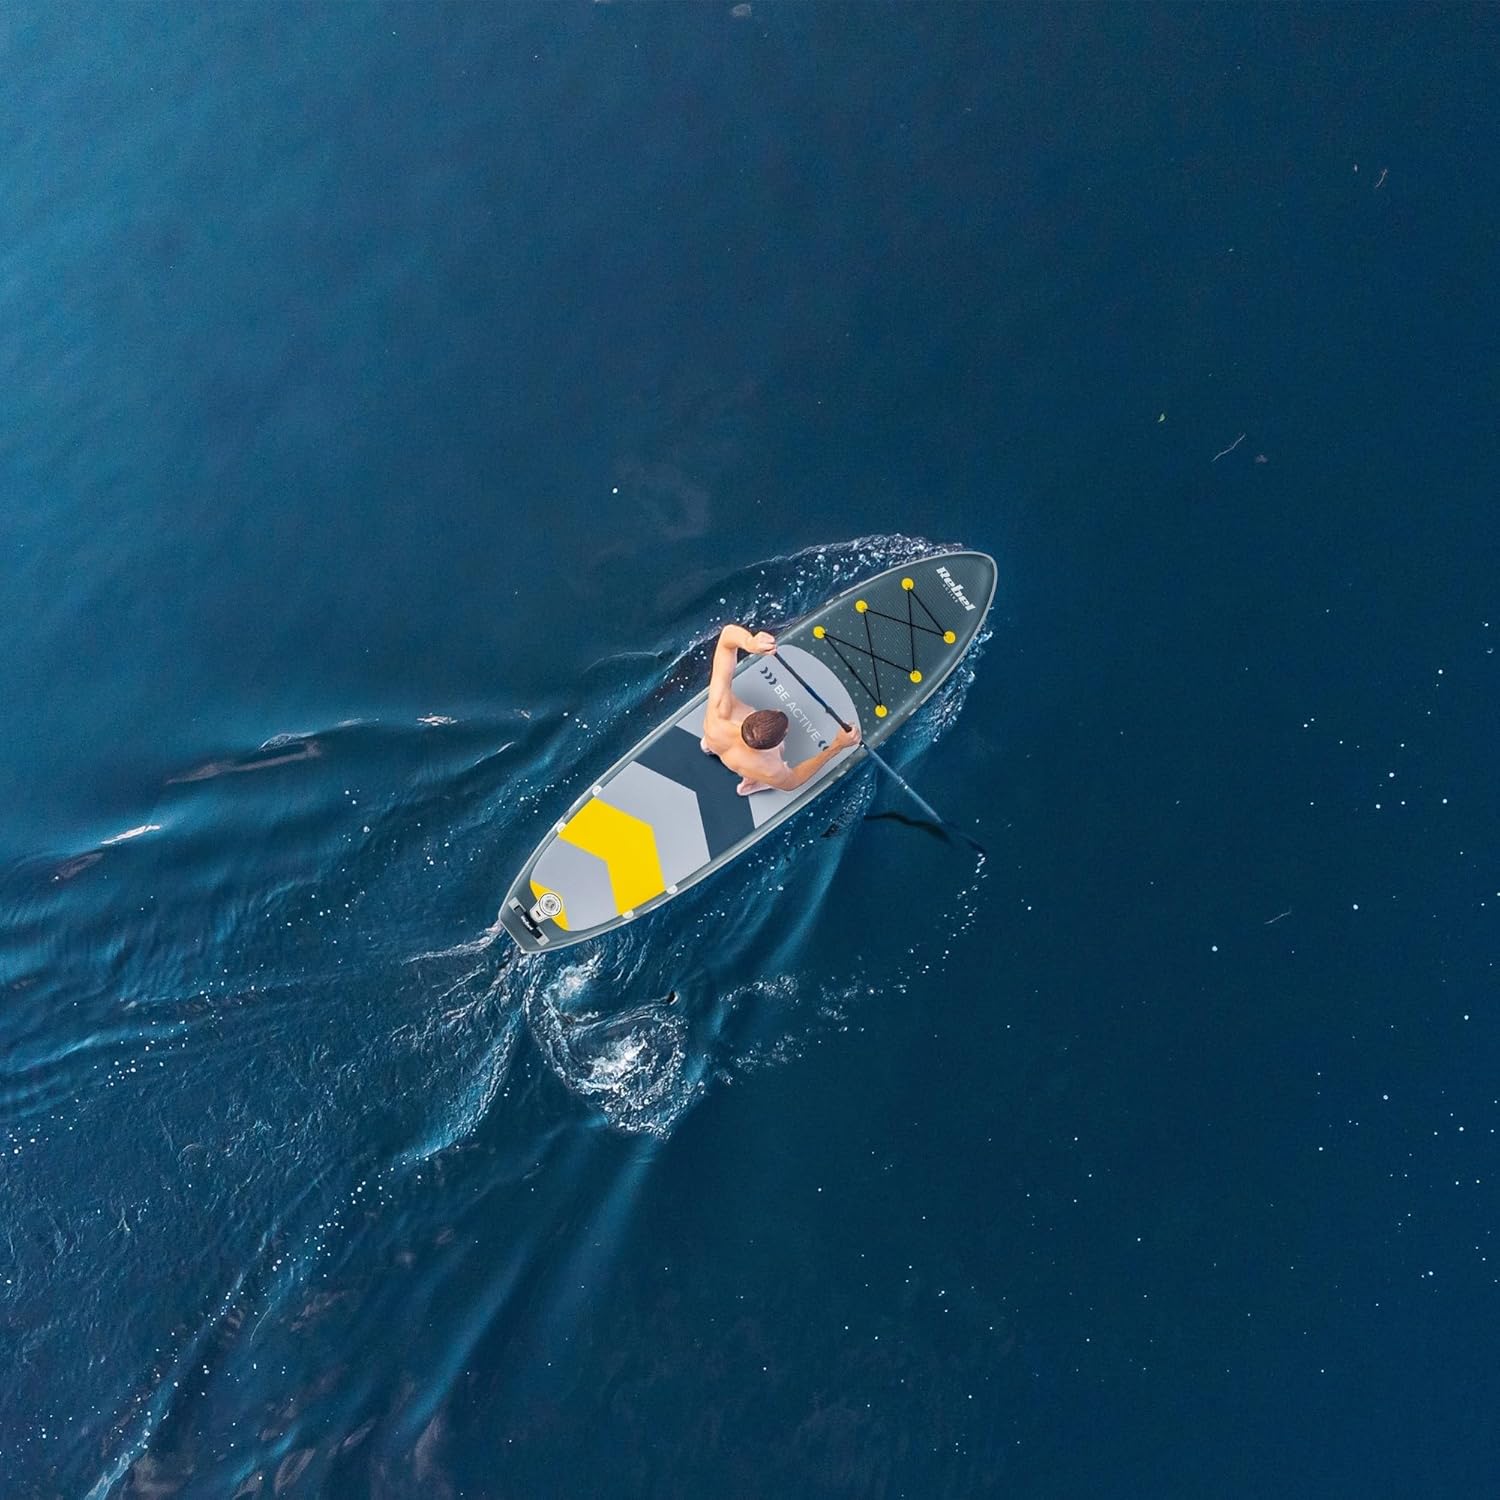
בילד: אן לופט-פלאן view of a person enjoying the Rebel Brett SUP on the water, demonstrating typical use.
וישאַלט
רייניקונג
After each use, especially in saltwater, rinse the SUP, paddle, and all accessories with fresh water. Use mild soap and water for stubborn dirt. Ensure all components are thoroughly dry before storage to prevent mold and mildew.
סטאָרידזש
Deflate the SUP by pressing the valve pin down and allowing the air to escape. Roll the board tightly from the nose to the tail, expelling all air. Store the deflated board and accessories in the transport backpack in a cool, dry place, away from direct sunlight and extreme temperatures. Avoid folding the board sharply.
Repair Kit Usage
The included repair kit is for minor punctures. Clean and dry the damaged area. Apply adhesive (not included, typically PVC glue) to both the patch and the board, then firmly press the patch over the hole. Allow sufficient drying time before reinflating.

Image: Contents of the repair kit, including patches and a valve wrench for maintenance.
טראָובלעשאָאָטינג
| פּראָבלעם | מעגלעך סיבה | לייזונג |
|---|---|---|
| SUP loses air quickly | Valve not properly closed or cap loose; Puncture in board. | Ensure valve pin is in UP position and cap is tight. Check for leaks using soapy water; repair with patch kit if puncture found. |
| שוועריקייט ינפלייטינג | Valve pin in DOWN position (open); Pump hose not securely attached. | Ensure valve pin is in UP position. Re-attach pump hose securely. |
| די באָרד פילט זיך נישט סטאַביל | Under-inflated; Fin not properly attached. | Inflate to recommended PSI (12-15 PSI). Ensure fin is securely clicked into place. |
| Paddle sections won't connect/disconnect | Dirt or sand in connection points; Button stuck. | Rinse and clean connection points. Press button firmly while pulling/pushing. |
ספּעסאַפאַקיישאַנז
| שטריך | דעטאַל |
|---|---|
| לענג | 350 סענטימעטער |
| ברייט | 81 סענטימעטער |
| גרעב | 15 סענטימעטער |
| וואָג | 10 קג |
| דיספּלייסמאַנט | 185 - 258 ליטער |
| רעקאַמענדיד דרוק | 12-15 פּסי |
| Drop Stitch Thread Density | 27,000 מ² |
| טיפּ | טאָורינג |
| מאַקסימום מאַסע | 170 קג |
| מאַקסימום באַניצער וואָג | 140 קג |
| Board Construction | איין קאַמער |
| Paddle Material | אַלומינום |
| פּאַדל לענג | 205 ~ 225 סענטימעטער |
| Paddle Shaft Diameter | 2.9 סענטימעטער |
| פינ מאַטעריאַל | ניילאָן |
| Fin Height | 22 סענטימעטער |
| Leash Length/Weight | 3.04 m, 126 g |
| Kayak Seat Material | פּאַליעסטער, ניילאָן |
| Kayak Seat Backrest Dimensions | 51 X 45 סענטימעטער |
| Kayak Seat Sitting Area Dimensions | 37 X 31 סענטימעטער |
וואָראַנטי און שטיצן
For warranty information and customer support, please refer to the documentation provided with your purchase or contact Rebel Electro directly through their official webזייטל אדער בארעכטיגטע פארקויפער. האַלט אייער קויפן-באַווייַז פֿאַר יעדע וואָראַנטי-פאָדערונג.
Ask a question about this manual
Ask about setup, troubleshooting, compatibility, parts, safety, or missing instructions. Manuals+ will review the question and use this page’s manual context to help answer it.