
Ashfly 366C
Ashfly LCD Digital Coin Microscope User Manual
Model: 366C | Brand: Ashfly
הקדמה
The Ashfly LCD Digital Coin Microscope is a versatile and powerful tool designed for detailed observation and analysis. Featuring a 4.3-inch IPS screen and up to 1000x magnification, it allows users to explore the microscopic world with clarity. It is ideal for inspecting coins, circuit boards, textiles, plants, and jewelry, and can also be connected to a PC for real-time viewing and recording. Its portable design and adjustable LED lighting make it suitable for various applications, from educational purposes to professional inspections.
וואָס איז אין די קעסטל
- Microscope Device (with 4.3-inch LCD screen)
- Adjustable Stand (Base, Pole, Bracket)
- וסב-C טשאַרדזשינג קאַבלע
- ינסטראַקשאַנז מאַנואַל
סעטאַפּ
Follow these steps to assemble your Ashfly Digital Microscope:
- Attach the Pole to the Base: Insert the metal pole into the designated slot on the plastic base. Ensure it is firmly seated.
- אָנקלאַפּן די בראַקאַץ: Slide the adjustable bracket onto the metal pole. This bracket will hold the microscope unit.
- צוטשעפּען די מיקראָסקאָפּ אַפּאַראַט: Secure the microscope unit to the bracket. Use the tightening knobs on the bracket to firmly hold the microscope in place.
- אַראָפּנעמען פּראַטעקטיוו פילם: Gently peel off the protective plastic film from the LCD screen.

Figure 1: Fully assembled Ashfly Digital Microscope.

Figure 2: Step-by-step assembly guide for the microscope.
סעטאַפּ ווידעא גייד
Video: Easy to install motherboard repair magnifier. This video demonstrates the assembly process and initial setup of the microscope, including attaching the unit to the stand and adjusting its position.
אַפּערייטינג ינסטראַקשאַנז
יקערדיק אָפּעראַציע
- מאַכט אויף / אַוועק: Press and hold the power button (usually marked with a circle and vertical line) to turn the device on or off.
- סטרויערן מאַגניפיקאַטיאָן: Use the zoom in/out buttons (often marked with '+' and '-' or arrows) on the unit to adjust the digital magnification. The optical magnification is fixed at 1000x.
- פאָקוס אַדזשאַסטמאַנט: Rotate the focus knob located on the microscope body to achieve a clear image of your specimen. Adjust the height of the microscope on the stand for coarse focus, then use the knob for fine-tuning.
- LED לייץ: The microscope features 8 adjustable LED lights. Use the dedicated control (often a dial or button) to adjust the brightness for optimal illumination of your subject.

Figure 3: Adjusting the 8 LED lights for optimal viewing.

Figure 4: Stepless adjustment of the 8 high-brightness LED ring lights.
פּיסי קאַנעקשאַן
צו view the microscope's feed on your computer:
- Connect the microscope to your PC using the provided USB-C cable.
- On the microscope's screen, select "PC Camera" mode when prompted.
- On your computer, open a camera application (e.g., Windows Camera app or a third-party software like Inskam Camera). The microscope feed should appear.
- You can capture photos and record videos directly from your computer's software.

Figure 5: Real-time zoomed-in view on a PC via USB-C connection.

Figure 6: Microscope connected to a PC, displaying a coin for detailed inspection.
פאָטאָ און ווידעא כאַפּן
- The microscope has built-in storage for approximately 100 photos.
- To capture a photo, press the "OK" or "Photo/Video" button on the unit.
- To record video, press the "Photo/Video" button again to switch to video mode, then press "OK" to start/stop recording.
- For extended storage, insert a TF Card (up to 64GB, Class 10 recommended) into the designated slot.
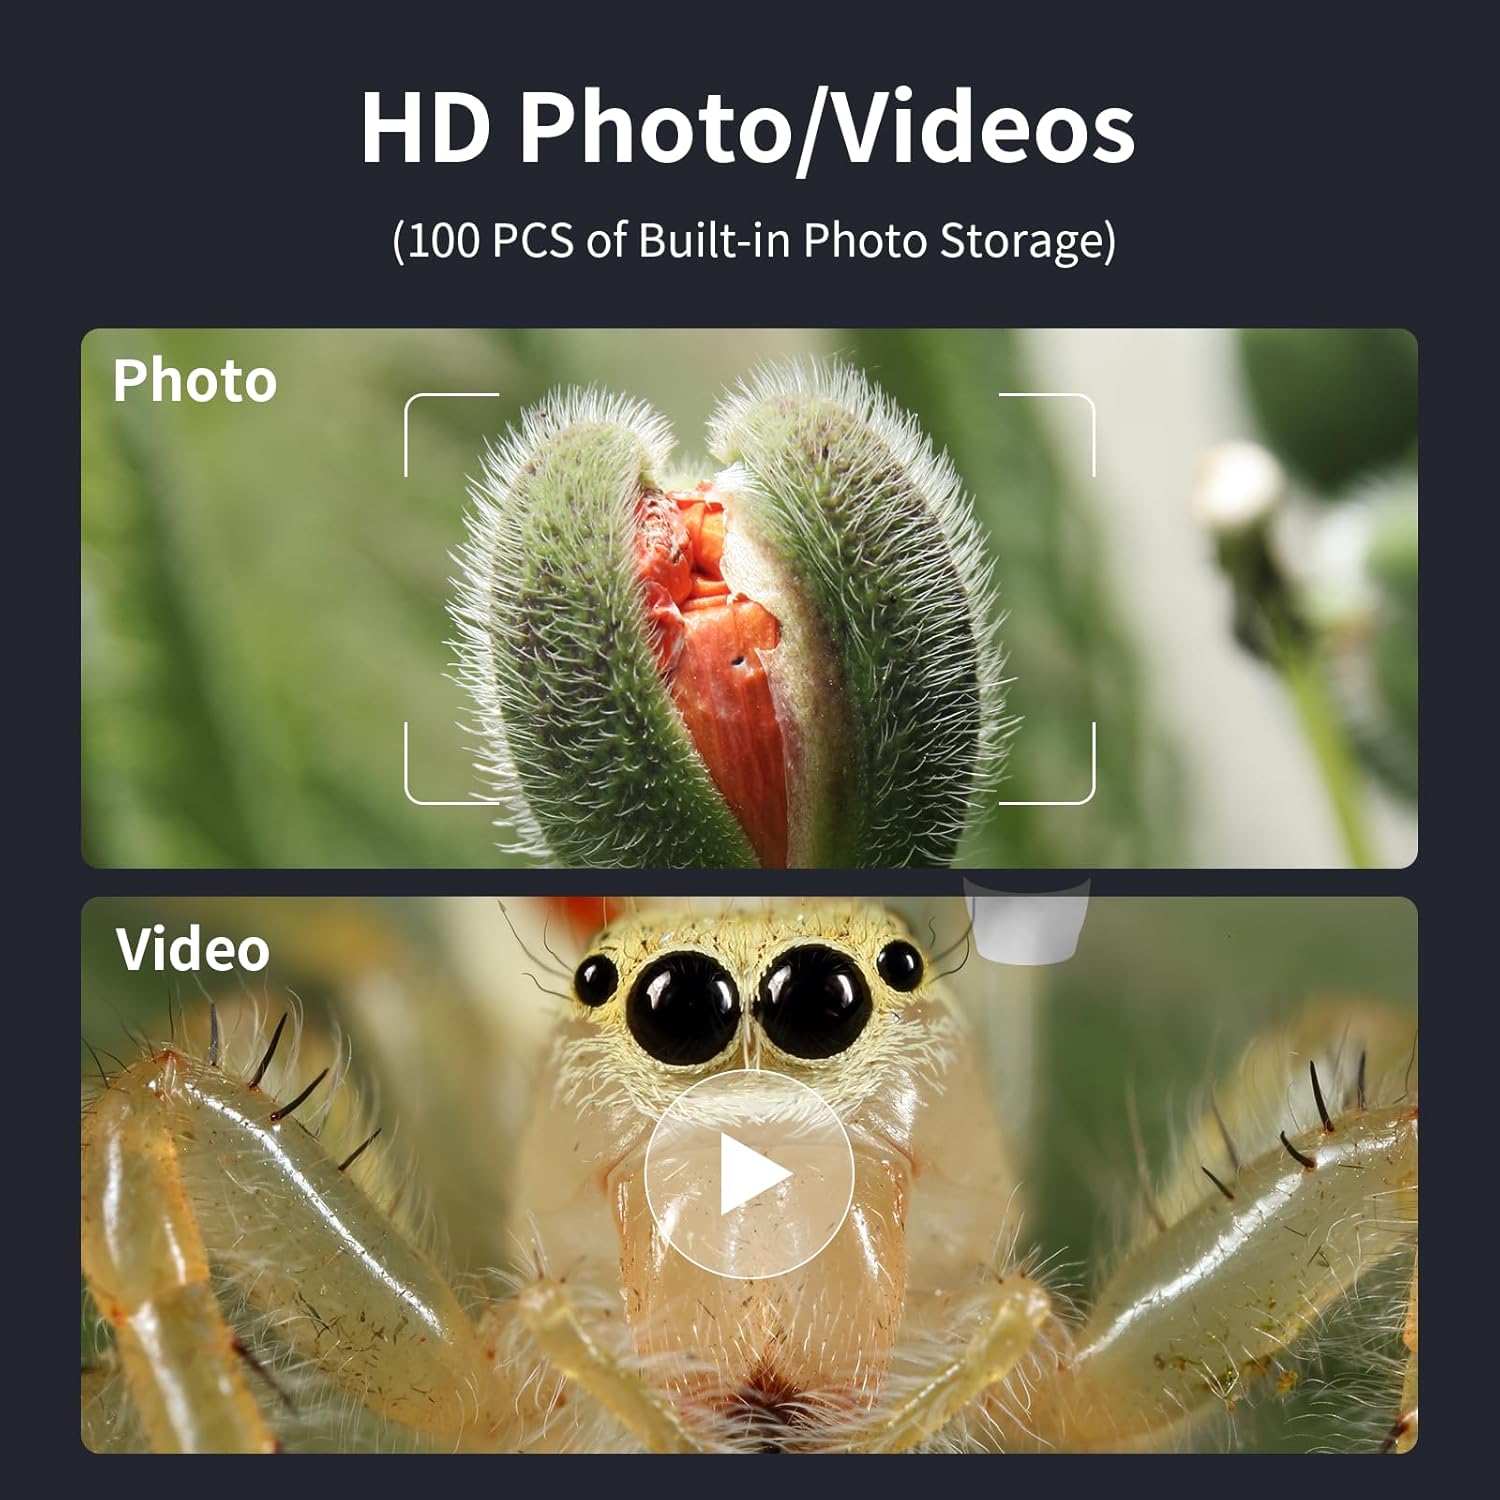
Figure 7: Options for capturing high-definition photos and videos.
וישאַלט
- Keep the microscope lens clean using a soft, lint-free cloth. Avoid abrasive materials.
- האַלט די דעווייס אין אַ טרוקענער, שטויב-פֿרײַער סביבה ווען זי איז נישט אין באַנוץ.
- Charge the internal battery using a 5V-1A charger. Do not charge via PC to prevent potential damage.
- ויסמיידן יקספּאָוזינג די מיטל צו עקסטרעם טעמפּעראַטורעס אָדער דירעקט זונשייַן.
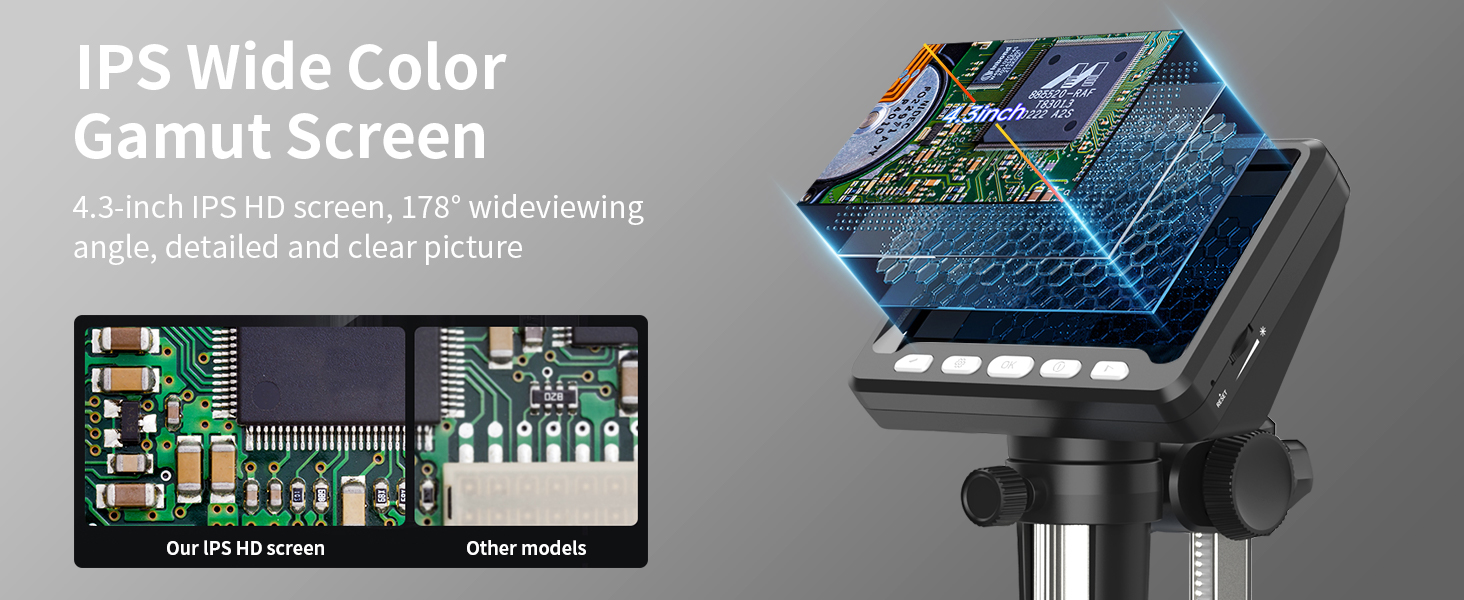
Figure 8: Charging the microscope for optimal battery life.
טראָובלעשאָאָטינג
- קיין בילד אויף דעם עקראַן: Ensure the device is powered on and fully charged. Check if the lens cap is removed.
- בלערי בילד: Adjust the focus knob and the height of the microscope on the stand. Ensure adequate lighting from the LED lights.
- פּראָבלעמען מיט פּיסי פֿאַרבינדונג: Verify the USB-C cable is securely connected. Ensure "PC Camera" mode is selected on the microscope. Try restarting the camera application on your computer.
- קורץ באַטאַרייע לעבן: Ensure the device is fully charged before use. Reduce LED brightness if not needed.
ספּעסאַפאַקיישאַנז
| שטריך | דעטאַל |
|---|---|
| מאָדעל נומער | 366C |
| פאַרשטעלן גרייס | 4.3 Inch IPS HD Screen |
| פאַרגרעסערונג | אַרויף צו 1000x |
| האַכלאָטע | 1080P (for display) |
| ליכט מקור | 8 אַדזשאַסטאַבאַל געפירט לייץ |
| באַטערי טיפּ | ליטהיום יאָן (אַרייַנגערעכנט) |
| אַפּערייטינג צייט | אַרויף צו 3.5 שעה |
| טשאַרדזשינג צייט | בעערעך. 3.0 שעה |
| פּיסי קאַמפּאַטאַבילאַטי | MacOS, Windows (Vista, XP, 7, 8, 10, 11) |
| פּראָדוקט דימענשאַנז | 5 X 5 X 5 אינטשעס |
| פּונקט וואָג | 1.01 פונט |
| מאַטעריאַל | פּלאַסטיק |
| קאָליר | שוואַרץ |
זיכערקייַט אינפֿאָרמאַציע
- Do not look directly into the LED lights for extended periods.
- האַלטן די מיטל אַוועק פון וואַסער און אנדערע ליקווידס.
- דו זאלסט נישט פּרווון צו דיסאַסעמבאַל אָדער פאַרריכטן די מיטל זיך. קאָנטאַקט קונה שטיצן פֿאַר הילף.
- Keep out of reach of small children without adult supervision.
וואָראַנטי און שטיצן
For warranty information, technical support, or any inquiries regarding your Ashfly LCD Digital Coin Microscope, please refer to the contact details provided on the product packaging or visit the official Ashfly webזייטל. ביטע באַהאַלטן אייער קויפן באַווייַז פֿאַר וואָראַנטי קליימז.
Ask a question about this manual
Ask about setup, troubleshooting, compatibility, parts, safety, or missing instructions. Manuals+ will review the question and use this page’s manual context to help answer it.