
1. הקדמה
This manual provides detailed instructions for the installation, operation, and maintenance of your Hikvision 2-Wire Video Intercom Kit, Model 38084. This system is designed for single-family homes, offering enhanced security and convenience through its 7-inch touchscreen monitor, FullHD outdoor camera, and seamless integration with the Hik-Connect mobile application. Please read this manual thoroughly before installation and use to ensure proper functioning and safety.
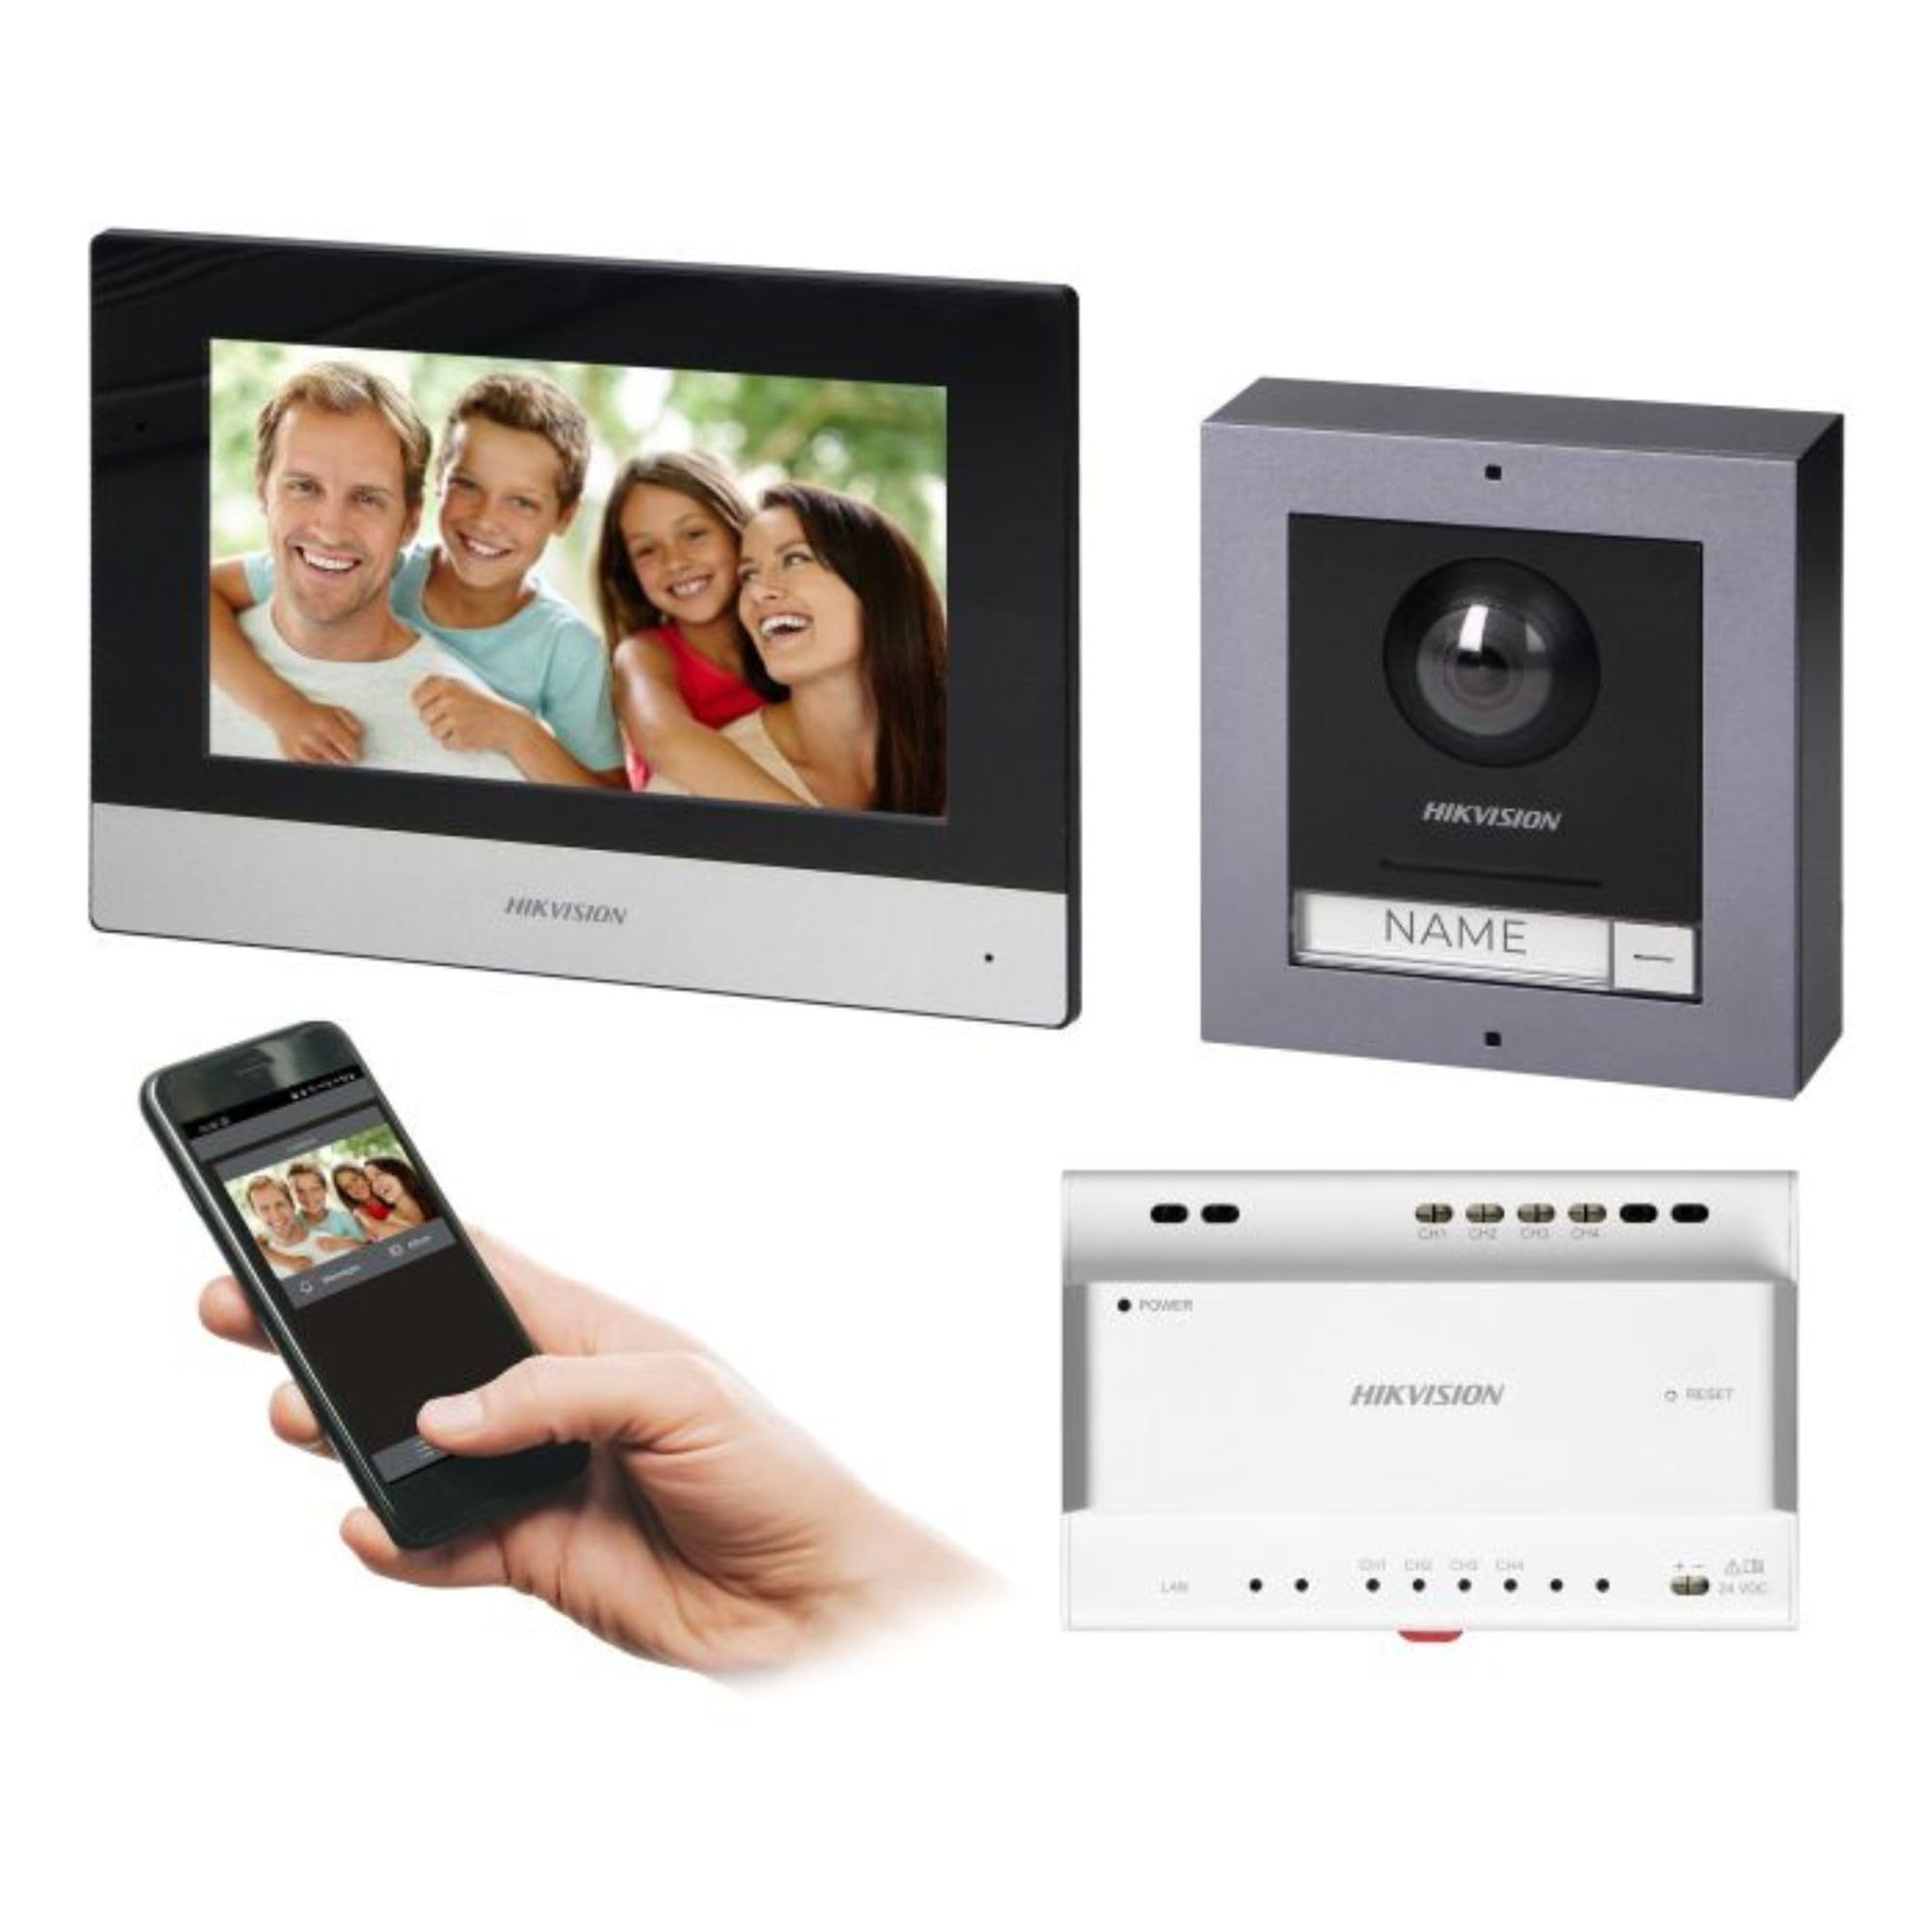
Figure 1: Hikvision 7-inch Video Intercom Monitor (Front View)
The image displays the front view of the Hikvision 7-inch video intercom monitor, featuring a large screen and the Hikvision logo at the bottom.
2. זיכערקייַט אינפֿאָרמאַציע
שטענדיק פֿאָלגן גרונטלעכע זיכערהייט מיטלען צו רעדוצירן דעם ריזיקאָ פֿון פֿײַער, עלעקטרישן קלאַפּ און שאָדן צו מענטשן.
- עלעקטריקאַל זיכערקייַט: Installation must be performed by qualified personnel in accordance with all local electrical codes. Disconnect power before installation or servicing.
- וואַסער און נעץ: Do not expose the indoor monitor to rain or moisture. The outdoor panel is IP65 rated for weather resistance but should not be submerged.
- טעמפּעראַטור: אַפּערירט דעם מיטל אין דעם ספּעציפֿירטן טעמפּעראַטור קייט.
- רייניקונג: ניצט אַ ווייכע, טרוקענע שטאָף פֿאַר רייניקונג. ניצט נישט קיין פֿליסיגע אָדער אַעראָזאָל רייניגער.
- ינטערפיראַנס: Avoid installing near sources of strong electromagnetic interference.
3. פּעקל אינהאַלט
באַשטעטיקן אַז אַלע קאָמפּאָנענטן זענען פאַראַן אין דער פּאַקעט:
- 7-inch Indoor Monitor (with WiFi)
- FullHD Outdoor Panel (with Camera and Night Vision)
- 4-Channel Distributor
- מאָנטירונג אַקסעסאָריעס (שרויף, וואַנט פּלאַגז)
- באַניצער מאַנואַל (דעם דאָקומענט)
- 16 GB MicroSD Card (pre-installed or included for video storage)

Figure 2: Hikvision Outdoor Panel and Mounting Accessories
This image shows the Hikvision outdoor panel alongside its rain shield and a flush-mount box, illustrating the various mounting options available.
4. סעטאַפּ און ייַנמאָנטירונג
The Hikvision video intercom system utilizes a 2-wire installation method, simplifying wiring. Both the indoor monitor and outdoor panel are designed for surface mounting.
4.1 Outdoor Panel Installation
- קלייַבן אָרט: Select a suitable location near the entrance, ensuring the camera has a clear view of visitors. The panel is IP65 rated for outdoor use.
- מאָונטינג: Use the provided mounting bracket to mark drill holes on the wall. Drill holes, insert wall plugs, and secure the bracket.
- וויירינג: Connect the 2-wire cable from the distributor to the outdoor panel terminals. Ensure correct polarity.
- זיכערער פּאַנעל: Attach the outdoor panel to the mounting bracket.

Figure 3: Hikvision Outdoor Panel (Front View)
This image shows the front of the Hikvision outdoor panel, featuring the FullHD camera, speaker grille, call button, and nameplate area.
4.2 אינעווייניק מאָניטאָר אינסטאַלאַציע
- קלייַבן אָרט: Select an indoor location where the monitor is easily accessible and visible.
- מאָונטינג: Use the provided mounting plate to mark and drill holes. Secure the mounting plate to the wall.
- וויירינג: Connect the 2-wire cable from the distributor to the indoor monitor terminals.
- מאַכט קשר: Connect the monitor to a power source (mains electricity).
- זיכער מאָניטאָר: Attach the indoor monitor to the mounting plate.

Figure 4: Hikvision Indoor Monitor (Back View) and Mounting Plate
The image displays the rear of the Hikvision indoor monitor, showing its connection ports and the separate mounting plate used for installation.
4.3 System Wiring Diagram (General)
The 2-wire system connects the outdoor panel, indoor monitor, and the 4-channel distributor. The distributor manages power and data communication between the devices.
- Connect the outdoor panel to the distributor using a 2-wire cable.
- Connect the indoor monitor to the distributor using a 2-wire cable.
- Ensure the distributor is powered.
- For electric lock control, additional power may be required for the lock itself, connected via the outdoor panel.
4.4 וויפי קאַנעקשאַן
After physical installation, power on the monitor. Navigate to the network settings on the 7-inch touchscreen to connect to your 2.4 GHz Wi-Fi network (802.11 b/g/n standard). This enables smartphone communication via the Hik-Connect app.
5. אַפּערייטינג ינסטרוקטיאָנס
5.1 Indoor Monitor Functions
- ריר סקרין: Navigate menus and control functions using the 7-inch touch screen.
- ינטערקאָם פֿונקציע: Communicate with visitors at the outdoor panel or other indoor monitors (if expanded).
- זכּרון פֿונקציע: The monitor supports a memory function, likely for capturing images or short video clips of visitors.
- סד קאָרט לייענער: A 16GB MicroSD card is included for storing recorded video streams.
- Ringtone Management: Choose from 3 available ringtones. Adjust volume or mute the ringtone as needed.
- טיר קאָנטראָל: Use the monitor to remotely open an electric lock connected to the system.
- CCTV Camera Integration: The system can be expanded to integrate up to 16 CCTV cameras.
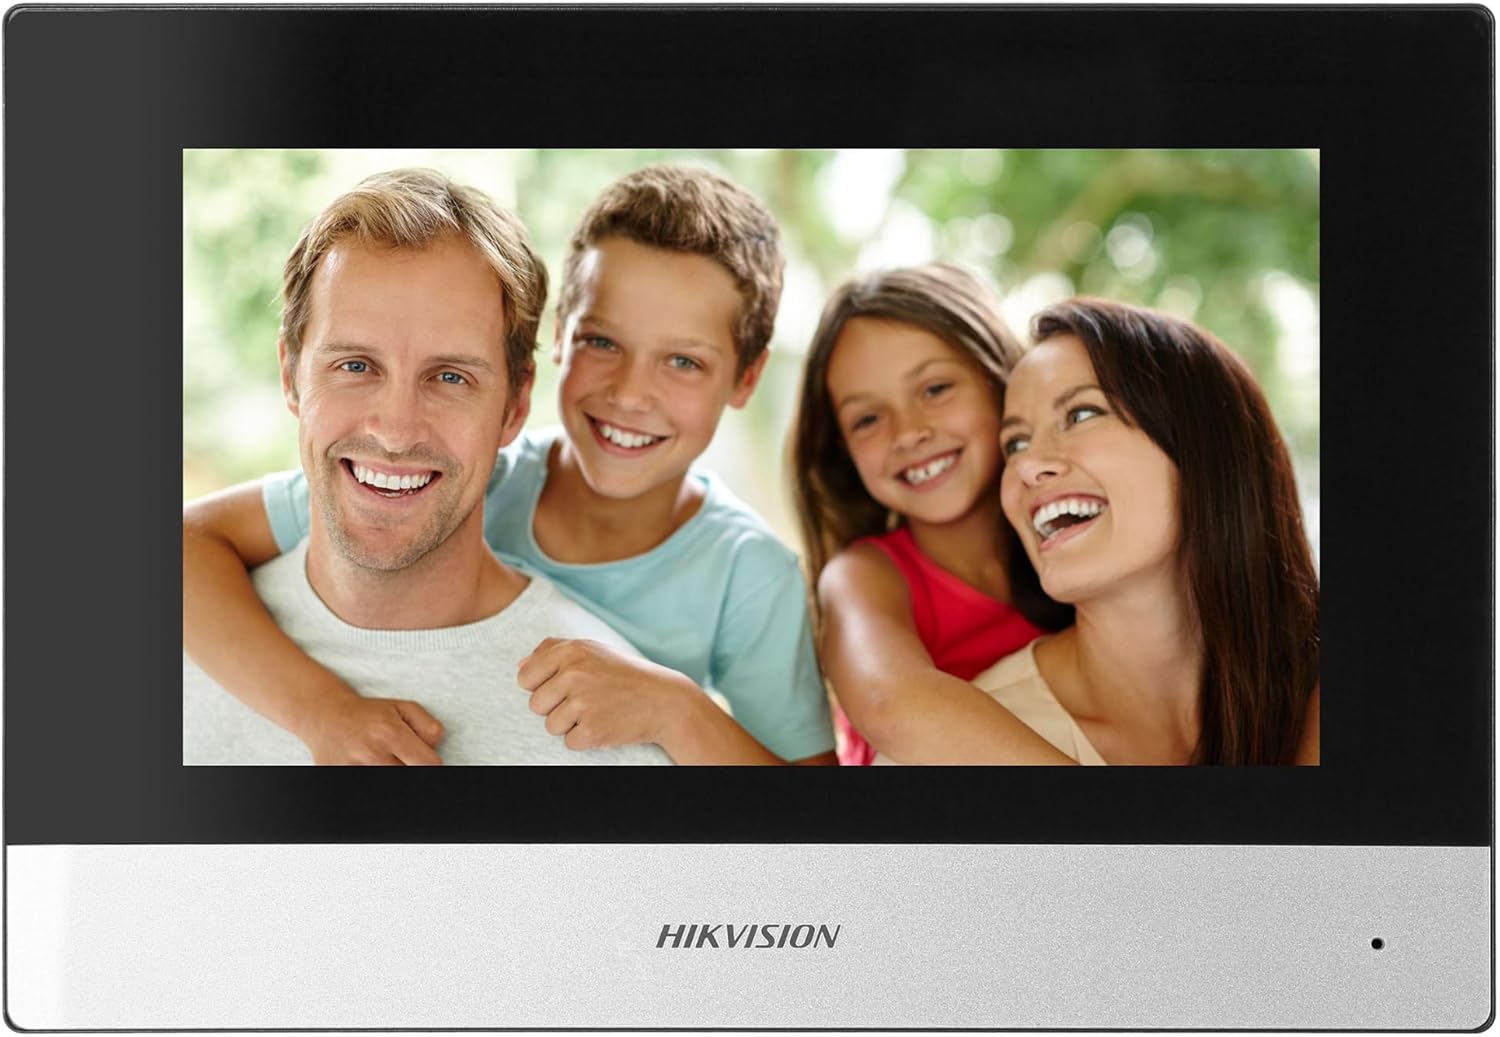
Figure 5: Hikvision Indoor Monitor (Front View)
This image shows the Hikvision 7-inch indoor monitor from the front, highlighting its sleek design and large display area.
5.2 Outdoor Panel Operation
- רופן קנעפּל: Visitors press the single call button to initiate a call to the indoor monitor.
- FullHD Camera: Provides a 2MP (1920x1080p) video feed with a wide viewווינקל (96°/180°).
- נאַכט זעאונג: Integrated IR illumination ensures clear visibility even in low-light conditions.
- נאָמען פּלאַטע: A space is provided for a nameplate or label.

Figure 6: Hikvision Outdoor Panel (Angled View)
אַ ווינקלדיק view of the Hikvision outdoor panel, showcasing its robust construction and integrated camera and call button.
5.3 Hik-Connect Mobile Application
Download the Hik-Connect app from your smartphone's app store. Once installed and configured with your system, you can:
- Receive calls from the outdoor panel on your smartphone.
- View live video from the outdoor camera.
- Remotely open the door.
- צוטריט צו רעקארדירטע ווידעא פוtage.
6. וישאַלט
רעגולערע אויפהאלטונג גאראנטירט די לאנגעוויטי און אפטימאלע פאָרשטעלונג פון אייער אינטערקאם סיסטעם.
- רייניקונג: Wipe the monitor screen and outdoor panel with a soft, damp שטאָף. ויסמיידן אַברייסיוו קלינערז.
- Firmware דערהייַנטיקונגען: טשעקט פּעריִאָדיש פֿאַר פֿירמווער דערהייַנטיקונגען דורך די Hik-Connect אַפּ אָדער Hikvision'ס אָפֿיציעלע website to ensure your system has the latest features and security patches.
- קאַבלע דורכקוק: Periodically inspect all wiring for any signs of wear or damage.
- Outdoor Panel Lens: Keep the camera lens on the outdoor panel clean for clear video quality.
7. טראָובלעשאָאָטינג
אויב איר טרעפט פּראָבלעמען, זעט די פאלגענדע געוויינטלעכע טראָובלעשווטינג טריט:
- קיין מאַכט: Check all power connections and ensure the distributor is receiving power.
- קיין ווידעא/אודיאָ: Verify the 2-wire connections between the outdoor panel, monitor, and distributor. Ensure correct polarity.
- WiFi קשר ישוז: Ensure your router is operating on 2.4 GHz. Re-enter WiFi credentials on the monitor. Check signal strength.
- Door Lock Not Opening: Confirm the electric lock has its own power supply if required. Check wiring from the outdoor panel to the lock.
- שלעכטע נאכט זעאונג: Ensure the outdoor camera lens is clean and free from obstructions.
8. ספּעסאַפאַקיישאַנז
| טיפּ | איין-פאמיליע |
| ווידעא פֿונקציע | יא |
| מאַכט צושטעלן | מיינס עלעקטרע |
| טראַנסמיסיע טיפּ | דראָטיק (2-דראָטיק) |
| Smartphone Communication | Yes (via Hik-Connect app) |
| ווי-פי אָפטקייַט | 2.4 גהז |
| ווי-פי סטאַנדאַרד | 802.11 ב/ג/ען |
| ייַנמאָנטירונג אופֿן | 2-wire, Surface Mount |
| Max. Monitors | יקספּאַנדאַבאַל צו 3 |
| Max. Outdoor Panels | יקספּאַנדאַבאַל צו 1 |
| Max. CCTV Cameras | יקספּאַנדאַבאַל צו 16 |
| עלעקטריק לאַק קאָנטראָל | Yes (requires additional power for lock) |
| טאָג / נאַכט פונקציע | יא |
| מאַונטינג אופֿן | ייבערפלאַך בארג |
| Hands-free System | יא |
| פאַרשטעלן דיאַגאָנאַל | 7 אינטשעס |
| האַכלאָטע | 1024 X 600 |
| ריר סקרין | יא |
| ווידעא סיסטעם | PAL, קאָליר |
| זכּרון פֿונקציע | יא |
| סד קאָרט לייענער | Yes (16GB card included) |
| ינטערקאַם פונקציע | יא |
| רינגטאָנעס | 3 |
| מאַטעריאַל | פּלאַסטיק |
| קאָליר | שוואַרץ |
| דימענשאַנז (ב x ה x ד) | 140 מם רענטגענ 200 מם רענטגענ 15 מם |
| רופן קנעפּלעך | 1 |
| מאַונטינג אופֿן | ייבערפלאַך בארג |
| אַפּאַראַט האַכלאָטע | 2MP, 1920x1080 (FullHD) |
| אַפּאַראַט Viewינג אַנגלע | 96°/180° |
| נאַכט יללומינאַטיאָן | IR (אינפרארעד) |
| פּטז פונקטיאָן | ניין |
| פּראַקסימאַטי קאַרד רידער | ניין |
| Nameplate Space | יא |
| וואַנדאַל-זיכער | ניין |
| שוץ רייטינג | IP65 |
| מאַטעריאַל | שטאָל |
| קאָליר | זילבער |
| דימענשאַנז (ב x ה x ד) | 98 מם רענטגענ 99.8 מם רענטגענ 43.9 מם |
| פּראָדוקט דימענשאַנז | 20 X 15 X 10 סענטימעטער |
| פּונקט וואָג | 1 קג |
| מאָדעל נומער | 38084 |
9. וואָראַנטי און שטיצן
פֿאַר וואָראַנטי אינפֿאָרמאַציע און טעכנישע שטיצע, ביטע זען די באַאַמטער Hikvision webזייטל אדער קאָנטאַקט אייער לאקאלן דיסטריביאַטאָר. האַלט אייער קויף קוויטל פֿאַר וואָראַנטי קליימז.
- אָנליין שטיצן: באַזוכן www.hikvision.com for product documentation, FAQs, and support resources.
- קונה סערוויס: Contact your retailer or authorized Hikvision service center for assistance.