
1. הקדמה
This manual provides detailed instructions for the TRIGKEY Green G4 Mini PC, featuring the Intel Alder Lake-N100 processor. It covers initial setup, operation, maintenance, and troubleshooting to ensure optimal performance and user experience. Please read this manual thoroughly before using your device.
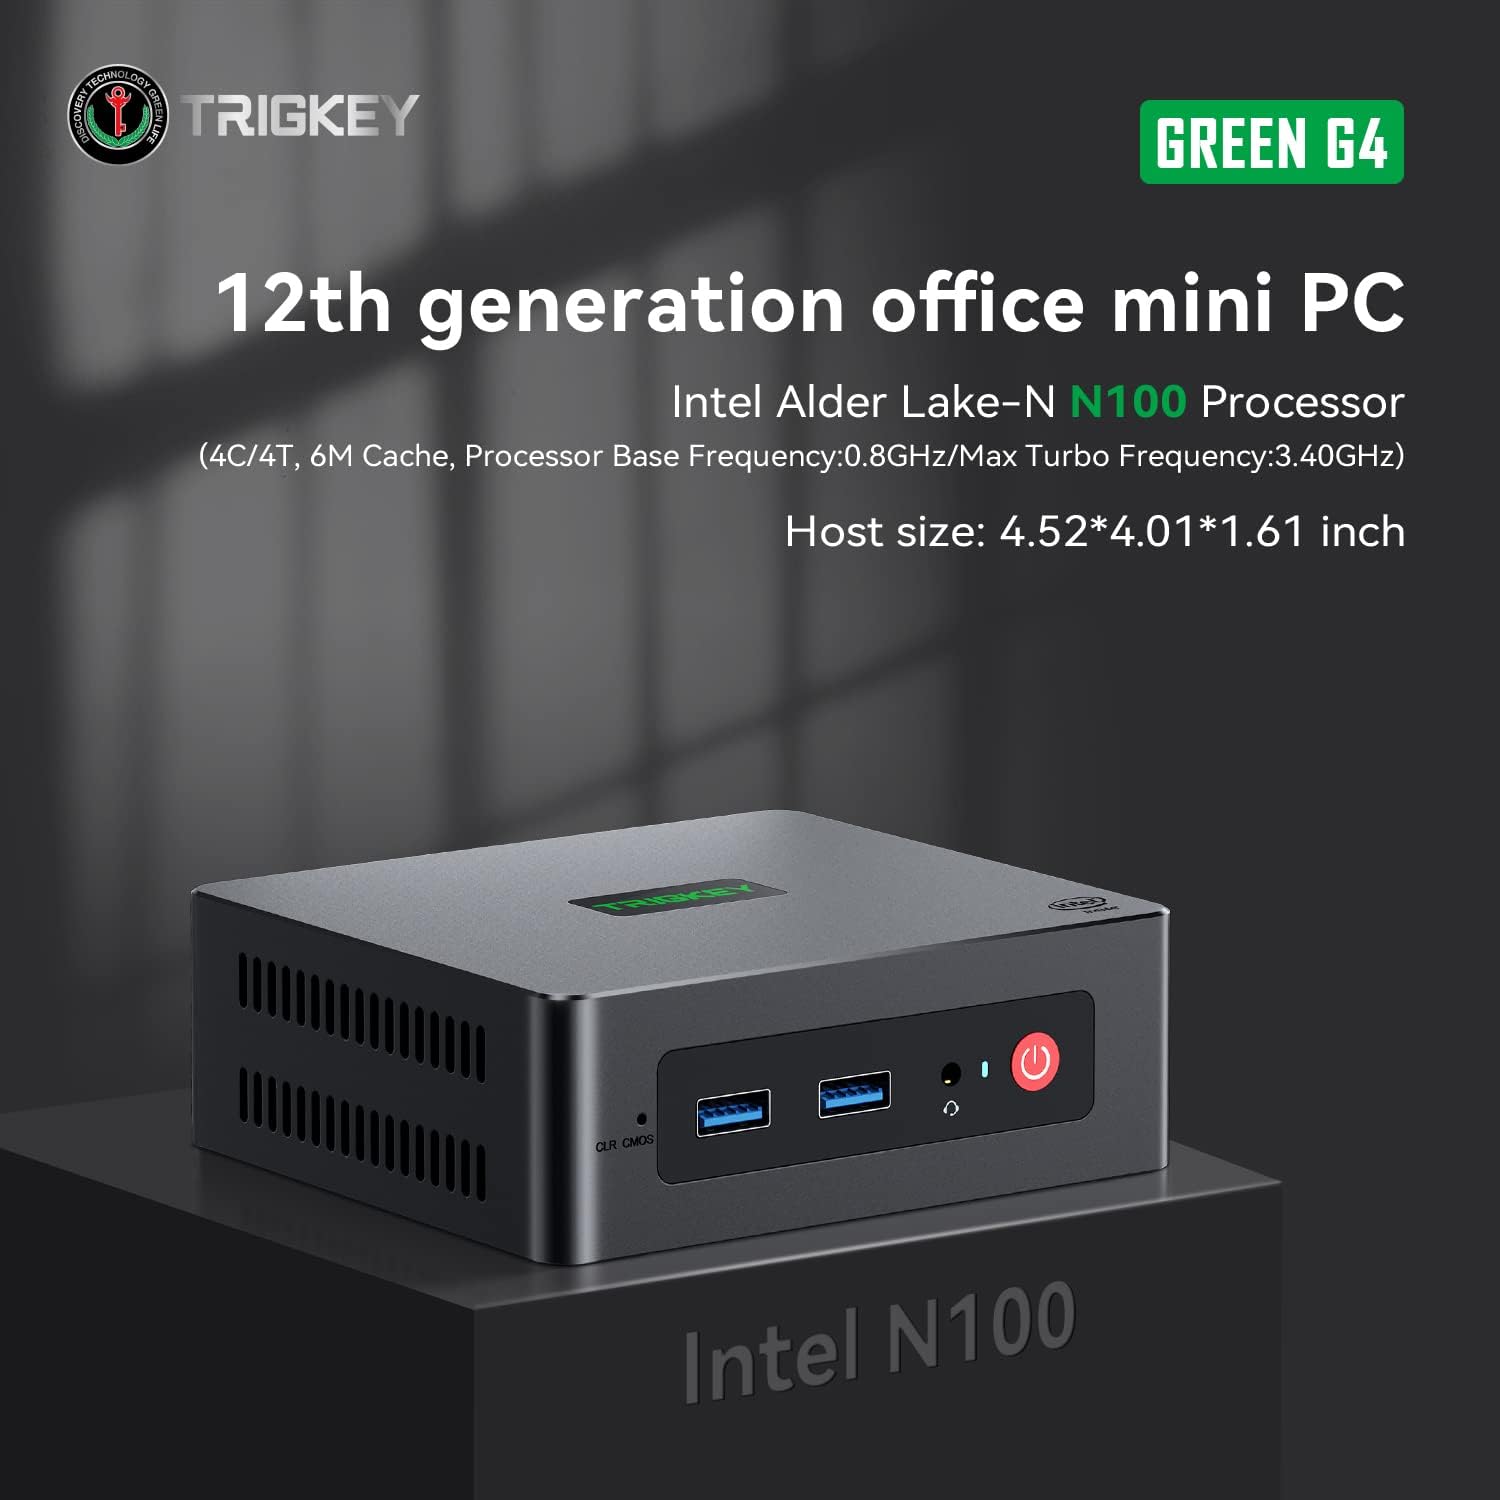
Image: TRIGKEY Green G4 Mini PC, highlighting its compact design and front panel.
2. פּראָדוקט איבערview
2.1 שליסל פֿעיִקייטן
- פּראַסעסער: Intel Alder Lake-N100 (4 Cores/4 Threads, up to 3.4GHz)
- זכּרון: 16GB DDR4 באַראַן (עקספּאַנדאַבאַל)
- סטאָרידזש: 500GB NVMe SSD (expandable up to 2TB)
- גראַפיקס: Intel UHD Graphics (24EUs)
- קאַנעקטיוויטי: WiFi 6, Bluetooth 5.2, 1000MB/s LAN
- ווייַז רעזולטאַט: Dual 4K HDMI (60Hz)
- סאָליד פּלאַן: Host size approximately 4.52 x 4.01 x 1.61 inches
2.2 פּאָרטן און אינטערפייסיז

Image: Front and rear interfaces of the Mini PC.
| פּאָרט / צובינד | באַשרייַבונג |
|---|---|
| מאַכט קנעפּל | טורנס די מיטל אויף / אַוועק. |
| מאַכט ינדיקאַטאָר | ינדיקייץ מאַכט סטאַטוס. |
| RTC Key (CLR CMOS) | Used to clear CMOS settings. |
| USB 3.2 Gen2 (10Gbps) | הויך-גיכקייט דאַטן אַריבערפירן פּאָרץ. |
| ירפאָון דזשאַק | Audio output for headphones. |
| LAN (1000M) | Gigabit Ethernet port for wired network connection. |
| 4K 60Hz HDMI | Dual HDMI ports for high-definition video output. |
| DC Power Adapter Port | קאַנעקץ צו די מאַכט צושטעלן. |
| שלאָס שפּאַלט | For security lock. |
3. סעטאַפּ
3.1 ערשט קאַנעקשאַן
- Connect your monitor(s) to the HDMI ports on the rear of the Mini PC.
- פֿאַרבינדט אייער קלאַוויאַטור און מויז צו די פֿאַראַן USB פּאָרץ.
- For wired internet, connect an Ethernet cable to the LAN port. For wireless, ensure the WiFi antenna is connected (if external) or that the internal WiFi is enabled.
- Connect the power adapter to the DC power port and then plug it into a power outlet.
- Press the power button on the front of the Mini PC to turn it on.
3.2 ערשטער שטיוול
Upon first boot, the system may guide you through the initial setup of the operating system (e.g., Windows 11). Follow the on-screen prompts to configure language, region, network, and user accounts.
4. אַפּערייטינג ינסטרוקטיאָנס
4.1 יקערדיק אָפּעראַציע
- מאַכט אויף / אַוועק: Press the power button once to turn on. To shut down, use the operating system's shutdown option. A short press on the power button can also put the PC to sleep. A long press (5-7 seconds) will force a shutdown.
- ריסטאַרט: Use the operating system's restart option.
- קאַנעקטינג פּעריפעראַלס: Use the available USB ports for external devices like printers, external drives, or webקאַמס.
- נעץ קאַנעקטיוויטי: Connect to a wired network via the LAN port or a wireless network using the built-in WiFi 6.
- צווייענדיק ווייַז: Connect two monitors to the HDMI ports for an extended or duplicated desktop experience.

Image: Mini PC supporting dual screen display for enhanced productivity.
4.2 Video Playback and Productivity
The Mini PC supports 4K high-definition output, suitable for media consumption and office tasks. Its compact size and efficient performance make it suitable for various applications, from home theater setups to general office work.
Video: TRIGKEY Mini PC G4 N100 product overview, ווייַזןasinג זייַנע פֿעיִקייטן און קאָמפּאַקטן פּלאַן.
5. וישאַלט און ופּגראַדעס
5.1 Storage Expansion (2.5-inch HDD/SSD)
The TRIGKEY Green G4 Mini PC allows for additional storage expansion by installing a 2.5-inch HDD or SSD. Follow these steps carefully:
- מאַכט אַוועק: Ensure the Mini PC is completely powered off and disconnected from the power supply.
- Unscrew Bottom Panel: Locate and unscrew the screws on the bottom panel of the Mini PC.
- Open Back Panel: Carefully open the back panel to reveal the internal components and the storage bay.
- Insert SSD/HDD: Align the 2.5-inch SSD or HDD with the slot in the back panel and gently insert it.
- זיכער דרייוו: Use the provided screws to secure the SSD/HDD to the back panel.
- Reinstall Bottom Panel: Close the back panel and reinstall the bottom screws to secure it.

Image: M.2 PCIe SSD, demonstrating the internal storage component.
Video: Hard disk installation tutorial, demonstrating the steps to install an additional 2.5-inch HDD/SSD.
5.2 RAM Upgrade
The Mini PC supports single-channel DDR4 memory. While it comes with 16GB, it can be upgraded depending on the memory type. Consult the product specifications for maximum supported RAM capacity and type before attempting an upgrade.

Image: SO-DIMM DDR4 memory module.
6. טראָובלעשאָאָטינג
6.1 קיין מאַכט
- זיכער מאַכן אַז דער מאַכט אַדאַפּטער איז זיכער פארבונדן צו ביידע די מיני פּיסי און אַ אַרבעטנדיק מאַכט ווענטיל.
- באַשטעטיקן אַז די עלעקטרישע ווענטיל אַרבעט דורך אַרײַנשטעקן אַן אַנדער דעוויס.
- קאָנטראָלירט דעם מאַכט אַדאַפּטער פֿאַר קיין קענטיק שעדיקן.
6.2 קיין ווייַז
- Confirm that the HDMI cable(s) are securely connected to both the Mini PC and the monitor(s).
- זיכער מאַכן אַז דער מאָניטאָר איז אנגעצונדן און איינגעשטעלט צו דער ריכטיקער אינפוט מקור (HDMI 1, HDMI 2, אאז"וו).
- Try connecting to a different monitor or using a different HDMI cable to rule out external issues.
6.3 Operating System Installation Issues
If you encounter difficulties installing or reinstalling an operating system, especially when using custom installation media, note that some Mini PCs may require specific tools or methods for USB boot media creation. Refer to the manufacturer's support resources for guidance on creating compatible installation media.
6.4 פען ראַש
The Mini PC features active cooling. While designed to be quiet, a slight fan whine may be noticeable under heavy load or in very quiet environments. This is generally normal operation. Ensure the vents are not obstructed to allow for proper airflow.
7. ספּעסאַפאַקיישאַנז
| שטריך | דעטאַל |
|---|---|
| סאָרט | TRIGKEY |
| מאָדעל נומער | N100 |
| קפּו מאָדעל | Intel Alder Lake-N100 (Celeron) |
| קפּו ספּיד | אַרויף צו 3.4 GHz |
| פּראַסעסער גראף | 4 |
| קאַש גרייס | 6 מב |
| ראַם זכּרון אינסטאַלירט גרייס | 16 גיגאבייט |
| באַראַן טיפּ | DDR4 SDRAM |
| זכּרון ספּיד | 3200 מהז |
| זכּרון סלאָץ בנימצא | 1 |
| שווער דיסק באַשרייַבונג | 500 GB NVMe SSD |
| שווער דיסק צובינד | NVMe |
| גראַפיקס קאָופּראַסעסער | Intel UHD גראַפיקס |
| וידאו רעזולטאַט צובינד | HDMI (2 ports) |
| ווייַז האַכלאָטע מאַקסימום | 3840 X 2160 בילדצעלן (4K) |
| ווירעלעסס טעכנאָלאָגיע | Wi-Fi 6 (802.11ax), בלועטוט 5.2 |
| קאַנעקטיוויטי טעכנאָלאָגיע | Ethernet (1000M) |
| גאַנץ וסב פּאָרץ | 6 (USB 3.2 Gen2) |
| מאַכט קאַנסאַמשאַן | 6 וואטס (טיפּיש) |
| קאָליר | גרין |
8. וואָראַנטי און שטיצן
TRIGKEY is committed to providing excellent customer service and support for your Mini PC.
8.1 וואָראַנטי אינפֿאָרמאַציע
- צוריקקער פּאָליטיק: 30 טעג קיין סיבה נישט צוריקצוקומען.
- פאַרבייַט: Replacement available within 12 months of purchase.
- טעכניש שטיצן: Lifetime after-sales service and technical support.
8.2 קאָנטאַקט שטיצע
For any inquiries, technical assistance, or warranty claims, please contact TRIGKEY customer support. Response is typically provided within 24 hours.
- E- בריוו שטיצן: Refer to your product packaging or the official TRIGKEY webוועבזייטל פֿאַר קאָנטאַקט אימעיל.
- Online Consultation: Visit the TRIGKEY official website for online chat or support forms.
- Website Resources: Explore the TRIGKEY website for FAQs, drivers, and additional product information.