
הקדמה
This user manual provides comprehensive instructions for the setup, operation, maintenance, and troubleshooting of your Bmax Mini PC B1 Pro. Designed for efficiency and versatility, this mini PC offers a compact solution for various computing needs, from multimedia to business applications.

Image: The Bmax Mini PC B1 Pro, showcasing its compact design and various ports including HDMI, USB, and Ethernet.
פּעקל אינהאַלט
ביטע באַשטעטיקן אַז אַלע זאכן וואָס זענען ליסטעד אונטן זענען אַרייַנגערעכנט אין דיין פּעקל:
- 1 x Bmax Mini PC B1 Pro (8GB+128GB configuration)
- 1 x HDMI קאַבלע
- 1 רענטגענ יו. עס. מאַכט אַדאַפּטער
- 1 x באַניצער מאַנואַל (דאָס דאָקומענט)
- 1 x וועסאַ מאָונט מיט שרויפן

Image: All components included in the Bmax Mini PC B1 Pro retail package.
פּראָדוקט איבערview און שליסל פֿעיִקייטן
פּראַסעסער און פאָרשטעלונג
The Bmax Mini PC B1 Pro is equipped with an Intel Celeron N4000 processor, offering a base frequency of 1.1 GHz and a burst frequency of up to 2.6 GHz. This processor is designed for smooth and stable operation, suitable for everyday computing tasks.

Image: Detailed specifications of the Intel Gemini Lake N4000 processor.
זכּרון און סטאָרידזש
The device comes with 8GB of LPDDR4 RAM and 128GB of eMMC storage. It supports additional storage expansion via an M.2_2280 SATA SSD (up to 1TB, SSD not included) or an external mobile hard disk box via USB 3.0. This allows for ample space for multiple applications and files.

Image: Visual representation of the M.2 SATA 2280 expansion slot.
אַרויסווייַז מעגלעכקייטן
The B1 Pro supports 4K (3840 x 2160) ultra-high-definition display output. It features both HDMI and VGA ports, enabling dual monitor setups for increased productivity.

Image: The Bmax Mini PC B1 Pro connected to two monitors for a dual-screen setup.
קאַנעקטיוויטי און פּאָרץ
This mini PC includes 802.11ac Dual-Band Wi-Fi and Bluetooth 4.2 for wireless connectivity. It also features a 1000Mbps LAN port for stable wired network access. A variety of ports are available for peripherals and displays.
- 2 רענטגענ וסב 3.0 פּאָרץ
- 2 רענטגענ וסב 2.0 פּאָרץ
- 1 רענטגענ הדמי פּאָרט
- 1 x VGA Port
- 1 x Ethernet (LAN) Port
- 1 x 3.5mm Headset Jack
- 1 x מיקראָ סד קאָרט שפּעלטל
- מאַכט אין
- קלאָר קמאָס קנעפּל

בילד: א דעטאַלירטע view of all available ports on the Bmax Mini PC B1 Pro.
סאָליד פּלאַן
Weighing only 8.5 ounces and measuring 4.7 x 4.7 x 0.9 inches, the B1 Pro is highly portable. It includes a VESA bracket for mounting behind a monitor, creating a clean and uncluttered workspace.

Image: The Bmax Mini PC B1 Pro held in a hand, demonstrating its compact size.
סעטאַפּ גייד
ערשט קאַנעקשאַן
- פאַרבינדן צו ווייַז: Use the provided HDMI cable to connect the Mini PC to your monitor or TV. If using a VGA display, connect via the VGA port.
- פאַרבינדן פּעריפעראַלס: שטעקט אריין אייער קלאַוויאַטור, מויז, און אַלע אַנדערע USB דעוויסעס אין די פאַראַן USB פּאָרץ.
- פאַרבינדן צו מאַכט: Connect the US Power Adapter to the Mini PC's power input port, then plug it into a power outlet.
- מאַכט אויף: Press the power button located on the front of the Mini PC. The system will boot up.
- ערשטע ווינדאָוס סעטאַפּ: Follow the on-screen instructions to complete the Windows operating system setup.
VESA בארג ינסטאַלירונג
The Bmax Mini PC B1 Pro comes with a VESA bracket, allowing you to mount it behind a compatible monitor or on a wall. This helps save desk space and creates a cleaner setup.
- Attach the VESA bracket to the back of your monitor using the provided screws. Ensure it is securely fastened.
- Slide the Mini PC onto the VESA bracket until it clicks into place.
- Connect all necessary cables (power, display, peripherals) to the Mini PC.
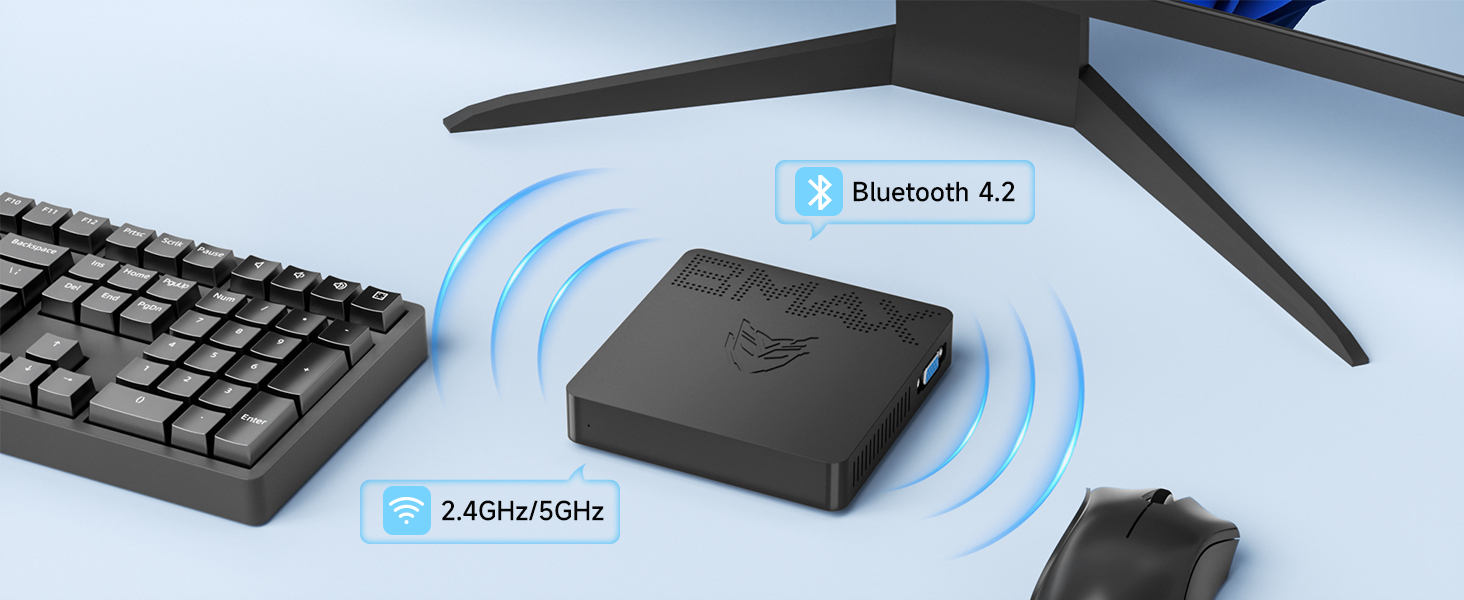
Image: Different placement options for the Bmax Mini PC B1 Pro, including VESA mounting.
אַפּערייטינג ינסטראַקשאַנז
יקערדיק אָפּעראַציע
- מאַכט אויף / אַוועק: Press the power button to turn the PC on. To turn off, use the operating system's shutdown function or press and hold the power button for a few seconds for a forced shutdown (not recommended for regular use).
- ריסטאַרט: Use the operating system's restart function.
- שלאָפן מאָדע: The PC will enter sleep mode after a period of inactivity, or you can manually put it to sleep via the operating system. Press any key or move the mouse to wake it up.
צווייענדיק ווייַז סעטאַפּ
To utilize the dual display feature, connect one monitor to the HDMI port and another to the VGA port. Once both monitors are connected and powered on, your operating system should automatically detect them. You can then configure display settings (extend, duplicate, or show only on one display) through your operating system's display settings.

Image: A dual monitor setup powered by the Bmax Mini PC.
Maintenance and Expansion
Adding an M.2 SSD
The Bmax Mini PC B1 Pro supports M.2_2280 SATA SSD expansion for additional storage. Follow these steps to install an SSD:
- מאַכט אַוועק: Ensure the Mini PC is completely powered off and disconnected from the power adapter.
- אַקסעס פּאַנעל: Locate the access panel on the bottom of the Mini PC. Remove the screw securing the panel and carefully open it.
- אינסטאַלירן SSD: Gently insert the M.2_2280 SATA SSD into the designated slot. Secure it with the provided screw (if available, otherwise use a compatible screw).
- פֿאַרמאַכן פּאַנעל: Replace the access panel and secure it with the screw.
- Initialize SSD: After powering on the PC, you may need to initialize and format the new SSD through Disk Management in Windows before it can be used.
Video: A step-by-step guide on how to add an M.2 SSD to the Bmax Mini PC B1 Pro.
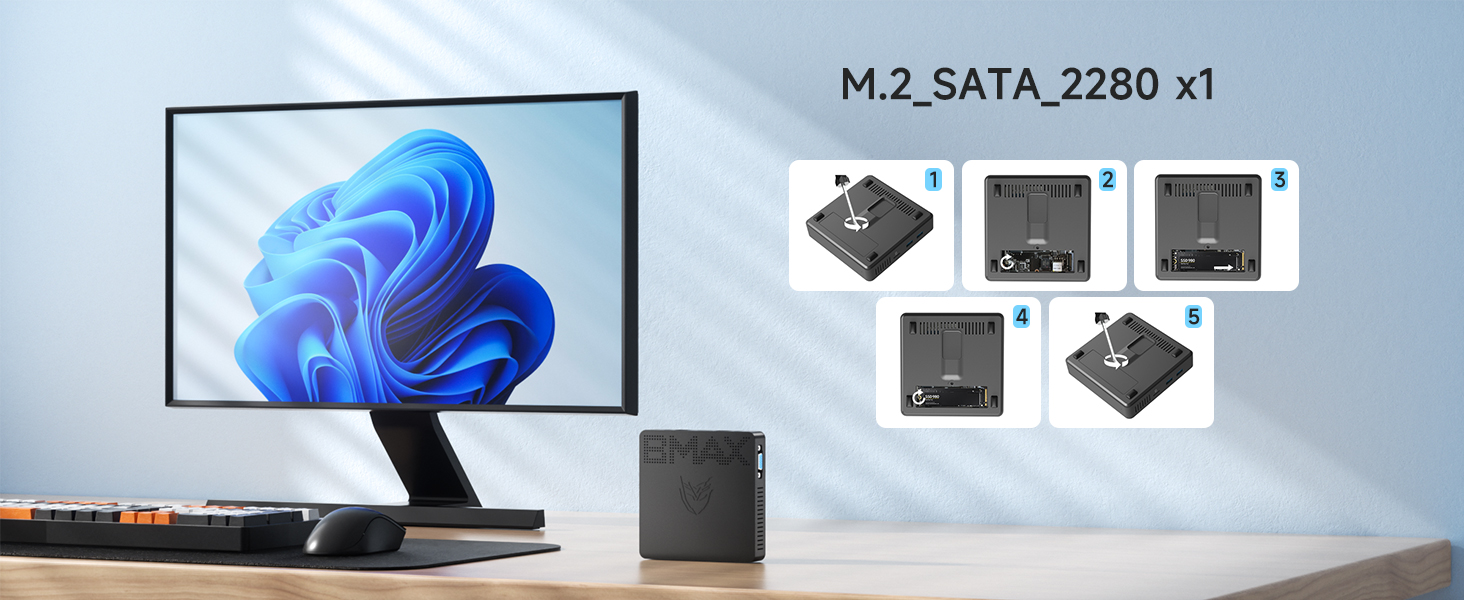
Image: Visual steps for M.2 SSD installation.
אַלגעמיינע קער
- Keep the device in a clean, dry environment away from direct sunlight and extreme temperatures.
- Avoid blocking the ventilation holes to ensure proper airflow and prevent overheating.
- רייניקט די אויסערליכע זייט מיט א ווייכן, טרוקענעם טוך. ניצט נישט קיין פליסיקע רייניגער.
טראָובלעשאָאָטינג
| פּראָבלעם | מעגלעך סיבה | לייזונג |
|---|---|---|
| קיין מאַכט / עס צינדט זיך נישט אָן | מאַכט אַדאַפּטער נישט פארבונדן אָדער דעפעקט; פּראָבלעם מיט עלעקטרישער אַוטלעט. | Ensure power adapter is securely connected to both the PC and a working power outlet. Try a different outlet. |
| קיין אַרויסווייַזונג אויף מאָניטאָר | Display cable loose or incorrect port; Monitor input not selected. | Check HDMI/VGA cable connections. Ensure monitor is set to the correct input source (HDMI/VGA). Try a different cable or monitor. |
| Wi-Fi/Bluetooth not working | Drivers not installed; Wireless function disabled. | Check device manager for driver issues. Ensure Wi-Fi/Bluetooth is enabled in Windows settings. Restart the PC. |
| פּאַמעלעך פאָרשטעלונג | צו פיל אַפּליקאַציעס לויפן; ווייניג סטאָרידזש פּלאַץ. | Close unnecessary applications. Free up disk space. Consider adding an M.2 SSD for expansion. |
פֿאַר ווייטערדיקע הילף, ביטע זעט די וואָראַנטי און שטיצע אָפּטייל.
טעכניש ספּעסאַפאַקיישאַנז
| מאָדעל | B1 Pro |
| פּראַסעסער | Intel Celeron N4000 (Base 1.1 GHz, up to 2.6 GHz) |
| באַראַן | 8 גיגאבייט LPDDR4 |
| סטאָרידזש | 128GB eMMC (Expandable via M.2_2280 SATA SSD up to 1TB) |
| גראַפיקס | Intel UHD Graphics 600 |
| ווייַז רעזולטאַט | HDMI (4K @ 30Hz), VGA (Dual Display Support) |
| ווירעלעסס קאַנעקטיוויטי | 802.11ac דואַל-באַנד ווי-פי, בלועטאָאָטה 4.2 |
| ווייערד קאַנעקטיוויטי | 1000Mbps LAN (Ethernet) |
| פּאָרץ | 2x USB 3.0, 2x USB 2.0, 1x HDMI, 1x VGA, 1x RJ45 Ethernet, 1x 3.5mm Headset Jack, 1x Micro SD Card Slot, Power In |
| אָפּערייטינג סיסטעם | Pre-installed OS (e.g., Windows 11 Pro as per reviews) |
| דימענשאַנז | 4.7 X 4.7 X 0.9 אינטשעס (12 X 12 X 2.3 סענטימעטער) |
| וואָג | 7.8 אונסעס (220 ג) |
וואָראַנטי און שטיצן
The Bmax Mini PC B1 Pro comes with a 12-חודש וואָראַנטי from the date of purchase. Bmax also provides לעבן טעכניש שטיצן פֿאַר דעם פּראָדוקט.
For technical assistance, troubleshooting, or warranty claims, please contact Bmax customer service via email. Refer to the contact information provided on the official Bmax webוועבזייטל אדער אייער קויפן דאקומענטאציע.
The device supports features such as Wake On LAN, RTC Wake, and Auto Power On (configurable in BIOS settings).