
1. הקדמה
Thank you for choosing the Diydeg 30A MPPT Solar Controller and 50W Solar Panel Kit. This kit is designed to provide efficient solar charging for 12V and 24V battery systems in various applications such as RVs, marine vessels, trailers, and camping setups. This manual provides essential information for the safe and effective installation, operation, and maintenance of your solar kit.
2. זיכערקייַט אינפֿאָרמאַציע
ביטע ליינט אלע זיכערהייט אינסטרוקציעס קערפול איידער די אינסטאַלאַציע און באַניץ. נישט נאכפאלגן די אינסטרוקציעס קען רעזולטירן אין עלעקטרישע קלאַפּ, פייער, אדער ערנסטע שאָדן.
- זיכער מאַכן אַז אַלע פֿאַרבינדונגען זענען זיכער און ריכטיק איזאָלירט צו פאַרמייַדן קורץ קרייזן.
- Do not attempt to disassemble or repair the solar panel or controller. Contact qualified personnel for service.
- טראָגט פּאַסיקע פּערזענלעכע שוץ-עקוויפּמענט (PPE) ווי הענטשקעס און אויג-שוץ בעת דער אינסטאַלאַציע.
- Avoid touching exposed wires or terminals when the system is connected to a power source.
- Install the solar panel in a location with adequate ventilation and away from flammable materials.
- The solar controller is designed for 12V/24V lead-acid batteries (Flooded, GEL, Deep Cycle). Do not use with other battery types unless specified.
3. פּעקל אינהאַלט
באַשטעטיקט אַז אַלע זאכן וואָס זענען אויסגערעכנט אונטן זענען אַרייַנגערעכנט אין אייער פּעקל:
- 1 רענטגענ 50 וו זונ פּאַנעל
- 1 x 30A MPPT Solar Charge Controller
- 1 x Connecting Wire (DC output cable for solar panel)
- 4 רענטגענ סאַקשאַן קאַפּס
- 1 x User Specification (this manual)
- 1 x Car Charging Cable (cigarette lighter adapter)
- 1 x Output Clip (alligator clips for battery connection)

Image: Complete contents of the Diydeg 50W Solar Panel Kit, including the solar panel, controller, cables, and suction cups.
4. סעטאַפּ און ייַנמאָנטירונג
4.1 זונ פּאַנעל פּלייסמאַנט
Position the 50W solar panel in a location that receives maximum direct sunlight throughout the day. Avoid shaded areas. The panel is designed to be portable and can be mounted using the included suction cups or other suitable mounting hardware (not included).
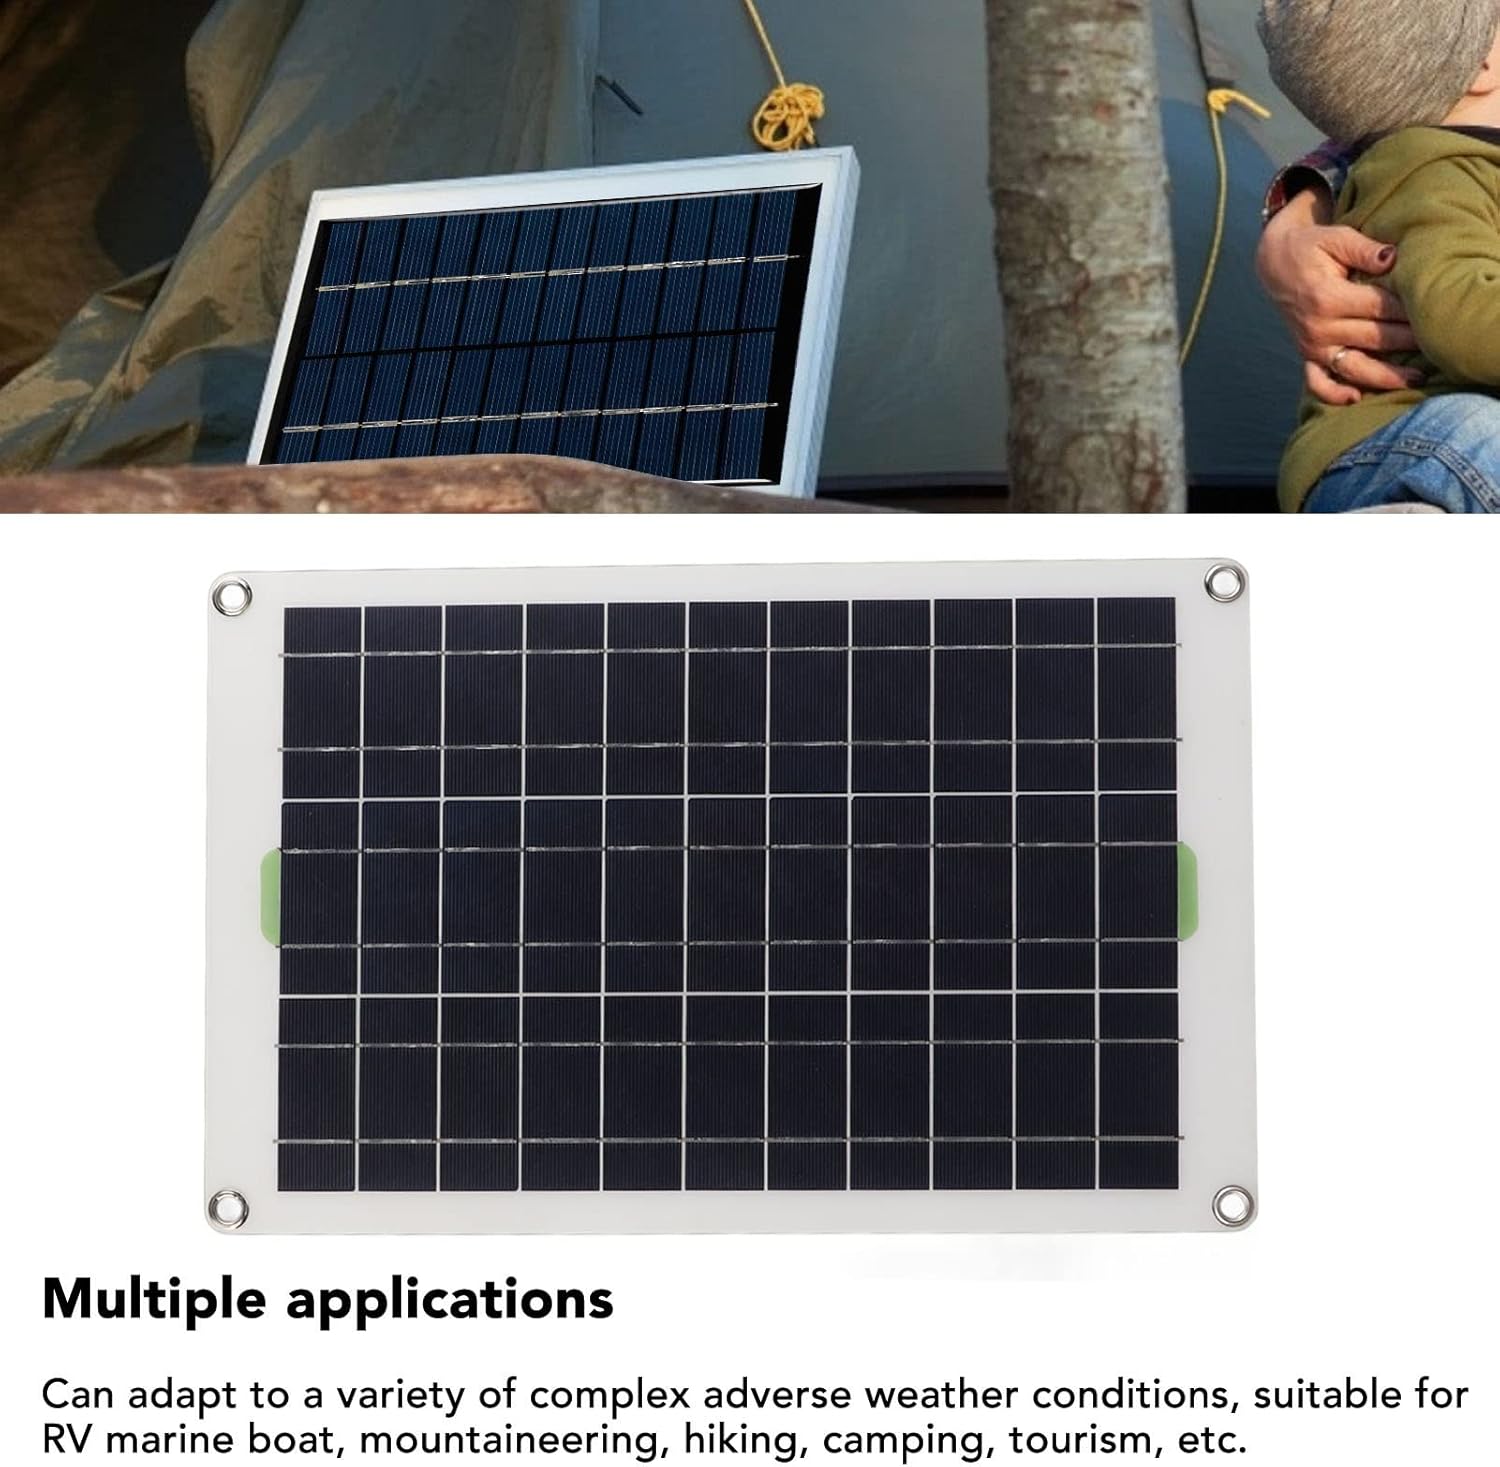
Image: The 50W solar panel set up outdoors next to a tent, demonstrating a typical campאינג אַפּליקאַציע.

בילד: א נאָענטע בילד view of the monocrystalline silicon solar panel, highlighting its construction and efficiency.
4.2 קאָנטראָללער קאַנעקשאַן
Follow these steps to connect the solar panel to the controller and then to your battery:
- Connect the Battery First: Connect the alligator clips (output clip) to your 12V or 24V battery terminals. Ensure correct polarity: red to positive (+), black to negative (-). Then, connect the other end of the alligator clip cable to the DC output port on the solar charge controller.
- פאַרבינדן די זונ פּאַנעל: Connect the DC output cable from the 50W solar panel to the solar input port on the charge controller.
- Optional: Car Charging Cable: If charging via a car's cigarette lighter, connect the car charging cable to the controller and then to the vehicle's cigarette lighter socket.
וויכטיק: Always connect the battery to the controller פריער connecting the solar panel. Disconnect in the reverse order: solar panel first, then battery.

Image: The 30A MPPT solar charge controller, showing its display and connection ports.

Image: Various connection cables included with the kit, such as the car charging cable and alligator clips, along with the suction cups.
5. אַפּערייטינג ינסטרוקטיאָנס
5.1 ערשט מאַכט-אַרויף
Once the battery and solar panel are connected, the controller will automatically detect the battery voltage (12V or 24V) and begin charging. The display on the controller will show charging status, battery voltage, and other relevant parameters.

בילד: א דעטאַלירטע view of the solar charge controller's display and control buttons, indicating various functions like MCU control, set voltage, full protect, and built-in timer.
5.2 קאָנטראָללער פונקציעס
The 30A solar controller is equipped with multiple protective functions to ensure battery longevity and system safety:
- אָווערטשאַרדזש שוץ: Prevents the battery from being charged beyond its capacity.
- אָווערוואָלtagE שוץ: זיכערהייטן קעגן איבערגעטריבענע באַנדtagE אַרייַנשרייַב.
- Discharge Protection: Prevents deep discharge of the battery.
- קורץ קרייַז שוץ: Protects the system from damage due to short circuits.
- פאַרקערט קאַנעקשאַן שוץ: פאַרהיט שאָדן פון פאַלשע פּאָלאַריטעט קאַנעקשאַנז.
The controller also features a built-in timer and options for setting voltage, which can be adjusted via the buttons on the unit. Refer to the controller's specific instructions for detailed programming.
6. וישאַלט
Regular maintenance ensures optimal performance and extends the lifespan of your solar kit.
- זונ פּאַנעל רייניקונג: רייניקן פּעריִאָדיש די ייבערפלאַך פון די זונ - פּאַנעל מיט אַ ווייכן, דamp cloth to remove dust, dirt, and debris. A clean panel ensures maximum light absorption.
- קשר טשעקס: Annually inspect all electrical connections for tightness and corrosion. Ensure wires are not frayed or damaged.
- Controller Inspection: Keep the controller free from dust and moisture. Ensure adequate ventilation around the controller to prevent overheating.
- באַטערי געזונט: Monitor your battery's health and electrolyte levels (for flooded batteries) as per the battery manufacturer's recommendations.
7. טראָובלעשאָאָטינג
If you encounter issues with your solar kit, refer to the following common problems and solutions:
| פּראָבלעם | מעגלעך סיבה | לייזונג |
|---|---|---|
| No charging indicated on controller | No sunlight; Loose connections; Reversed polarity; Faulty panel/controller. | Ensure panel is in direct sunlight. Check all wiring for secure connections and correct polarity. Test components if possible. |
| Low charging current/voltage | Partial shading on panel; Dirty panel surface; Insufficient sunlight; Undersized panel. | Relocate panel to avoid shade. Clean panel surface. Ensure clear skies. Consider a larger panel if output is consistently low. |
| קאָנטראָללער אַרויסווייַז איז אויסגעלאָשן | Battery not connected or discharged; Loose battery connection. | Ensure battery is connected and has sufficient charge. Check battery connections. |
| Metal grommets rusting (as per user feedback) | Non-stainless steel material exposed to moisture. | Apply rust-inhibiting coating or replace with stainless steel grommets if possible. Store in dry conditions when not in use. |
If the problem persists after attempting these solutions, please contact Diydeg customer support.
8. ספּעסאַפאַקיישאַנז
Key technical specifications for the Diydeg 30A MPPT Solar Controller and 50W Solar Panel Kit:
| שטריך | באַשרייַבונג |
|---|---|
| סאָרט | Diydeg |
| מאָדעל נומער | Diydegf5wt308os6 |
| Solar Panel Maximum Power | 50 וואטס |
| זונ פּאַנעל מאַטעריאַל | מאָנאָקריסטאַללינע סיליציום |
| קאָנטראָללער טיפּ | MPPT (Maximum Power Point Tracking) |
| Controller Current Rating | 30 א |
| סיסטעם וואָלtage | 12V / 24V Auto-sensing |
| אָנווענדלעך באַטערי טייפּס | Lead-acid (Flooded, GEL, Deep Cycle) |
| ספּעציעלע פֿעיִקייטן | Portable, Overcharge Protection, Overvoltage Protection, Discharge Protection, Short Circuit Protection, Reverse Connection Protection |
| פּונקט וואָג | 680 ג |
| פּעקל דימענשאַנז | 45.08 X 29.21 X 3.81 סענטימעטער |
9. וואָראַנטי און שטיצן
For warranty information, technical support, or service inquiries, please contact Diydeg customer service through your original point of purchase. Keep your purchase receipt as proof of purchase.