
AOGITKE AOGITKEv5-2
AOGITKE Audio Video Capture Card User Manual
Model: AOGITKEv5-2
הקדמה
The AOGITKE Audio Video Capture Card is a versatile device designed for high-definition acquisition, streaming, recording, and live broadcasting. It allows you to connect HDMI output devices such as game consoles, DSLR cameras, camcorders, and action cameras to your computer via USB 2.0. This plug-and-play device supports 4K input and output resolutions, making it ideal for gaming, video conferencing, teaching, and various recording occasions.
וואָס איז אין די קעסטל
- 1 x AOGITKE Audio Video Capture Card
ספּעסאַפאַקיישאַנז
| שטריך | דעטאַל |
|---|---|
| סאָרט | אאגיטקע |
| מאָדעל נומער | AOGITKEv5-2 |
| ייַזנוואַרג צובינד | וסב, וסב 2.0 |
| Input Resolution (HDMI) | Max 3840x2160@60Hz |
| Output Resolution (USB) | Max 3840x2160@60Hz |
| ווידעא קאַפּטורע רעסאָלוטיאָן | 1080 פּ, 4 ק |
| אַפּערייטינג סיסטעם קאַמפּאַטאַבילאַטי | Windows, Android, MacOS |
| דימענשאַנז | 22.61 X 9.5 X 2.69 סענטימעטער |
| וואָג | 41 ג |
| מאַכט צושטעלן | ניט קיין פונדרויסנדיק מאַכט צושטעלן פארלאנגט |
סעטאַפּ
The AOGITKE Audio Video Capture Card is designed for plug-and-play operation, requiring no driver installation.
- Connect HDMI Input: Connect your HDMI source device (e.g., game console, DSLR camera, camcorder) to the HDMI input port on the capture card using an HDMI cable.
- Connect USB Output: Plug the USB 2.0 connector of the capture card into an available USB port on your computer (Windows, Android, or MacOS).
- ווייכווארג סעטאַפּ: Open your preferred acquisition software on your computer (e.g., OBS Studio, VLC, Amcap). Configure the software to recognize the capture card as a video and audio input device.

Figure 1: Connection Diagram. This image illustrates how to connect various HDMI source devices (projector, phone, camcorder, Xbox, Apple TV) to the capture card's HDMI input, and then connect the capture card's USB output to a laptop, PC, or TV for display and recording.
אַפּערייטינג ינסטראַקשאַנז
Once connected and recognized by your software, the capture card will transmit the HDMI signal to your computer for various applications.
- פאַקטיש-צייט פאַרview: The capture card provides real-time preview of the HDMI input without significant delay, allowing for live monitoring.
- רעקאָרדינג: Use your chosen software (e.g., OBS Studio) to record the video and audio stream directly to your computer's hard drive. Ensure your software settings match the desired resolution and frame rate.
- לעבעדיקע בראָדקאַסטינג: Integrate the capture card's feed into live streaming platforms (e.g., Twitch, YouTube Live, Facebook Live) through your broadcasting software.
- Video Conferencing/Screen Sharing: Utilize the capture card to share content from an external HDMI source (like a presentation from a separate device) in online meetings via software like OBS or other compatible applications.
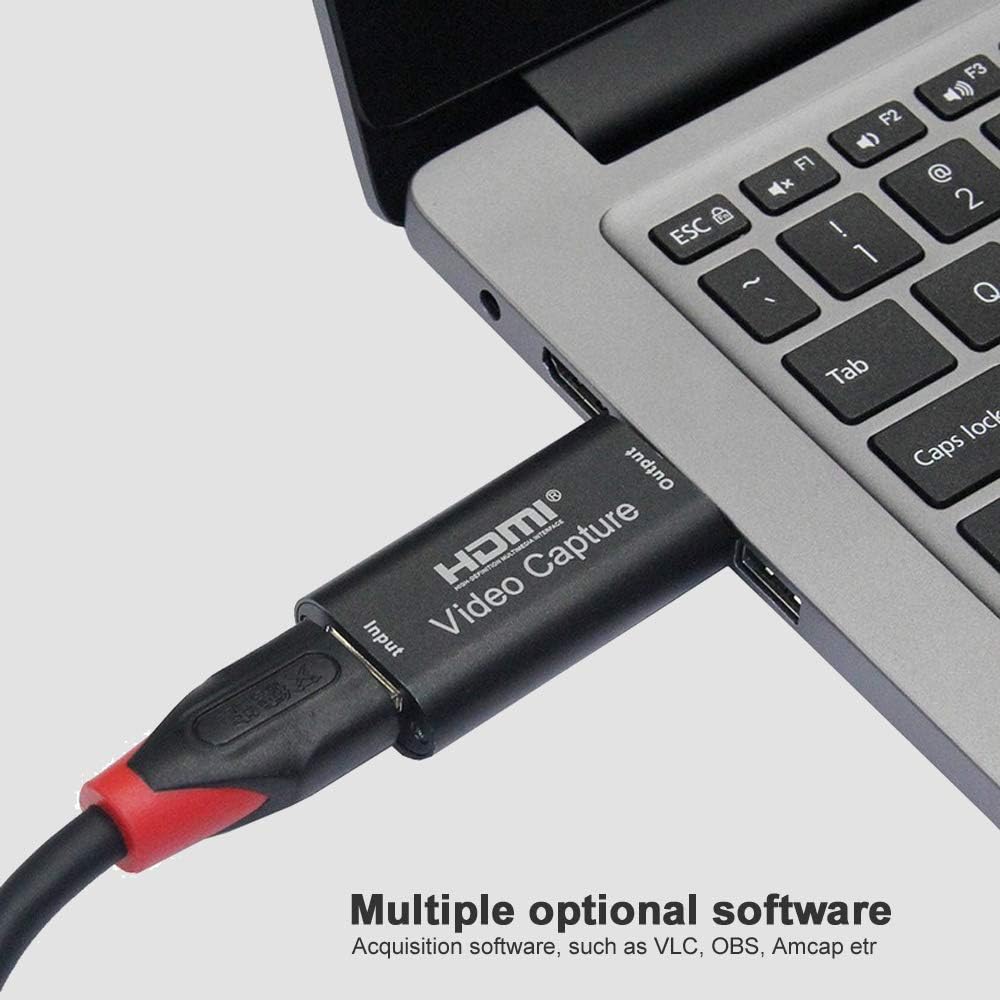
Figure 2: Software Compatibility. This image shows the capture card connected to a laptop, highlighting its compatibility with various acquisition software such as VLC, OBS, and Amcap, which are commonly used for video capture and streaming.
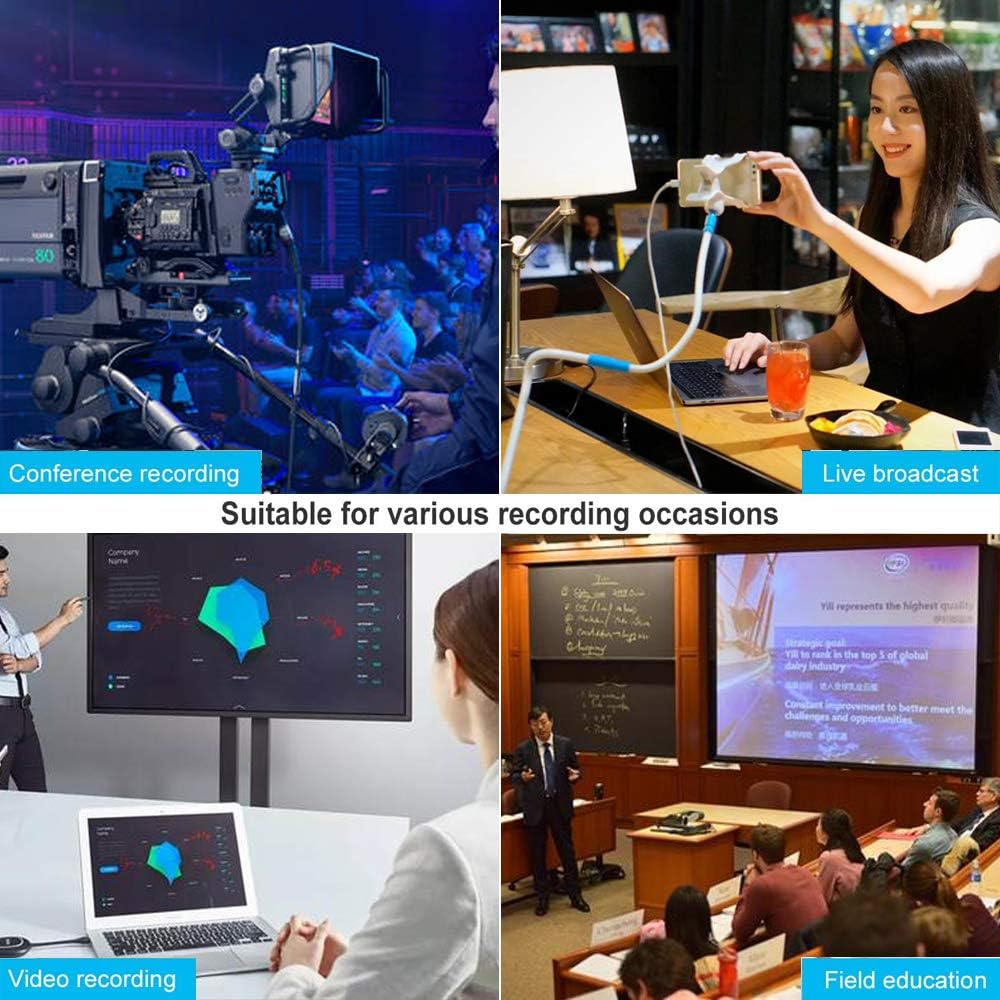
Figure 3: Versatile Applications. This image displays four common scenarios where the capture card can be used: recording conferences, conducting live broadcasts, general video recording, and for educational purposes in the field.
טראָובלעשאָאָטינג
| פּראָבלעם | מעגלעך סיבה / לייזונג |
|---|---|
| קיין ווידעא סיגנאַל |
|
| קיין אַודיאָ סיגנאַל |
|
| Poor video quality / Lag |
|
| אפאראט נישט דערקענט דורך קאמפיוטער |
|
וישאַלט
- רייניקונג: Use a soft, dry cloth to clean the exterior of the capture card. Do not use liquid cleaners or aerosols.
- סטאָרידזש: האַלט דאָס אַפּאַראַט אין אַ קיל, טרוקן אָרט אַוועק פון דירעקט זונשייַן און עקסטרעמע טעמפּעראַטורן ווען עס איז נישט אין באַנוץ.
- האַנדלינג: Handle the capture card with care. Avoid dropping it or exposing it to excessive force.
- קאַנעקטיוויטי: שטענדיק זיכער מאַכן אַז קאַבלען ווערן אַרײַנגעשטעלט און אַרויסגענומען מיט פֿאַרזיכטיגקייט צו פֿאַרמײַדן שאָדן צו די פּאָרטן.
וואָראַנטי און שטיצן
Specific warranty information for the AOGITKE Audio Video Capture Card is not provided in this manual. Please refer to the product packaging or the retailer's website for details regarding warranty coverage and support options.
For technical support or further inquiries, please contact AOGITKE customer service through the contact information provided with your purchase or on the official AOGITKE webפּלאַץ.
Ask a question about this manual
Ask about setup, troubleshooting, compatibility, parts, safety, or missing instructions. Manuals+ will review the question and use this page’s manual context to help answer it.