
1. הקדמה
Thank you for choosing the CHEREEKI Digital LED Alarm Clock, Model 8808. This device combines a clear LED time display with temperature monitoring, dual alarms, snooze functionality, and a selection of melodies. This manual provides detailed instructions to help you maximize your product experience.
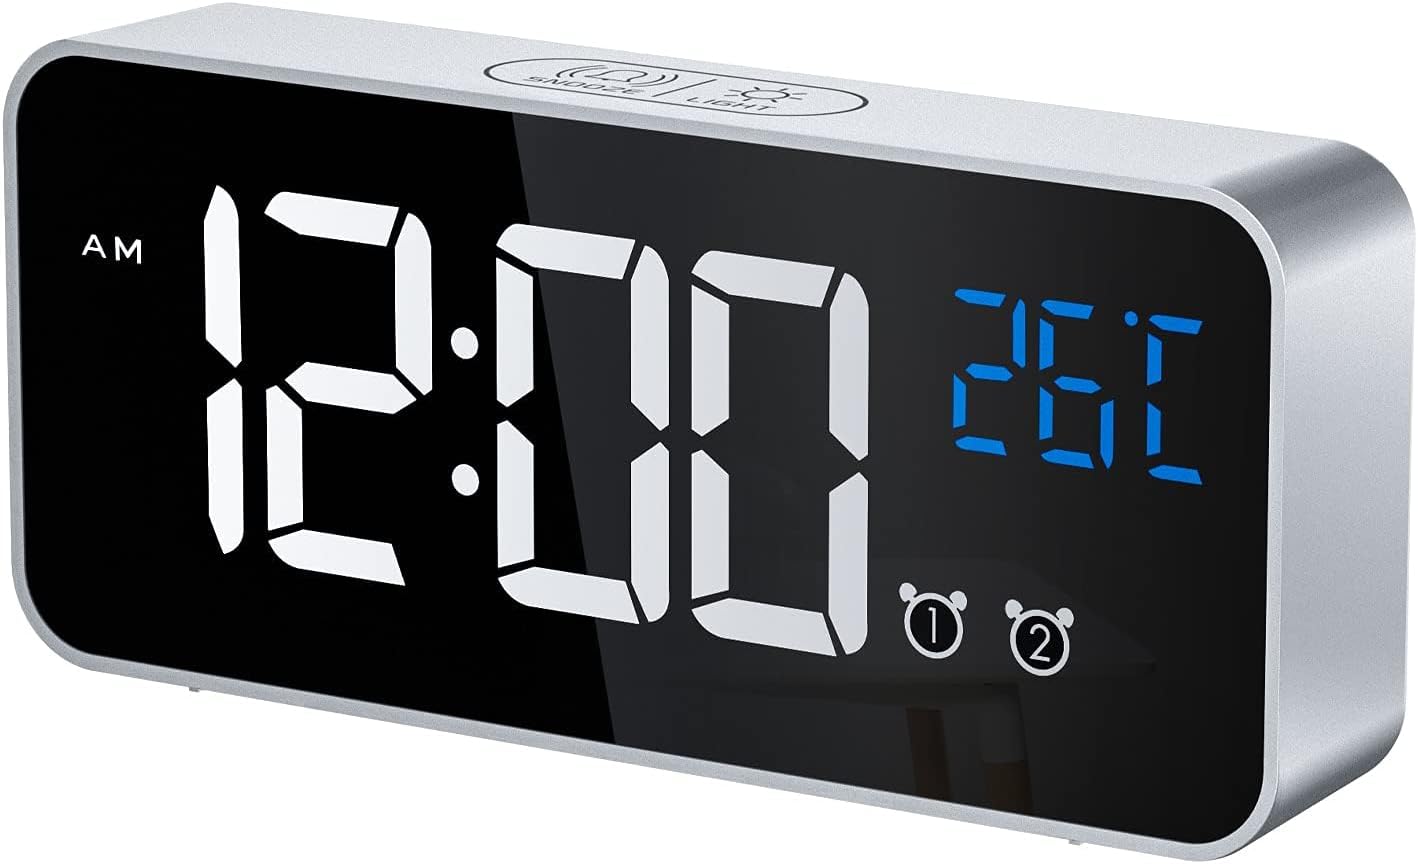
2. פּראָדוקט איבערview און קאַמפּאָונאַנץ
Familiarize yourself with the clock's features and controls.
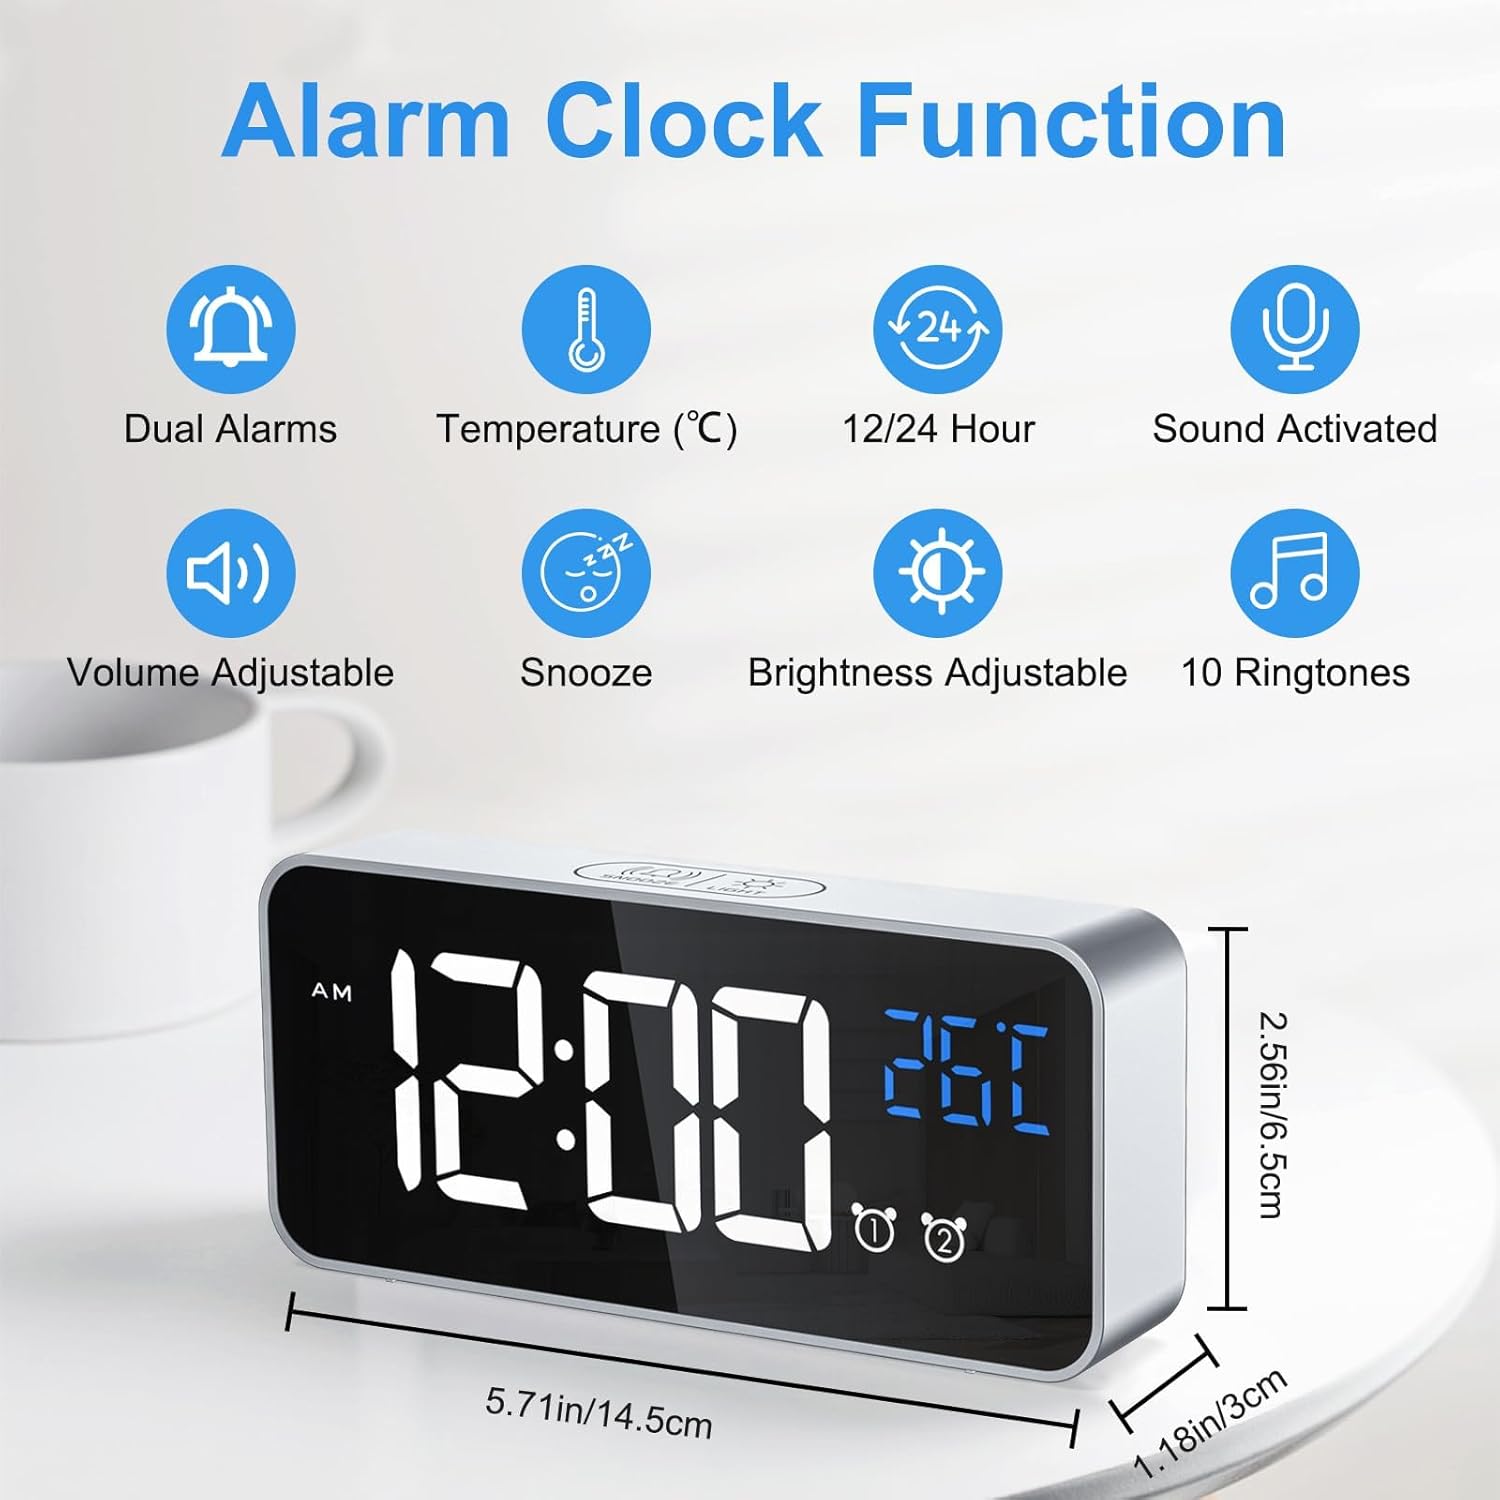

3. סעטאַפּ
3.1 מאַכט צושטעלן
The alarm clock offers two power modes:
- USB Powered Mode: Connect the included USB cable to a 5V/1A or 5V/2A adapter (not included) or a USB port. In this mode, the LED display remains continuously on.
- באַטערי Powered מאָדע: The clock has a built-in rechargeable battery. When fully charged and disconnected from USB, the LED display will automatically turn off after 6 seconds to conserve power. To activate the display in battery mode, use the voice control function or press any button.
3.2 ערשטע סעטאַפּ / ריסעט
If the display shows scrambled code or errors, use a thin pin to press the RESET button located on the back of the unit. This will restore the clock to its normal operating state.
4. אַפּערייטינג ינסטרוקטיאָנס
4.1 באַשטעטיקן די צייט
צו שטעלן די קראַנט צייט:
- Press and hold the 'TIME SET' button on the back of the clock. The hour digits will begin to flash.
- Use the 'UP' and 'DOWN' buttons to adjust the hour.
- Press 'TIME SET' again to move to the minute setting. Use 'UP' and 'DOWN' to adjust the minutes.
- דריק 'TIME SET' נאך א מאל צו באשטעטיגן און ארויסגיין פון צייט איינשטעלונג מאָדע.
4.2 שטעלן אַלאַרמס
די זייגער פֿאַרמאָגט צוויי אומאָפּהענגיקע אַלאַרמס (אַלאַרם 1 און אַלאַרם 2).
- To set Alarm 1, press and hold the 'ALARM SET' button. The Alarm 1 hour digits will flash.
- Use the 'UP' and 'DOWN' buttons to adjust the alarm hour.
- Press 'ALARM SET' again to move to the Alarm 1 minute setting. Adjust minutes using 'UP' and 'DOWN'.
- Press 'ALARM SET' to confirm Alarm 1. Repeat steps for Alarm 2 if desired.
- To activate or deactivate an alarm, use the dedicated 'ALARM1 ON/OFF' and 'ALARM2 ON/OFF' switches on the back of the clock.

4.3 Adjusting Alarm Volume and Melodies
The clock offers 3 volume levels and 10 different alarm melodies.
- While in alarm setting mode (after setting hours/minutes), press the 'VOLUME' button to cycle through the 3 volume levels (L01, L02, L03).
- To change the melody, press the 'DOWN' button while the alarm is ringing or during alarm setup to cycle through the 10 available sounds.

4.4 Snooze Function and Stopping Alarms
ווען אַן אַלאַרם קלינגט:
- To activate the 5-minute snooze, press the 'SNOOZE/LIGHT' button on the top of the clock. The alarm will pause and sound again after 5 minutes.
- To stop the alarm completely, press any button on the clock אַחוץ the 'SNOOZE/LIGHT' button.
4.5 ברייטנאַס אַדזשאַסטמאַנט
The clock offers both manual and automatic brightness adjustment.
מאַנועלע ברייטקייט אַדזשאַסטמענט:
Press the 'SNOOZE/LIGHT' button on the top of the clock to cycle through 4 levels of brightness (25%, 50%, 75%, 100%).

אויטאָמאַטישע ברייטקייט אַדזשאַסטמענט:
When powered via USB, the clock automatically adjusts brightness based on the time of day:
- 7:00 אינדערפרי - 7:00 נאכמיטאג: High brightness.
- 7:00 PM - 12:00 AM: Medium brightness.
- 12:00 אינדערפרי - 7:00 אינדערפרי: Low brightness.
4.6 Voice Activated Display (Battery Mode)
In battery mode, the display will turn off after 6 seconds. To reactivate it, make a sound louder than 90 dB (e.g., a clap, tap on the table, or voice). Alternatively, press any button to turn the display on.

4.7 טעמפּעראַטור ווייַז
The clock displays the ambient temperature. To switch between Celsius (°C) and Fahrenheit (°F), press the 'DOWN' button once.
4.8 12/24 שעה פֿאָרמאַט
To switch between 12-hour and 24-hour time formats, press the 'UP' button once.
4.9 זכּרון פונקציע
The clock retains time and alarm settings even when the battery is depleted or the unit is turned off, thanks to its internal memory function. No need to reset after a power interruption.

5. וישאַלט
- רייניקט די זייגער מיט אַ ווייכן, טרוקענעם שטאָף. פֿאַרמייַדט אַברייסיוו רייניגער אָדער סאָלווענטן.
- Keep the clock away from heat sources, high humidity, and direct sunlight.
- If not in use for an extended period, turn off the power switch to preserve battery life.
6. טראָובלעשאָאָטינג
| פּראָבלעם | מעגלעך סיבה | לייזונג |
|---|---|---|
| Display is blank in battery mode. | מאַכט-שפּאָרנדיקע פֿונקציע אַקטיוויזירט. | Make a sound (e.g., clap) or press any button to activate the display. Connect to USB for continuous display. |
| Display shows scrambled code or error. | אינערלעכער טעות. | Press the 'RESET' button on the back of the clock using a thin pin. |
| דער שרעק קלינגט נישט. | Alarm is deactivated or volume is too low. | Check the 'ALARM ON/OFF' switch for the respective alarm. Adjust alarm volume as described in section 4.3. |
| Clock not charging or holding charge. | Faulty cable/adapter or battery issue. | Ensure the USB cable and adapter are working correctly. If issues persist, contact customer support. |
7. ספּעסאַפאַקיישאַנז
- סאָרט: CHEREEKI
- מאָדעל נומער: 8808
- קאָליר: זילבער
- מאַטעריאַל: פּלאַסטיק
- דימענשאַנז (L x W x H): 14.5 X 3.81 X 5.08 סענטימעטער (5.71 X 1.5 X 2 אינטשעס)
- נומער וואָג: 158 גראַמז (0.35 לבס)
- מאַכט מקור: Battery Powered (1 Lithium-polymer battery included) / USB Powered
- ווייַז טיפּ: דיגיטאַל געפירט
- ספּעציעלע פֿעיִקייטן: Temperature Display, Dual Alarms, Charging Port, Snooze, Voice Activation, Adjustable Brightness, 10 Melodies.
8. וואָראַנטי און שטיצן
For any questions regarding your CHEREEKI Digital LED Alarm Clock, please do not hesitate to contact our customer service. We are committed to providing attentive after-sales service.