
הקדמה
This manual provides essential instructions for the safe and efficient setup, operation, and maintenance of your Vertiv VR3100 42U Server Rack Enclosure. Please read this manual thoroughly before installation and retain it for future reference.
פּראָדוקט איבערview
The Vertiv VR3100 is a robust 42U server rack enclosure designed for high-density IT environments. It offers a deep frame for increased usable depth, supporting a wide range of equipment including servers, storage devices, PDUs, UPSs, console servers, and KVM switches. Key features include tool-less installation options for accessories, reversible doors, and adjustable leveling feet.
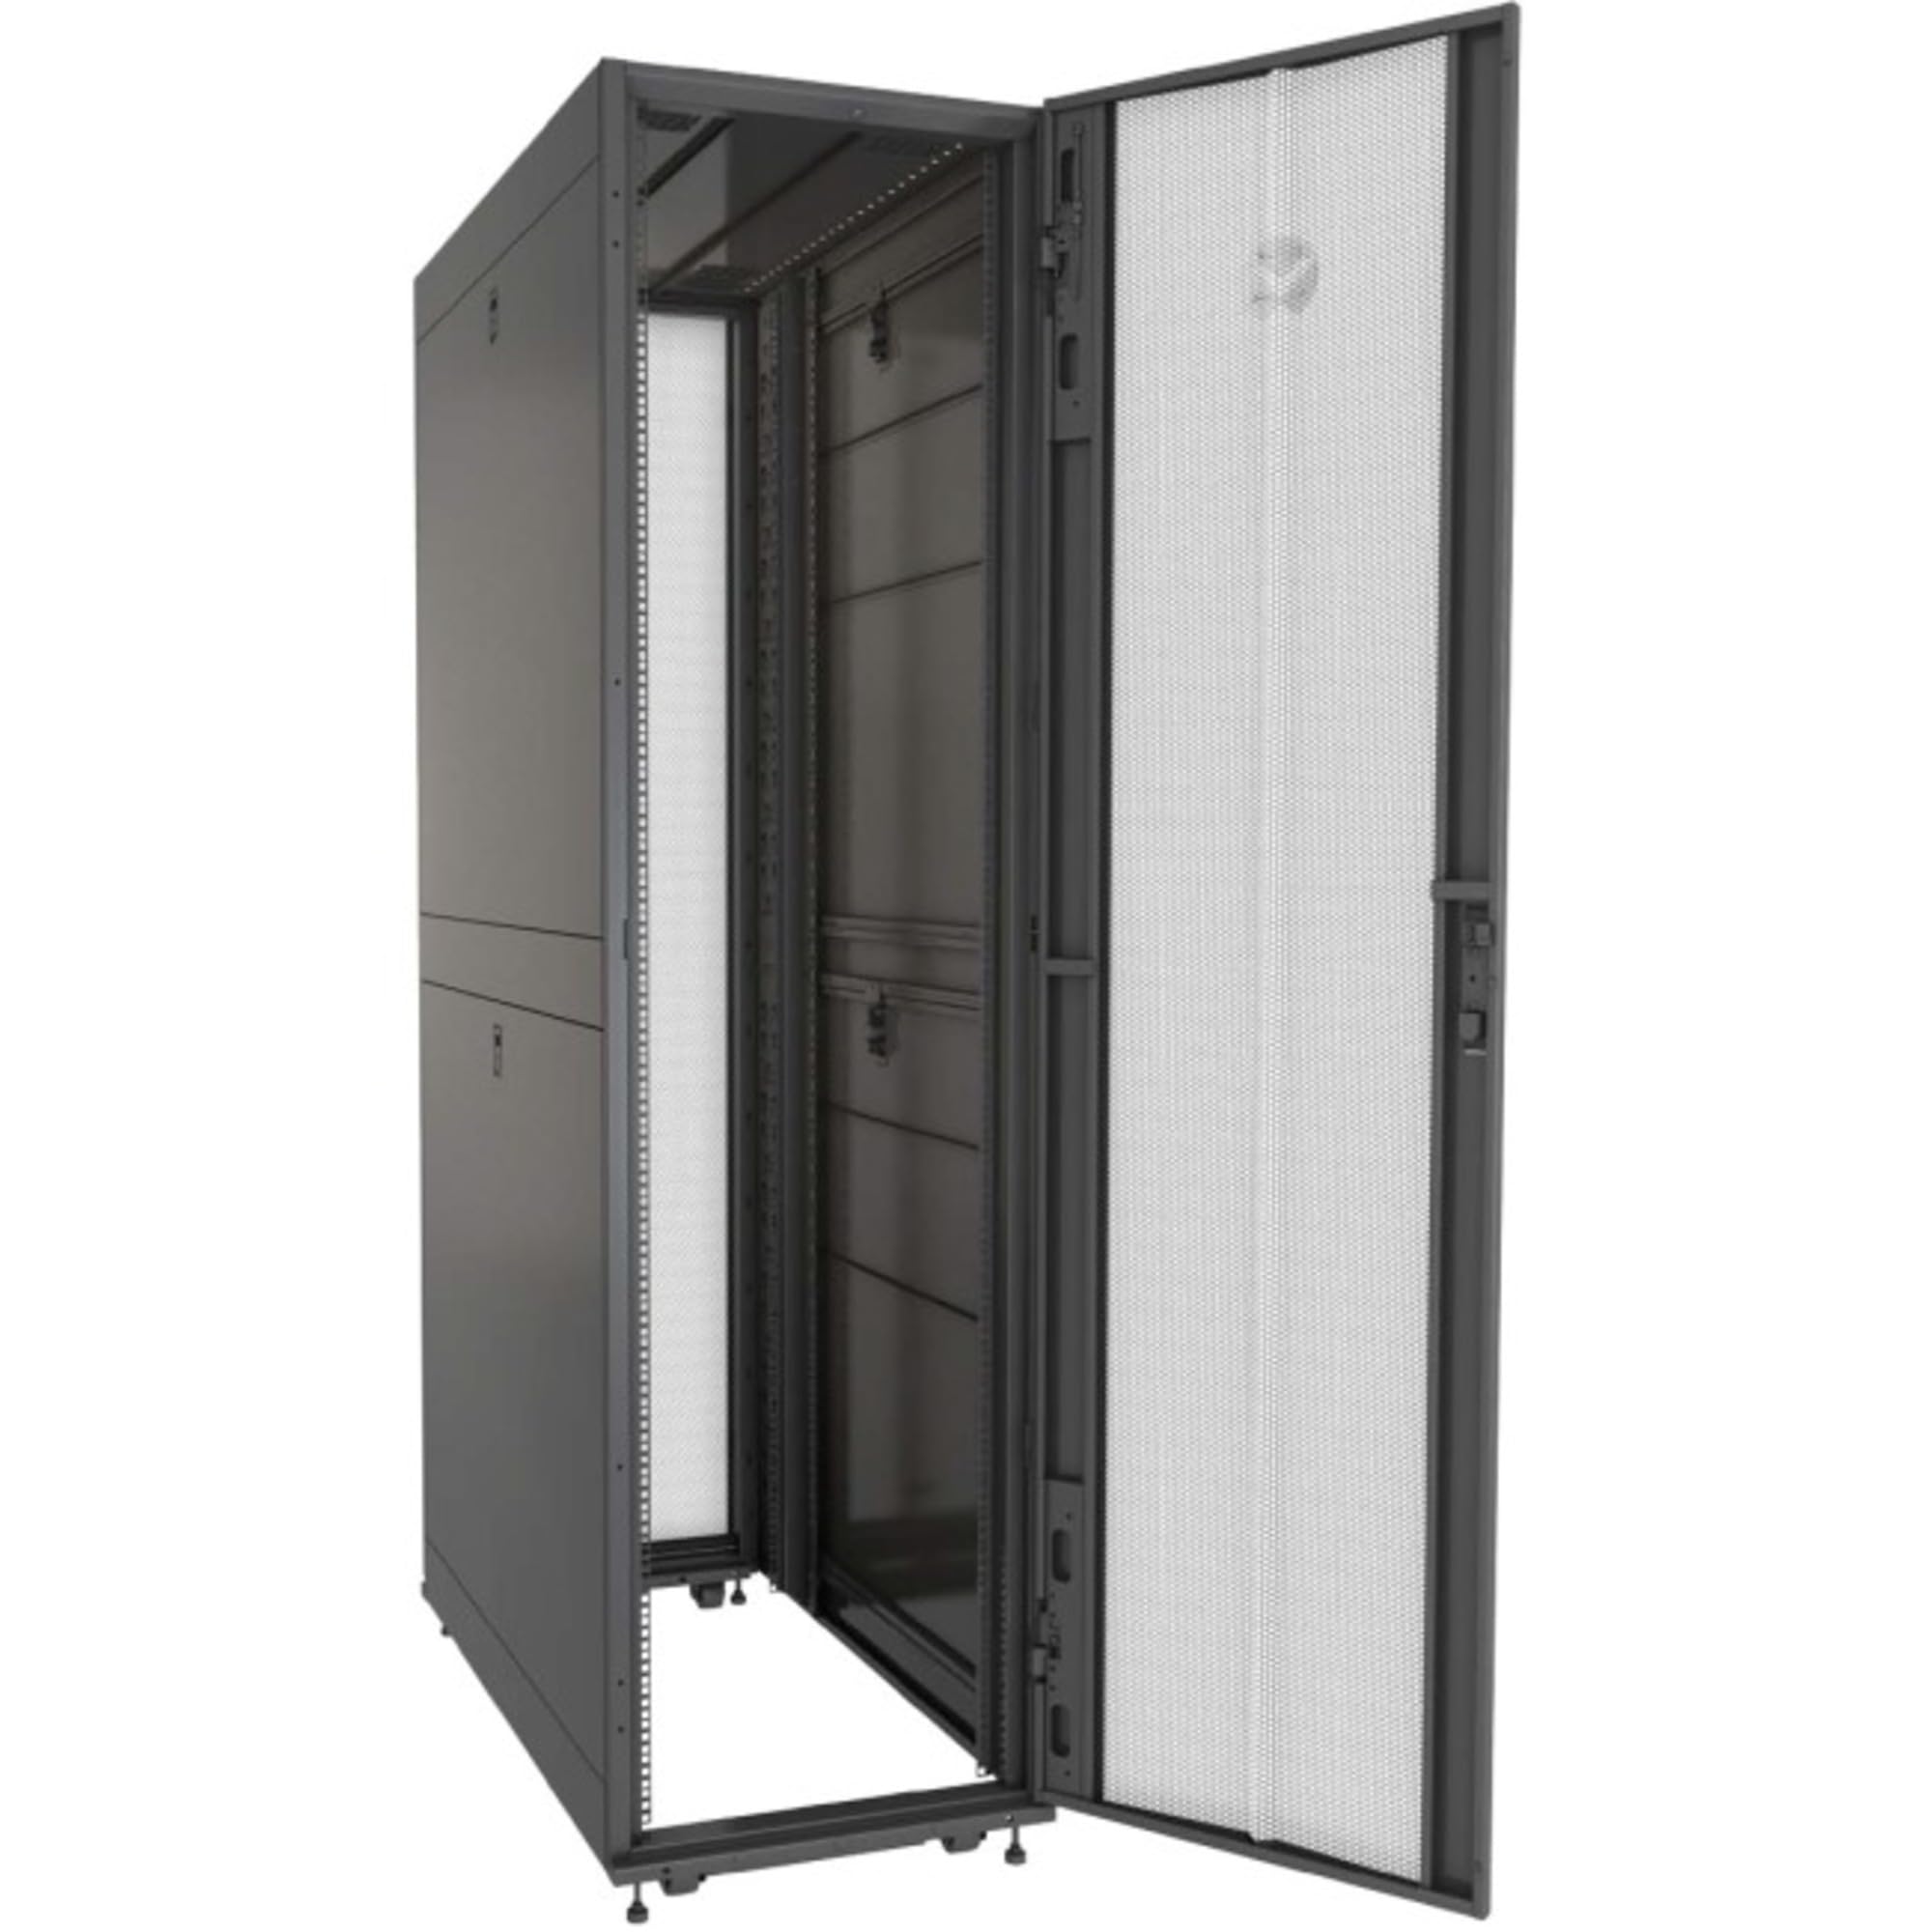
פיגורע 1: Vertiv VR3100 42U Server Rack Enclosure with its front perforated door open, revealing the internal mounting rails and cable management options. The rack is shown with leveling feet installed.
סעטאַפּ און ינסטאַלירונג
1. אַנפּאַקינג און דורכקוק
Carefully unpack the server rack and all components. Inspect for any shipping damage. Retain packaging materials for potential future transport.
אַרייַנגערעכנט קאַמפּאָונאַנץ:
- M6 cage nuts and M6 screws (50 pieces)
- Baying Hardware
- Edge Grommet
- Combination T30 Torx L-key with Phillips head
- Cage nut insertion tool
- T30 Extension Driver
2. Caster and Leveling Feet Installation
The rack is delivered with casters and adjustable leveling feet. Ensure the rack is positioned in its final location before adjusting the leveling feet for stability. Use the leveling feet to raise the rack slightly off the casters and ensure it is level on uneven surfaces.
3. Door Reversal (Optional)
The single perforated locking door and split perforated locking door can be reversed in the field to suit your installation requirements. Refer to the detailed diagrams in the full product manual for specific instructions on reversing the door hinges and latches.
4. Side Panel Management
The rack features split side panels with a single locking slam latch for easy single-person installation and removal. To remove, disengage the slam latch and lift the panel. To install, align the panel and engage the latch.
5. Top Cover Panel
The top cover panel is designed for easy removal to facilitate cable routing and access. It includes entry holes capable of accommodating up to 2000 Cat 6 cables or a 60A PDU plug.
6. Rail Installation
The rack includes two sets of 19-inch EIA rails for mounting sliding shelves and other equipment. These rails are adjustable to accommodate various equipment depths. Utilize the provided M6 cage nuts and screws for secure mounting.
אַפּערייטינג ינסטראַקשאַנז
1. Equipment Loading
When loading equipment, distribute weight evenly within the rack. The Vertiv VR3100 has a static load capacity of 3,000 pounds and a dynamic load capacity of 2,500 pounds. Always adhere to these limits to ensure stability and safety.
2. קאַבלע מאַנאַגעמענט
Utilize the integrated cable management features and zero U spaces for organizing cables. The zero U spaces are equipped with brackets and mounting holes for tool-less installation and removal of cable management accessories.
3. PDU and UPS Installation
The rack supports the installation of various PDUs and UPSs. The zero U spaces facilitate tool-less installation of rack PDUs. Ensure proper power distribution and grounding for all installed equipment.
וישאַלט
1. אַלגעמיינע רייניקונג
Regularly clean the exterior surfaces of the rack with a soft, damp cloth. Avoid abrasive cleaners or solvents. Ensure ventilation openings are free from dust and obstructions.
2. Component Inspection
Periodically inspect all fasteners, hinges, and latches for tightness and proper function. Verify that all installed equipment is securely mounted and cables are properly routed and secured.
טראָובלעשאָאָטינג
If you encounter issues with your Vertiv VR3100 rack, consider the following:
- פעסטקייַט ישוז: Ensure leveling feet are properly adjusted and the rack is on a stable, level surface.
- Door/Panel Alignment: Check hinges and latches for proper alignment. Adjust as necessary.
- מאַונטינג ויסריכט: Verify that all cage nuts and screws are securely fastened.
For persistent issues, refer to the comprehensive Vertiv support resources or contact customer service.
ספּעסאַפאַקיישאַנז
| שטריך | דעטאַל |
|---|---|
| סאָרט | ווערטיוו |
| מאָדעל נומער | VR3100 |
| געשטעל וניץ | 42U |
| דימענשאַנז (HxWxD) | 2000mm x 600mm x 1100mm (78.74"H x 23.62"W x 43.31"D) |
| פּונקט וואָג | 280 פונט |
| סטאַטיק לאָדן קאַפּאַציטעט | 3,000 פונט |
| דינאַמישע לאָד קאַפּאַציטעט | 2,500 פונט |
| מאַטעריאַל | אַללוי סטיל |
| קאַמפּאַטאַבאַל דעוויסעס | סערווירער |
וואָראַנטי אינפֿאָרמאַציע
For detailed warranty terms and conditions, please refer to the official Vertiv webוועבזייטל אדער די וואָראַנטי קאַרטל וואָס איז אַרייַנגערעכנט מיט אייער פּראָדוקט. האַלט אייער קויפן באַווייַז פֿאַר וואָראַנטי קליימז.
שטיצן
For technical assistance, product inquiries, or to access additional resources, please visit the official Vertiv support website or contact their customer service department. Contact information can typically be found on the Vertiv webפּלאַץ אָדער אין די פּראָדוקט פּאַקקאַגינג.
ווערטיוו Webפּלאַץ: www.vertiv.com