
1. פּראָדוקט איבערview
The Atlanta 1882-19 is a compact, radio-controlled digital alarm clock designed for ease of use. It features an easy-to-read LCD display that shows the current time, date, and temperature. The clock automatically adjusts its time based on the DCF77 atomic clock radio signal, including automatic daylight saving time changes. It includes a convenient snooze function and a blue backlight for visibility in low light conditions.
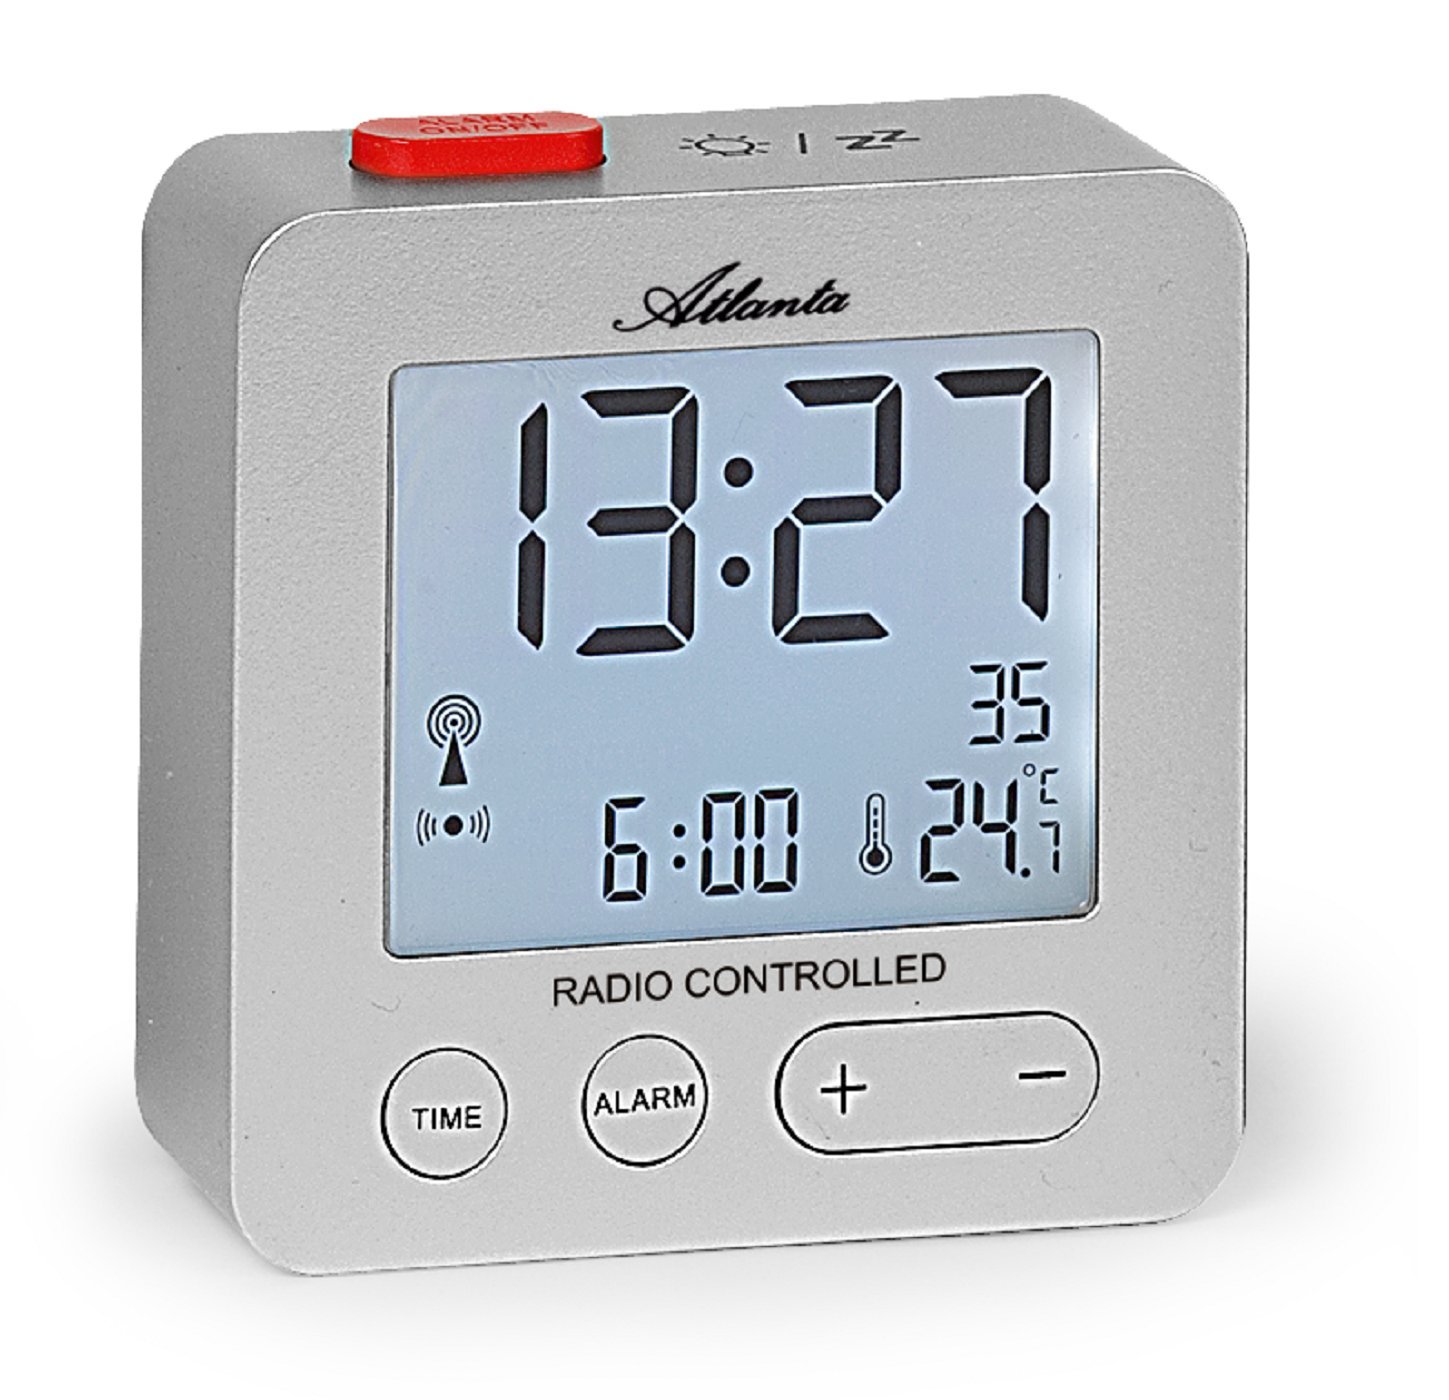
פיגורע 1: פראָנט view of the Atlanta 1882-19 Digital LCD Alarm Clock. The display shows the time, date, and temperature, along with a radio signal indicator. A red button for alarm on/off is visible on top.
2. פּעקל אינהאַלט
- Atlanta 1882-19 Digital LCD Alarm Clock
- באַניצער מאַנואַל (דעם דאָקומענט)
באַמערקונג: באַטעריעס זענען נישט אַרייַנגערעכנט און מוזן זיין געקויפט באַזונדער.
3. סעטאַפּ
3.1 באַטאַרייע ייַנמאָנטירונג
- געפינט דעם דעקל פון דעם באַטעריע אָפּטייל אויף דער צוריקזייט פון דעם וועקער זייגער.
- שלעפּט אָדער נעמט אַראָפּ דעם דעקל צו עפֿענען דעם אָפּטייל.
- Insert the required batteries (typically 2x AAA, not included) according to the polarity indicators (+ and -) inside the compartment.
- לייג צוריק דעם דעקל פונעם באַטעריע־אָפּטייל, און זאָרג אַז עס איז זיכער פֿאַרמאַכט.

פיגורע 2: דערציען view of the alarm clock, illustrating the battery compartment and the 'WAVE' button for radio signal reception.
3.2 Initial Power On and Radio Signal Reception
Upon battery installation, the clock will automatically attempt to receive the DCF77 radio signal to set the time. This process may take several minutes. Ensure the clock is placed away from electronic devices that may cause interference and near a window for optimal signal reception.
- A radio signal icon will appear on the display when the clock is attempting to receive the signal.
- Once the signal is successfully received, the time will automatically set, and the icon will stabilize.
- If the signal is not received after a prolonged period, try relocating the clock or manually setting the time (refer to section 4.1).
4. אַפּערייטינג ינסטרוקטיאָנס
4.1 Setting Time Manually
In areas with poor radio signal reception, the time can be set manually.
- דריקן און האַלטן די צייט button (located on the front) for a few seconds until the time display starts flashing.
- ניצן די + און - קנעפּלעך צו סטרויערן די שעה.
- דרוק די צייט button again to switch to minutes adjustment. Use + און - צו שטעלן מינוט.
- פאָרזעצן דרינגלעך צייט צו דורכגיין יאָר, חודש און טאָג סעטטינגס, אַדזשאַסטינג יעדער מיט + און -.
- דרוק צייט one last time or wait a few seconds for the settings to be saved.
4.2 באַשטעטיקן די שרעק
- דריקן און האַלטן די שרעק button (located on the front) for a few seconds until the alarm time display starts flashing.
- ניצן די + און - buttons to adjust the alarm hours.
- דרוק די שרעק button again to switch to alarm minutes adjustment. Use + און - צו שטעלן מינוט.
- דרוק שרעק one last time or wait a few seconds for the alarm setting to be saved.
- To activate or deactivate the alarm, briefly press the red ALARM ON / OFF button on the top of the clock. An alarm icon will appear on the display when the alarm is active.
4.3 סנוז פונקציע
When the alarm sounds, press the red ALARM ON / OFF button on the top of the clock to activate the snooze function. The alarm will temporarily stop and sound again after a few minutes (typically 5-10 minutes, depending on the model's default setting).
4.4 ווייַז באַקלייט
To illuminate the display with a blue backlight, briefly touch the top of the clock. The backlight will remain on for a few seconds, providing temporary visibility in the dark.
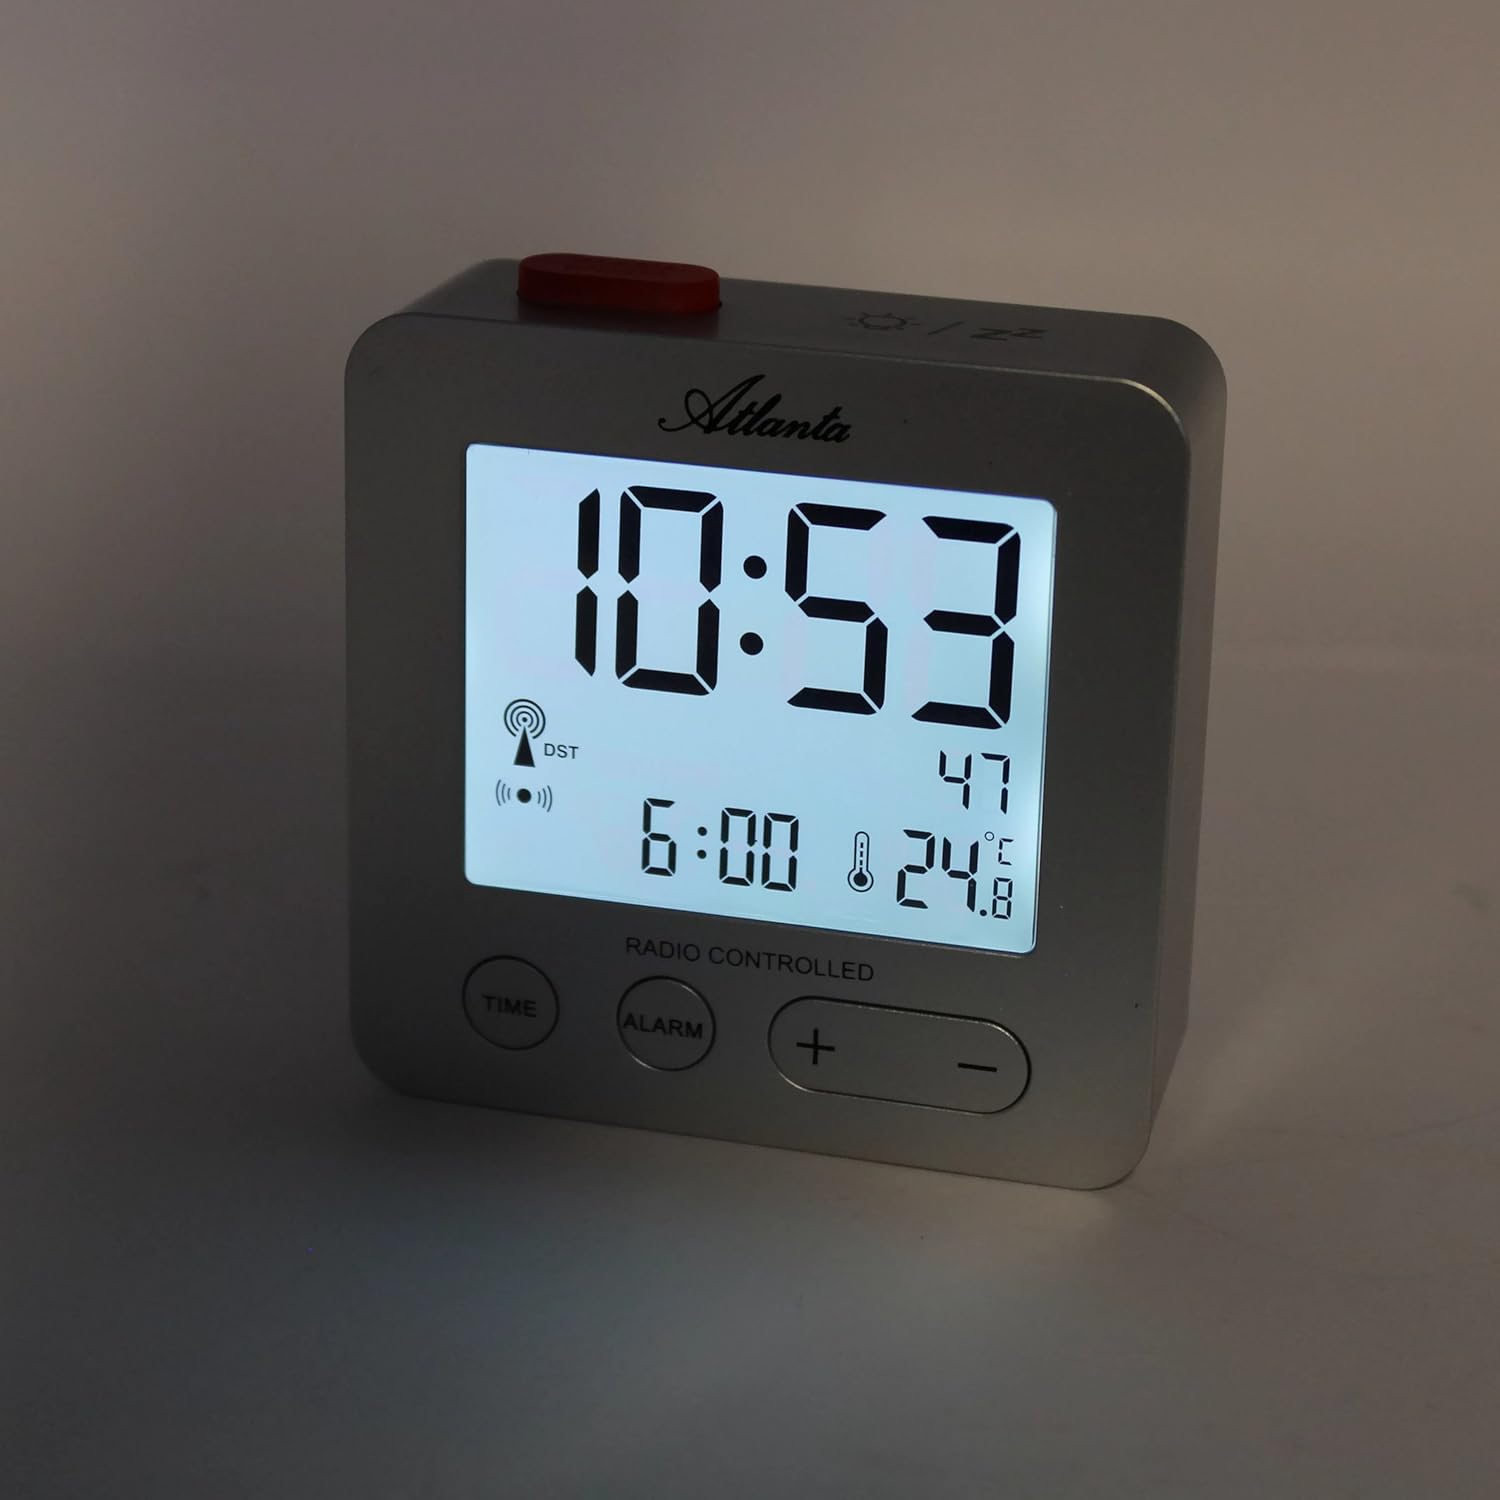
פיגורע 3: The alarm clock display with the blue backlight activated, enhancing readability in low light.
4.5 Temperature and Date Display
The clock continuously displays the indoor temperature and the current date alongside the time. No specific action is required to view these details.
5. וישאַלט
- רייניקונג: ווישט אָפּ דעם זייגער מיט אַ ווייכן, טרוקענעם שטאָף. ניצט נישט קיין שרײַבנדיקע רייניגערס אדער סאָלווענטן.
- באַטערי פאַרבייַט: Replace batteries when the display dims or the clock functions become unreliable. Always replace all batteries at the same time with new ones of the same type.
- סטאָרידזש: אויב איר לייגט אַוועק די זייגער פֿאַר אַ לענגערע צייט, נעמט אַרויס די באַטעריעס כּדי צו פֿאַרמייַדן ליקאַדזש.
6. טראָובלעשאָאָטינג
- Clock not setting time automatically:
Ensure the clock is placed in an open area, away from electronic interference (e.g., TVs, computers, mobile phones). Try placing it near a window. If the issue persists, manually set the time as described in section 4.1. - דער שרעק קלינגט נישט:
Verify that the alarm is activated (alarm icon visible on display). Check battery levels and replace if necessary. - דיספּליי איז טונקל אָדער ליידיק:
Replace the batteries. Ensure batteries are inserted with correct polarity. - Incorrect temperature reading:
Ensure the clock is not exposed to direct sunlight or placed near heat sources/vents, which can affect the sensor.
7. ספּעסאַפאַקיישאַנז
| מאָדעל נומער | 1882/19 |
| סאָרט | אַטלאַנטאַ |
| ווייַז טיפּ | דיגיטאַל לקד |
| ספּעציעלע פֿעיִקייטן | Temperature Display, Alarm, Snooze, Radio-Controlled (DCF77), Backlight |
| דימענסיעס (L X W X H) | 7 x 3.81 x 7 ס״מ (אומגעפער 2.76 x 1.5 x 2.76 אינטשעס) |
| וואָג | 65 גראַם (אומגעפער 2.3 אונסעס) |
| מאַכט מקור | באַטעריע געטריבן (באַטעריעס נישט אַרייַנגערעכנט) |
| מאַטעריאַל | פּלאַסטיק (אַקרילאָניטריל בוטאַדין סטירען) |
| קאָליר | זילבער |
8. וואָראַנטי און שטיצן
This product comes with a standard manufacturer's warranty. For detailed warranty information, please refer to the packaging or contact Atlanta customer support. For technical assistance or further inquiries, please visit the official Atlanta webפּלאַץ אָדער קאָנטאַקט זייער קונה סערוויס אָפּטיילונג.