
1. הקדמה
This manual provides essential instructions for the safe and efficient use of your Luxor 12-Capacity Secure Tablet Charging Box. This unit is designed to securely store, charge, and organize up to 12 tablets or Chromebooks, making it ideal for educational, office, or home environments. Please read this manual thoroughly before installation and operation.
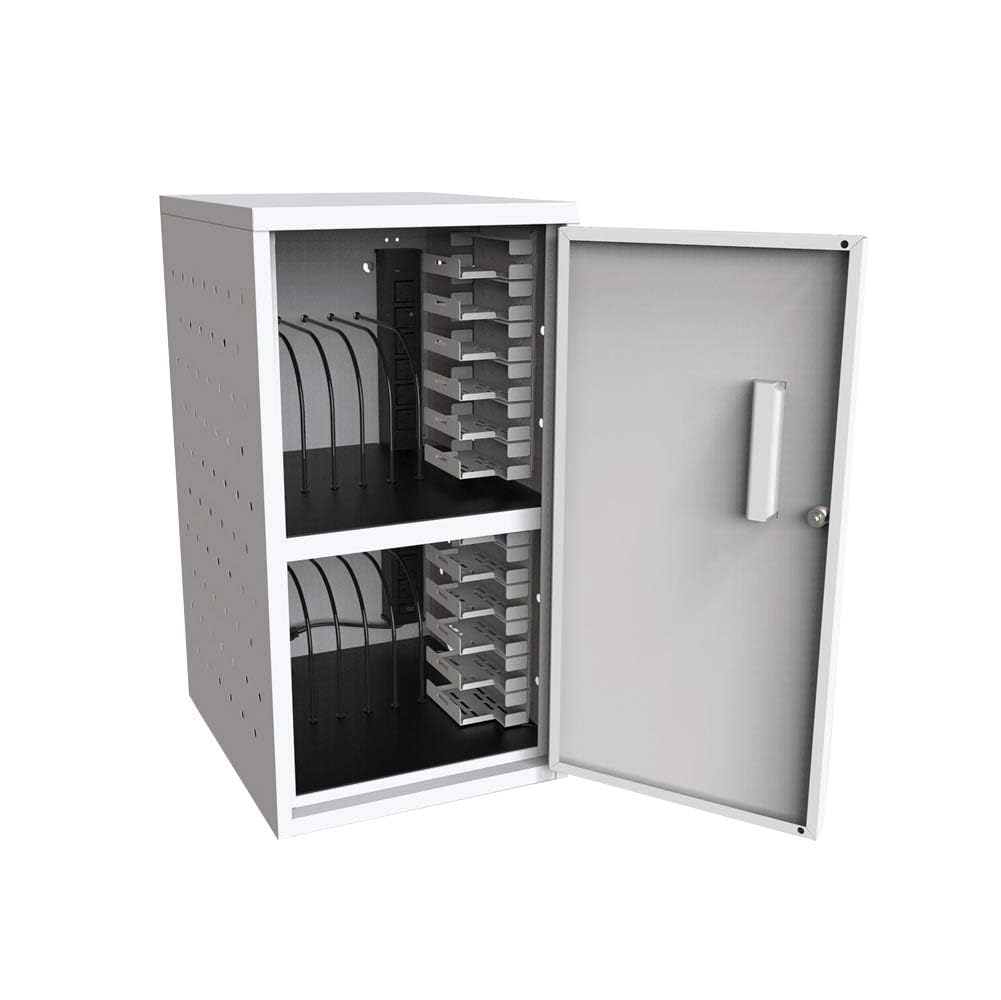
An image showing the front of the Luxor 12-Capacity Secure Tablet Charging Box, highlighting its compact design and secure door.
2. זיכערקייַט אינפֿאָרמאַציע
To ensure safe operation and prevent damage, observe the following:
- Ensure the cabinet is securely mounted or placed on a stable, flat surface.
- Do not overload the cabinet beyond its maximum weight capacity of 25 lbs (evenly distributed).
- Regularly check for any signs of wear or damage, especially around the key-lock, hinges, and power cords.
- Ensure adequate ventilation around the unit to prevent overheating. The cabinet features ventilated sides for constant airflow.
- Use only UL-Listed power strips and chargers.
3. פּעקל אינהאַלט
באַשטעטיקן אַז אַלע קאָמפּאָנענטן זענען פאַראַן ביים אויספּאַקן:
- Luxor 12-Capacity Secure Tablet Charging Box (fully assembled)
- Drywall-mounting hardware
- Two keys for the secure key-lock
- Two UL-Listed 6-outlet 120V/15A vertical electrical power strips
4. סעטאַפּ און ייַנמאָנטירונג
4.1 אַנפּאַקינג
The Luxor 12-Capacity Secure Tablet Charging Box arrives fully assembled. Carefully remove it from its packaging.
4.2 פּלאַצירונג אָפּציעס
The charging box offers versatile placement:
- Desk/Flat Surface Placement: Simply place the unit on any stable, flat surface. Ensure it is not near heat sources or in direct sunlight.
- וואַנט מאָונטינג: Use the included drywall-mounting hardware to secure the unit to a wall. Ensure the wall can support the weight of the cabinet and its contents (maximum 25 lbs evenly distributed). Refer to the detailed instructions provided with the mounting hardware for proper installation.

An image illustrating the height, width, and depth measurements of the charging box for placement reference.
4.3 מאַכט קאַנעקשאַן
Connect the power cords from the two internal UL-Listed 6-outlet power strips to a grounded electrical outlet. Ensure the outlet is easily accessible.

An image showing a hand connecting a device's power adapter to one of the outlets on the internal power strip.

A view of the power strip inside the charging box, with several charging cables plugged in and routed for device connection.
5. אַפּערייטינג ינסטרוקטיאָנס
5.1 Loading Devices
Open the secure door using the provided key. The cabinet features two shelves, each designed to hold up to 6 tablets or Chromebooks, totaling 12 devices. The padded interior and rubber-coated dividers protect devices from damage. Carefully slide each device into an available slot.

The charging box with its door open, revealing two internal shelves designed to hold multiple devices.

A close-up of the charging box interior, showing devices neatly stored in slots and connected to the internal power strip for charging.
5.2 טשאַרדזשינג דעוויסעס
Connect each device's charging cable to the internal power strips. The rubber-coated dividers assist in cable management, reducing clutter and ensuring efficient charging.
5.3 זיכערהייַט
Once all devices are loaded and connected, close the door and secure it using the key-lock. This all-steel construction provides a secure environment for your valuable electronics.
6. וישאַלט
- רייניקונג: ווישט די אויסערלעכע און אינערלעכע ייבערפלאַכן מיט אַ ווייכן, דamp שטאָף. ויסמיידן אַברייסיוו קלינערז.
- דורכקוק: Periodically inspect the unit for any loose screws, damaged components, or frayed power cords. Address any issues promptly to maintain safety and functionality.
- ווענטילאַטיאָן: Ensure the ventilated sides remain unobstructed to allow constant airflow and prevent overheating.
7. טראָובלעשאָאָטינג
- מכשירים ניט טשאַרדזשינג: Check if the power strips are properly plugged into a live outlet. Verify that device chargers are securely connected to both the power strip and the devices. Ensure the power strips' circuit breakers have not tripped.
- Door Not Locking: Ensure the door is fully closed and aligned with the locking mechanism. Check if the key is inserted correctly and turned completely.
- איבערהייצונג: Confirm that the ventilation holes on the sides of the cabinet are not blocked. Avoid placing the unit in enclosed spaces without sufficient air circulation.
8. ספּעסאַפאַקיישאַנז
| שטריך | דעטאַל |
|---|---|
| סאָרט | לוקסאָר |
| מאָדעל נומער | LLTMWV12-G |
| קאַפּאַציטעט | 12 Tablets or Chromebooks (6 per shelf) |
| מאַטעריאַל | All-steel construction (Alloy Steel) |
| קאָליר | גרוי |
| דימענשאַנז (ב x ד x ה) | 13" ברייט x 15.8" טיף x 24.4" הויך |
| פּונקט וואָג | 20 פונט |
| מאַקסימום וואָג קאַפּאַציטעט | 25 לבס (יוואַנלי פונאנדערגעטיילט) |
| מאַכט סטריפּס | Two UL-Listed 6-outlet 120V/15A vertical electrical power strips |
| זיכערהייַט | Secure key-lock (includes two keys) |
| פֿעיִקייטן | Padded interior, rubber-coated dividers, ventilated sides, drywall-mounting hardware included |
| פֿאַרזאַמלונג | קומט פארזאמלט |
| סטאַנדאַרדס | Meets ANSI/BIFMA standards |
9. וויזועלע גייד
9.1 פּראָדוקט בילדער
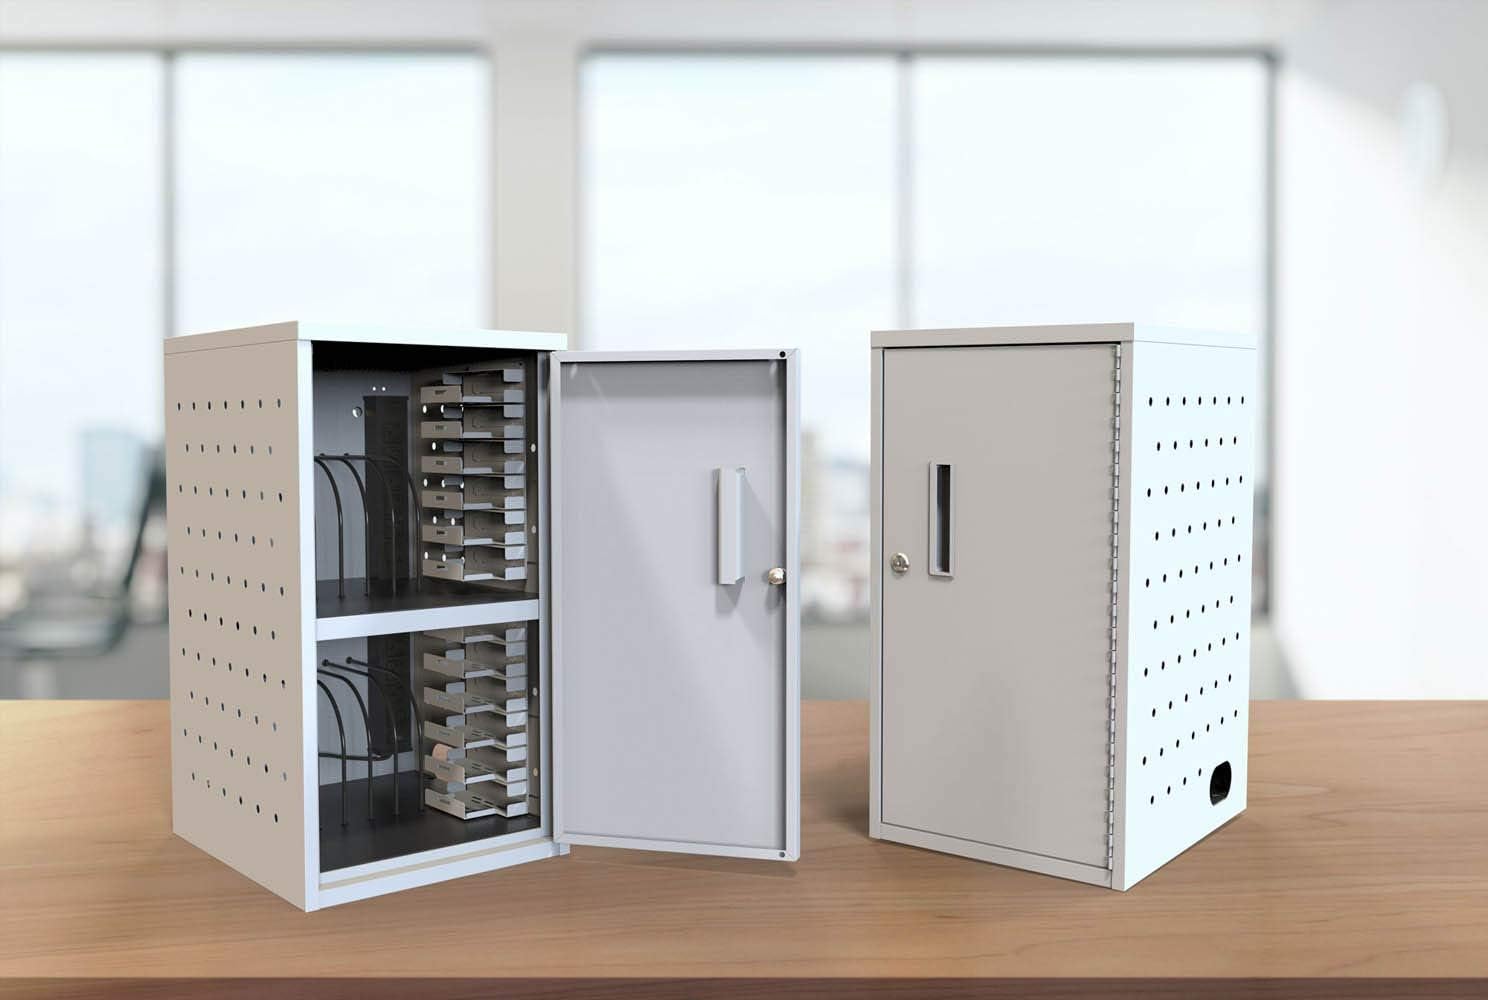
Two charging boxes side-by-side, one with its door open to display the internal layout, and the other closed to show its secure state.
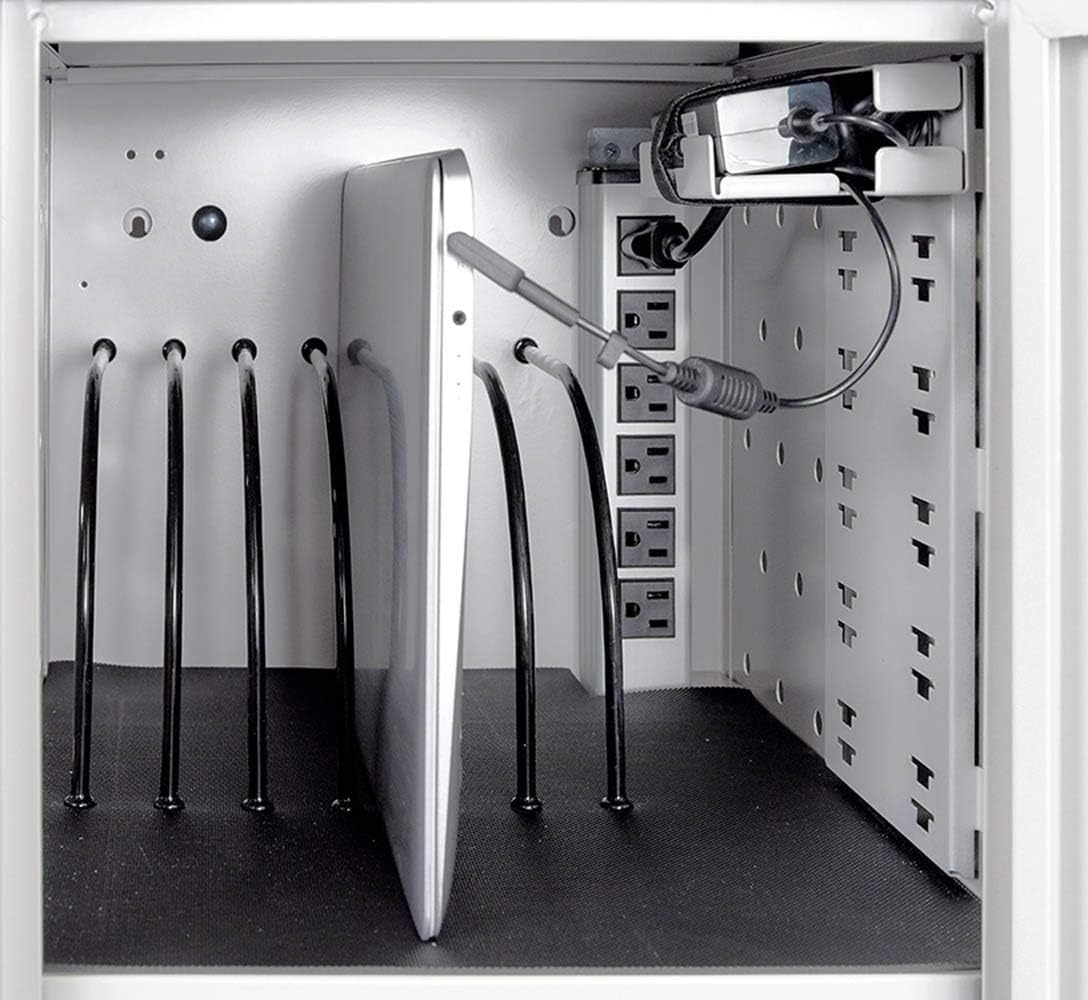
א דיטיילד view of a tablet placed in a slot, with its charging cable connected to the power strip, demonstrating the charging process.
9.2 אפיציעלע פּראָדוקט ווידעאָס
Official product video demonstrating the features and usage of the Luxor 12-Capacity Secure Tablet Charging Box.
A video highlighting key features of a similar tablet charging station, including assembly, locking mechanisms, cable management, and device capacity.
Instructions on how to adjust or remove dividers within a charging cart for customized device storage.