
1. הקדמה
This manual provides comprehensive instructions for the installation, operation, maintenance, and troubleshooting of your CORNAT SPK1117 Triton Cistern. Please read this manual thoroughly before beginning installation or use to ensure proper function and safety. Keep this manual for future reference.
2. זיכערקייַט אינפֿאָרמאַציע
שטענדיק אָבסערווירן די פאלגענדע זיכערקייַט פּריקאָשאַנז:
- ווארענונג: זיכער מאַכן אַז די הויפּט וואַסער צושטעל איז אויסגעלאָשן איידער די אינסטאַלאַציע אָדער וישאַלט.
- וואָרענען: באַהאַנדלט אַלע קאָמפּאָנענטן מיט וואָרענונג צו פאַרמייַדן שעדיקן.
- אויב איר זענט נישט זיכער וועגן קיין איינע פון די אינסטאַלאַציע טריט, קאָנסולטירט זיך מיט אַ קוואַליפֿיצירטן פּלאָמבער.
- Do not use abrasive cleaners or harsh chemicals on the cistern's surfaces.
3. פּעקל אינהאַלט
באַשטעטיקן אַז אַלע קאָמפּאָנענטן זענען פאַראַן איידער איר הייבט אָן די אינסטאַלאַציע:
- CORNAT SPK1117 Triton Cistern (Beige)
- Flush mechanism (pre-installed or separate)
- Fill valve (pre-installed or separate)
- Mounting hardware (brackets, screws, wall plugs)
- Inlet and outlet seals/gaskets
- ינסטרוקטיאָן מאַנואַל (דעם דאָקומענט)
4. סעטאַפּ און ייַנמאָנטירונג
The CORNAT SPK1117 Triton Cistern is designed for suspension (wall-hung), not for floor placement. Ensure your wall structure can support the weight of the cistern when full.
4.1 פאַר-ינסטאַלירונג טשעקס
- אויסלעשן די הויפּט וואַסער צושטעל צו דער אינסטאַלאַציע געגנט.
- זיכער מאַכן אַז די וואַנט ייבערפלאַך איז ריין, טרוקן און סטרוקטורעל געזונט.
- Gather necessary tools: drill, spirit level, measuring tape, wrench, screwdriver.
4.2 Mounting the Cistern
- Mark the desired mounting height on the wall, ensuring it aligns with your toilet pan.
- Position the mounting brackets (if separate) or the cistern itself, mark the drilling points.
- Drill holes at the marked points and insert appropriate wall plugs.
- Secure the mounting brackets or cistern to the wall using the provided screws. Use a spirit level to ensure it is perfectly horizontal.
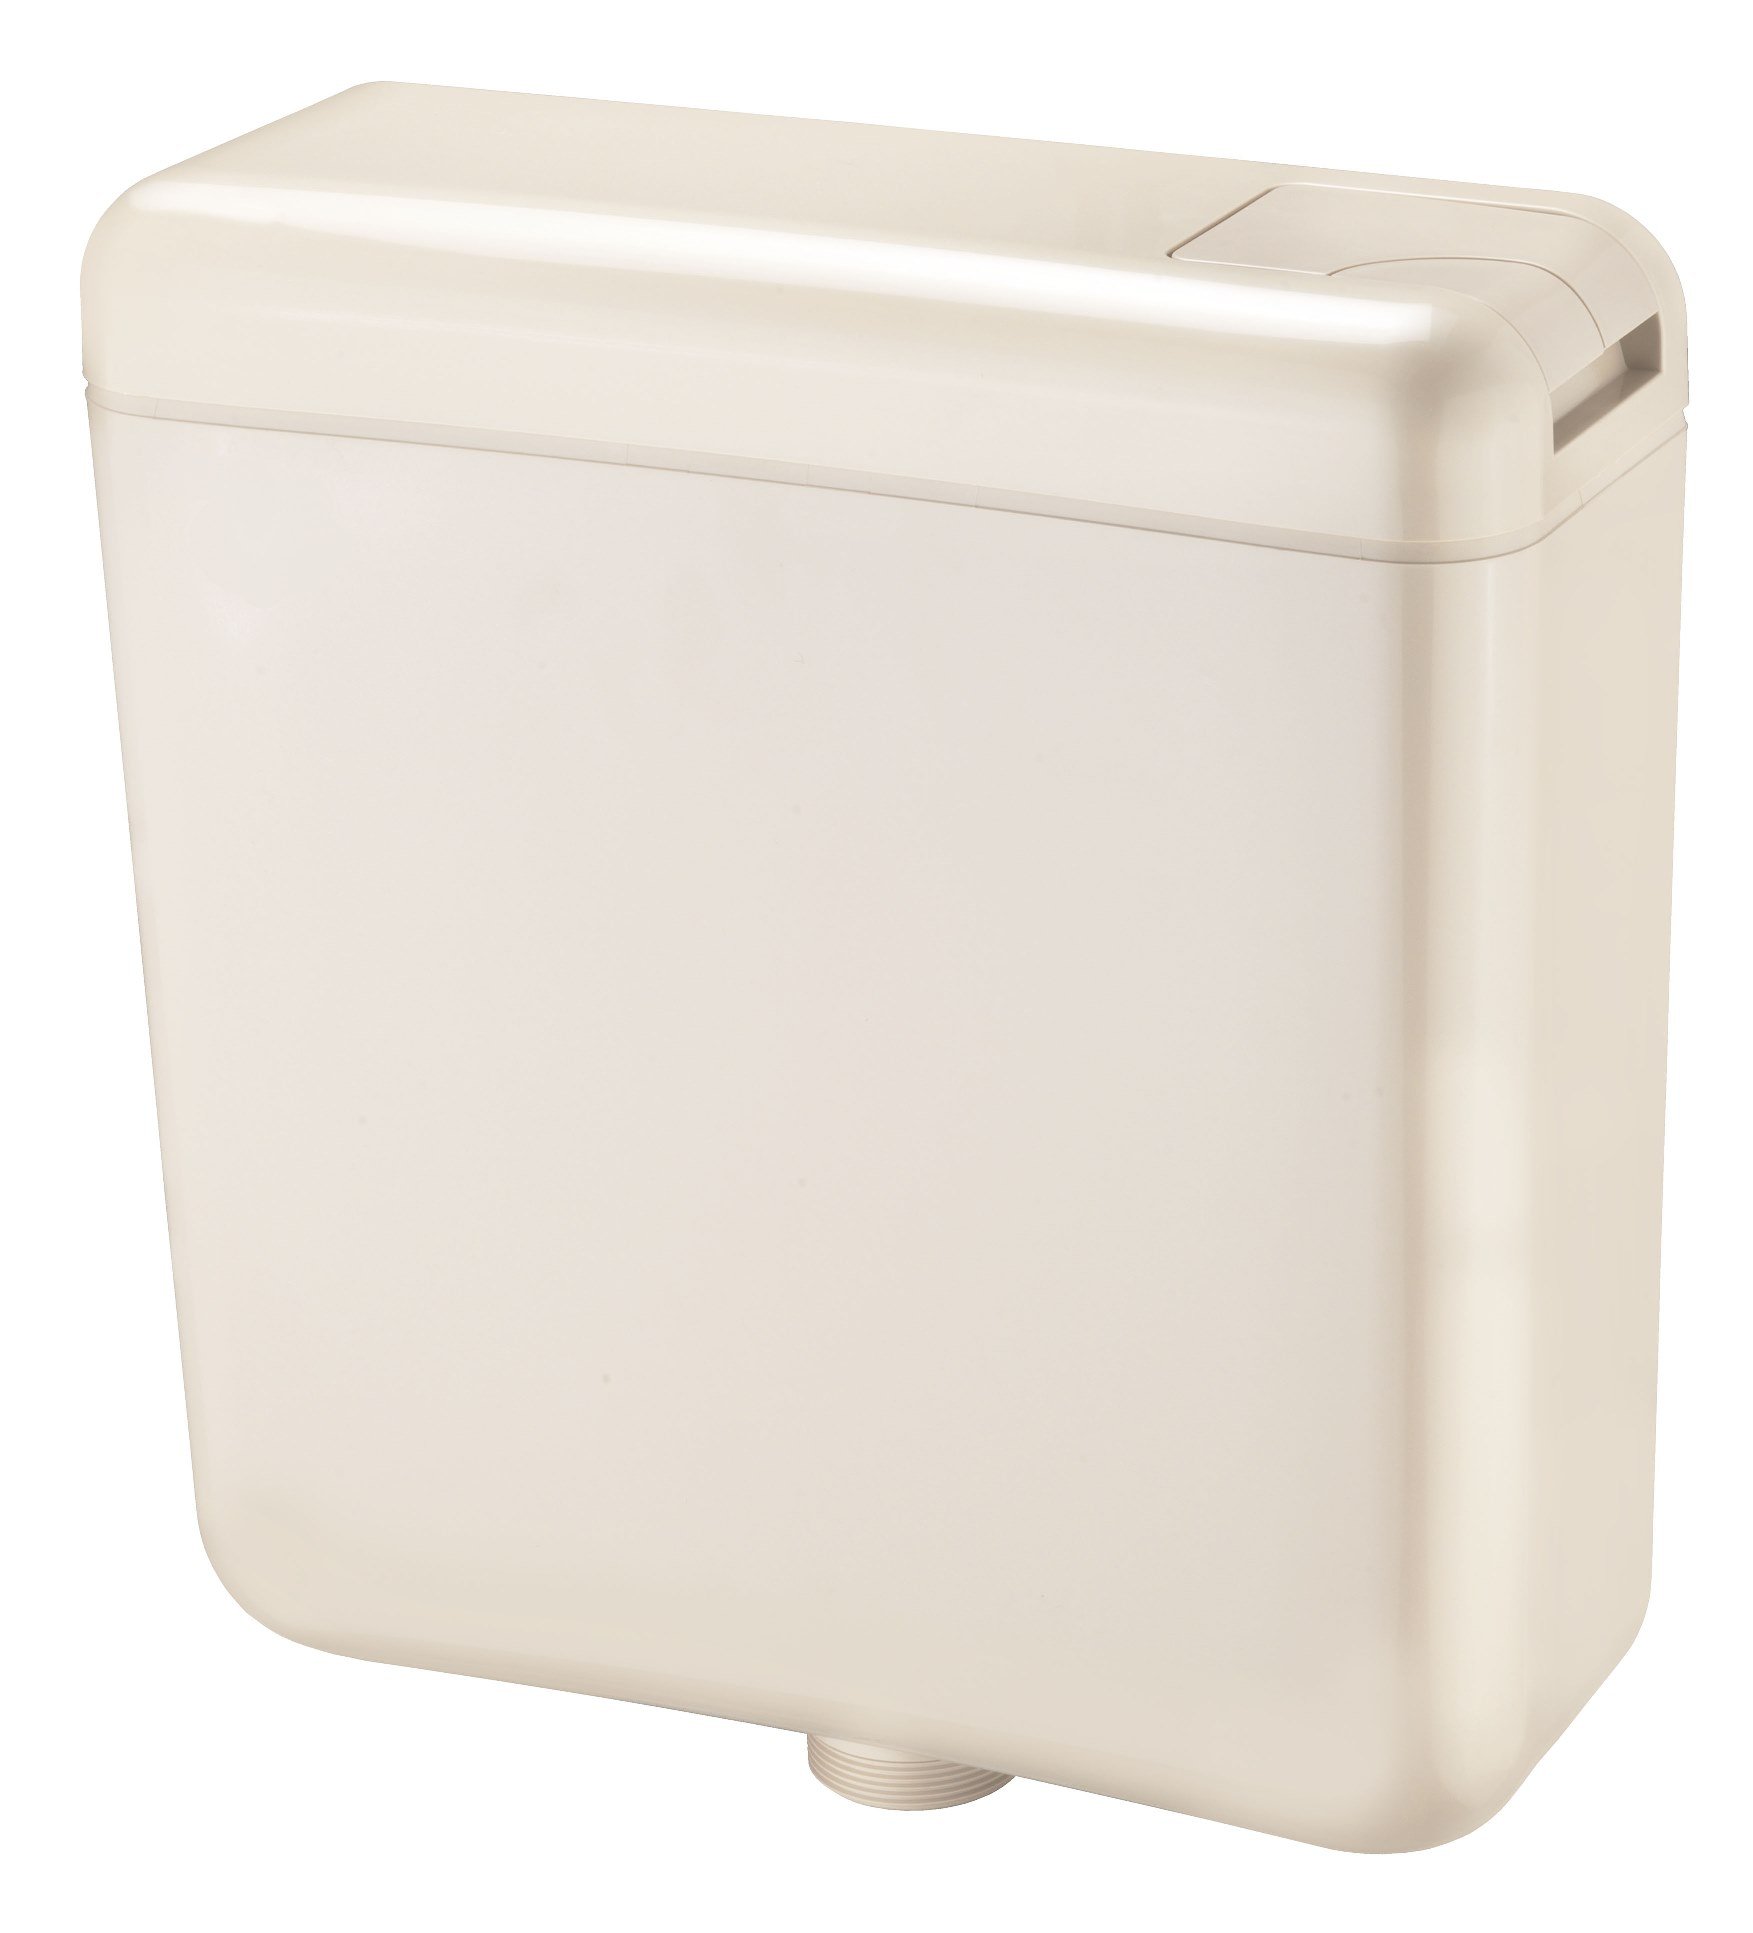
Figure 1: The CORNAT SPK1117 Triton Cistern, shown in beige, ready for installation. This image illustrates the overall design and connection points for water inlet and outlet.
4.3 Connecting Water Supply and Outlet
- Connect the water inlet pipe to the fill valve on the cistern. Ensure all connections are tight and use appropriate seals.
- Connect the cistern outlet to the toilet pan inlet. Use the provided seals and tighten securely.
4.4 Initial Fill and Leak Check
- סלאָולי קער אויף די הויפּט וואַסער צושטעלן.
- Allow the cistern to fill completely.
- Carefully inspect all connections for any signs of leaks. Tighten connections if necessary.
- Perform a test flush to ensure proper operation of the flush mechanism.
5. אַפּערייטינג ינסטרוקטיאָנס
The CORNAT SPK1117 Triton Cistern features a dual-flush mechanism, offering two flush volumes for water conservation.
5.1 Dual Flush Operation
- Full Flush (9 Liters): Press the larger button or push the flush lever fully down for a complete flush.
- Reduced Flush (6 Liters): Press the smaller button or push the flush lever partially down for a water-saving flush.
The specific flush button or lever design may vary depending on the toilet pan and flush plate used with this cistern.
6. וישאַלט
Regular maintenance ensures the longevity and efficient operation of your cistern.
6.1 רייניקונג
- Clean the exterior of the cistern with a soft, damp שטאָף און מילד זייף.
- Avoid abrasive cleaners, scouring pads, or harsh chemicals, as these can damage the plastic surface.
- For internal cleaning, turn off the water supply, flush the cistern, and use a non-corrosive toilet cleaner if necessary. Rinse thoroughly.
6.2 קאָמפּאָנענט דורכקוק
- Periodically check the fill valve and flush valve for wear or damage.
- Inspect all seals and gaskets for signs of deterioration or leaks. Replace as needed.
- Ensure the flush mechanism operates smoothly without obstruction.
7. טראָובלעשאָאָטינג
זעט די טאבעלע אונטן פאר אלגעמיינע פראבלעמען און זייערע לייזונגען.
| פּראָבלעם | מעגלעך סיבה | לייזונג |
|---|---|---|
| Cistern not filling or filling slowly | Water supply off; clogged fill valve; low water pressure. | Check water supply valve; clean or replace fill valve; consult plumber for water pressure issues. |
| Cistern continuously runs/leaks | Faulty flush valve seal; fill valve not shutting off; flush mechanism obstruction. | Inspect and replace flush valve seal; adjust or replace fill valve; clear any obstructions around the flush mechanism. |
| Weak or incomplete flush | Low water level; flush valve not opening fully; partial blockage in toilet pan. | Adjust fill valve to increase water level; check flush mechanism for full travel; clear toilet pan blockage. |
If the problem persists after attempting these solutions, contact customer support or a qualified plumber.
8. ספּעסאַפאַקיישאַנז
| מאָדעל נומער | SPK1117 |
| סאָרט | קאָרנאַט |
| מאַטעריאַל | פּלאַסטיק |
| דימענסיעס (L X W X H) | 17.24 X 15.43 X 5.43 אינטשעס (43.79 X 39.19 X 13.79 סענטימעטער) |
| פלאַש באַנד | 6 Liters / 9 Liters (Dual Flush) |
| Exterior Finish (Components) | Chrome (for flush buttons/levers, if applicable) |
| פאַבריקאַנט | קאָנמעטאַל |
9. וואָראַנטי אינפֿאָרמאַציע
CORNAT products are manufactured to high-quality standards. For specific warranty details, please refer to the warranty card included with your product or visit the official Cornat webזייטל. האַלט דיין קויפן באַווייַז פֿאַר וואָראַנטי קליימז.
10. קונה שטיצן
If you have any questions, require technical assistance, or need to order replacement parts, please contact Cornat customer support:
- Webפּלאַץ: www.cornat.de (Please note: This is a general placeholder, actual website may vary by region.)
- בליצפּאָסט: זעט די פּראָדוקט פּאַקאַדזשינג אָדער באַאַמטער webוועבזייטל פֿאַר קאָנטאַקט אימעיל.
- טעלעפֿאָן: זעט די פּראָדוקט פּאַקאַדזשינג אָדער באַאַמטער webזייטל פֿאַר קאָנטאַקט טעלעפאָן נומער.