
אָסטער 4010378
אָסטער מיקאָנאָס גריכיש יאָגורט מאַשין אינסטרוקציע מאַנואַל
מאָדעל: 4010378
הקדמה
This manual provides detailed instructions for the safe and efficient operation of your Oster Mykonos Greek Yogurt Maker. Please read all instructions carefully before first use and retain for future reference.
The Oster Mykonos Greek Yogurt Maker is designed to simplify the process of making homemade yogurt, including protein-rich Greek yogurt. It includes all necessary components to create either a large batch or individual servings.
וויכטיק סאַפעטי אינסטרוקציעס
- לייענען אַלע ינסטראַקשאַנז איידער ניצן די אַפּפּליאַנסע.
- דו זאלסט נישט פאַרבינדן הייס סערפאַסיז. ניצן כאַנדאַלז אָדער נאַבז.
- צו באַשיצן קעגן עלעקטריקאַל קלאַפּ, טאָן ניט ייַנטונקען שנור, פּלאַגז אָדער אַפּפּליאַנסע אין וואַסער אָדער אנדערע פליסיק.
- נאָענט השגחה איז נייטיק ווען קיין אַפּפּליאַנסע איז געניצט דורך אָדער לעבן קינדער.
- אָפּשטעקן די ווענטיל ווען ניט אין נוצן און איידער רייניקונג. לאָזן צו קילן איידער איר שטעלן אויף אָדער נעמען אַוועק טיילן.
- דו זאלסט נישט אַרבעטן קיין אַפּפּליאַנסע מיט אַ דאַמידזשד שנור אָדער צאַפּן אָדער נאָך די אַפּפּליאַנסע מאַלפאַנגקשאַנז אָדער איז דאַמידזשד אין קיין וועג.
- די נוצן פון אַקסעסערי אַטאַטשמאַנץ וואָס זענען נישט רעקאַמענדיד דורך דער פאַבריקאַנט קען פאַרשאַפן ינדזשעריז.
- דו זאלסט נישט נוצן ינ דרויסן.
- דו זאלסט נישט לאָזן די שנור הענגען איבער די ברעג פון טיש אָדער טאָמבאַנק, אָדער אָנרירן הייס סערפאַסיז.
- צי ניט שטעלן אויף אָדער לעבן אַ הייס גאַז אָדער עלעקטריש בורנער, אָדער אין אַ העאַטעד ויוון.
- שטענדיק צושטעלט דעם שטעקער ערשט צום עלעקטרישן אפאראט, דערנאך שטעקט דעם שנור אריין אין דער וואנט-אויסגאבע. כדי צו אפשטעלן, דרייט יעדן קאנטראל צו "אויס", און דערנאך נעמט ארויס דעם שטעקער פון דער וואנט-אויסגאבע.
- דו זאלסט נישט נוצן די מיטל פֿאַר אנדערע ווי בדעה הויזגעזינד נוצן.
פּאַרץ און פֿעיִקייטן
Familiarize yourself with the components of your Oster Mykonos Greek Yogurt Maker:
- Yogurt Maker Base with On/Off Switch
- קלאָר ליד
- Four 7oz. Glass Jars with Lids
- One 1 Qt. Plastic Container with Lid
- Greek Yogurt Strainer


סעטאַפּ
- Before first use, wash all removable parts (glass jars, plastic container, lids, and strainer) in warm, soapy water. Rinse thoroughly and dry.
- Wipe the yogurt maker base with a damp שטאָף. דו זאלסט נישט ייַנטונקען די באַזע אין וואַסער.
- Place the yogurt maker base on a stable, flat, and heat-resistant surface.
- Ensure the On/Off switch is in the "Off" position before plugging into an electrical outlet.
Operating Instructions: Making Yogurt
General Yogurt Preparation
This yogurt maker can produce one large batch or individual servings. The process involves heating milk, cooling it, adding a starter culture, and then incubating it in the yogurt maker.
- הײצט די מילך: Pour the desired amount of milk (whole, reduced-fat, skim, soy, or almond milk) into a saucepan. Heat the milk slowly to 180°F (82°C). Stir frequently to prevent scorching. This step helps to denature the milk proteins, resulting in a thicker yogurt.
- Cool the Milk: Remove the milk from heat and allow it to cool to 105°F–115°F (40°C–46°C). This temperature range is ideal for the yogurt culture to thrive. You can speed up cooling by placing the saucepan in an ice bath.
- Add Starter Culture: Once the milk has cooled, add your yogurt starter culture. This can be a few tablespoons of plain, unflavored yogurt with live active cultures, or a commercial yogurt starter packet. Whisk thoroughly to ensure the starter is evenly distributed.
- פֿיל קאַנטיינערס:
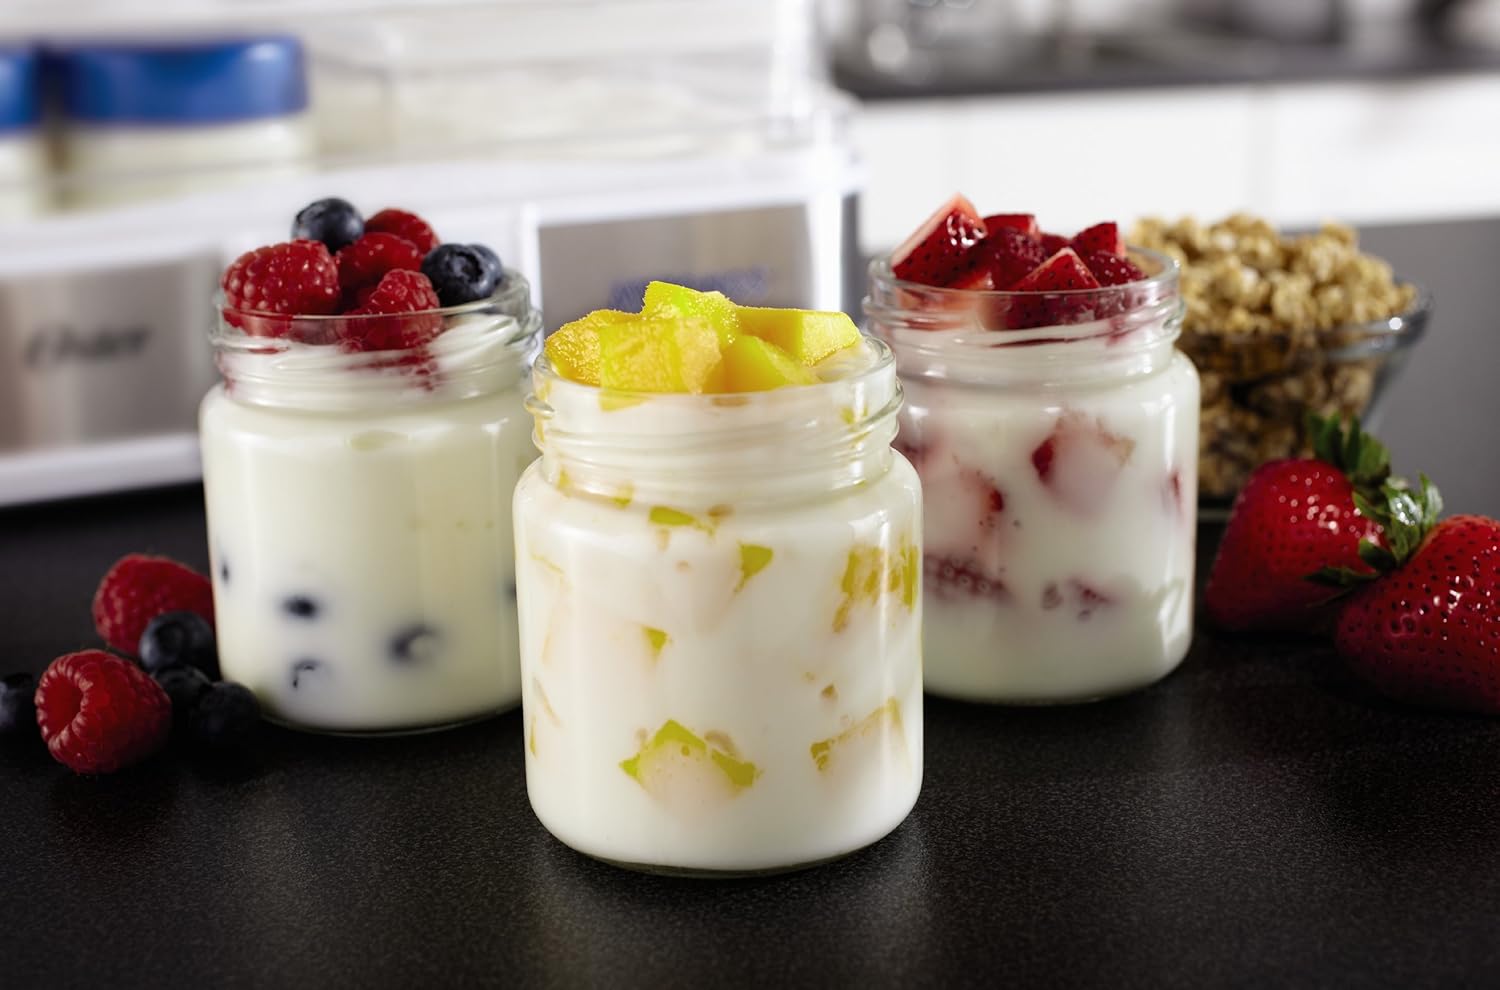
- For individual servings: Pour the milk mixture into the four 7oz. glass jars. Secure the lids.
- For a large batch: Pour the milk mixture into the 1 Qt. plastic container. Secure the lid.
- ינקובירן: Place the filled jars or the large container into the yogurt maker base. Cover with the clear lid. Plug in the unit and turn the On/Off switch to "On".
- Incubation Time: The incubation time typically ranges from 10 to 12 hours, depending on the type of milk used and desired thickness. Longer incubation times generally result in a tangier and thicker yogurt.
- ציטער: Once incubation is complete, turn the switch to "Off" and unplug the unit. Remove the containers from the yogurt maker and refrigerate for at least 4 hours to chill and set completely.


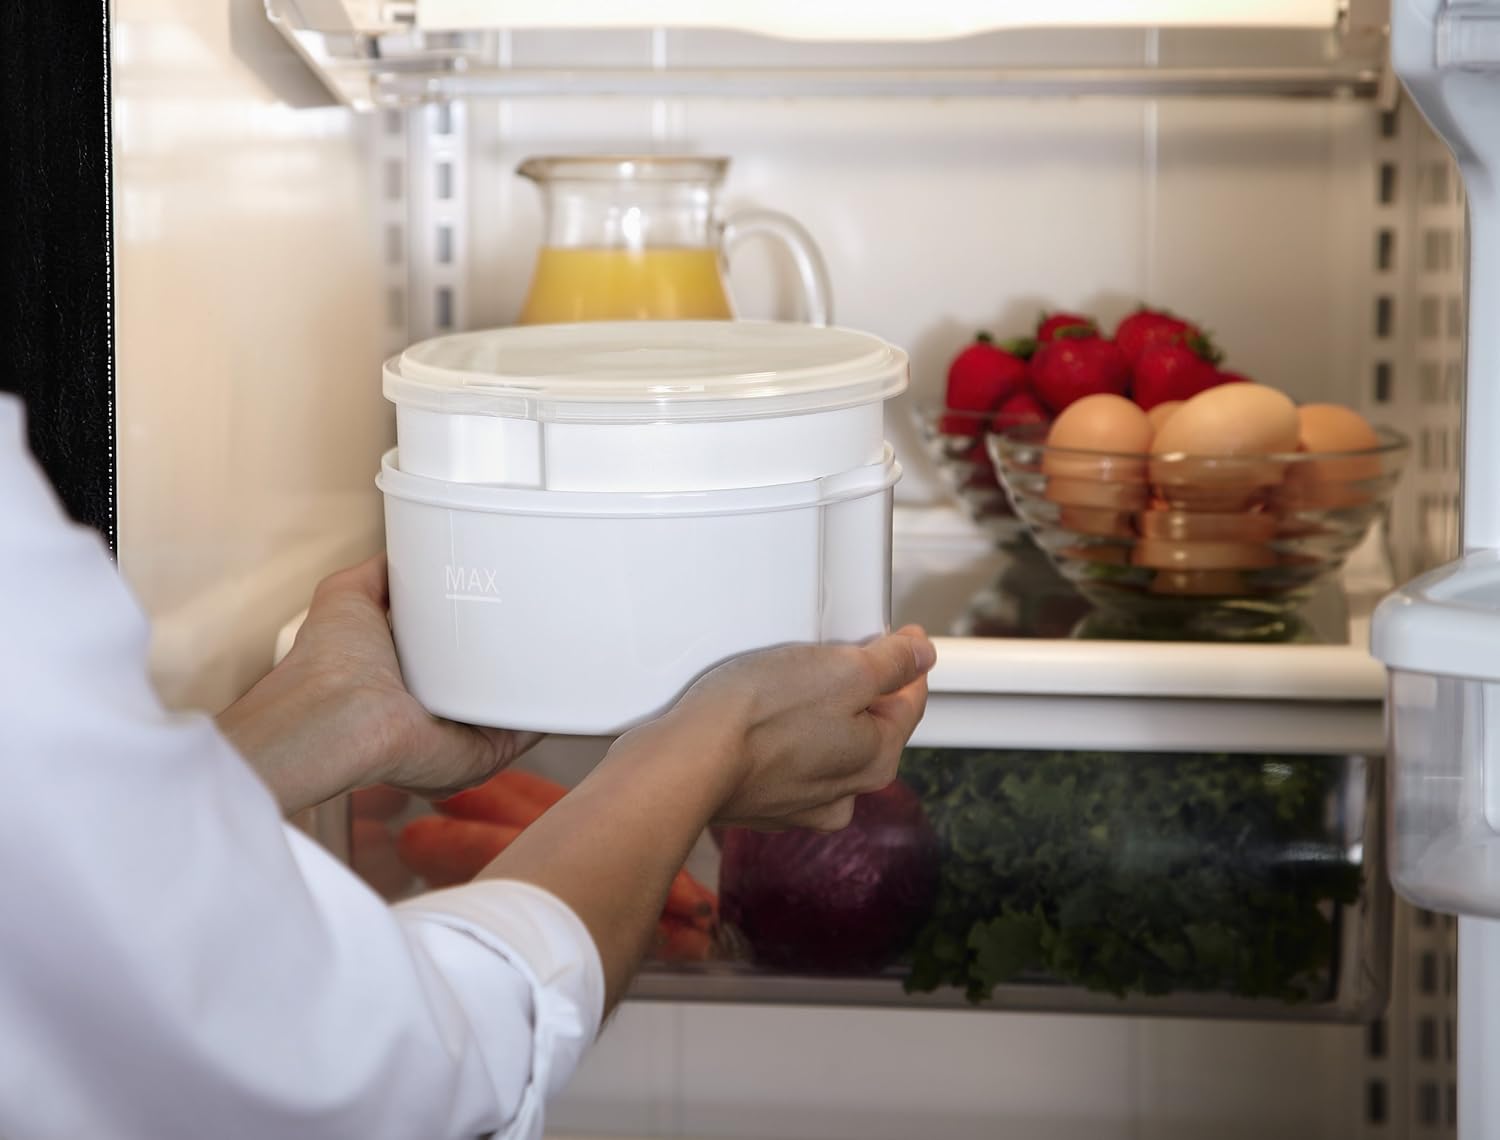
Making Greek Yogurt
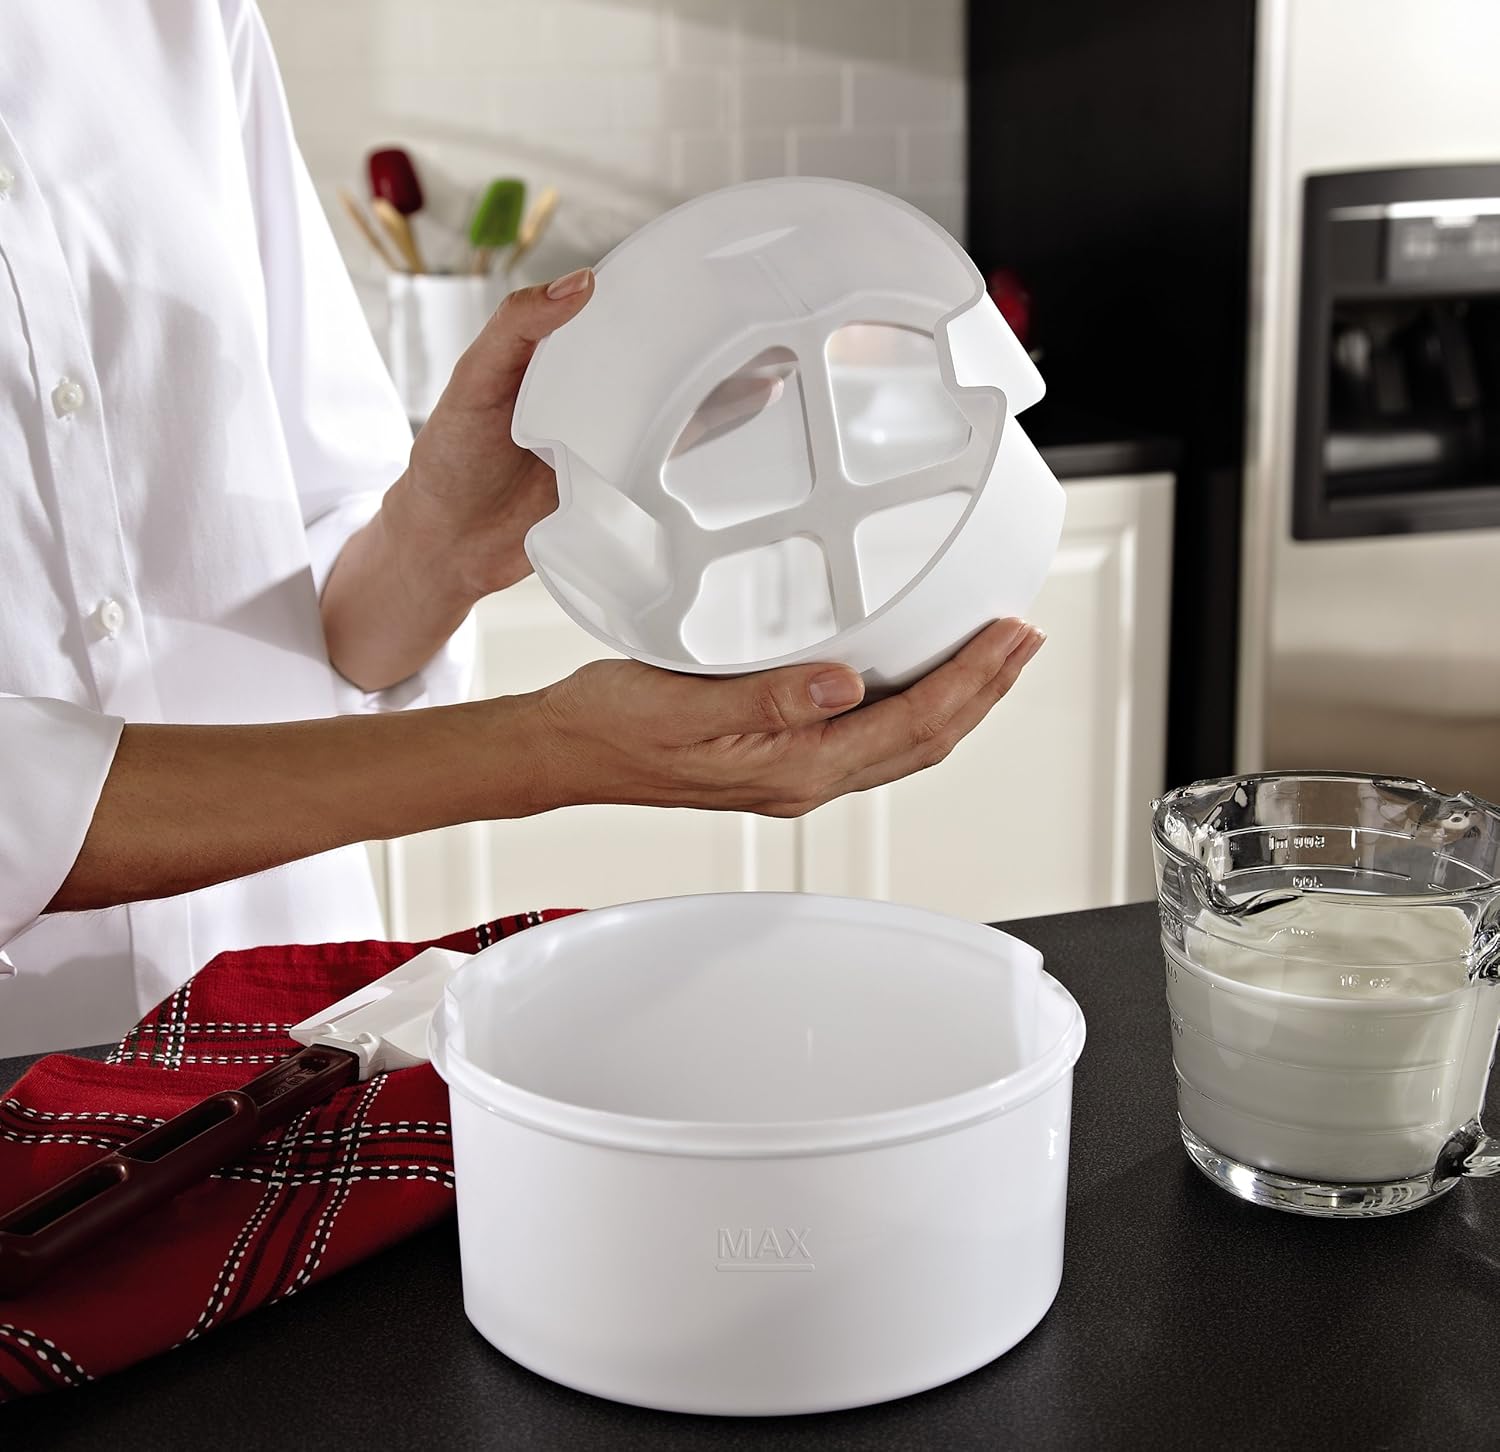
To make Greek yogurt, you will need to strain the regular yogurt to remove excess whey, resulting in a thicker, more protein-rich product.
- Prepare Yogurt: Follow the steps above to make regular yogurt using the large 1 Qt. plastic container. Ensure the yogurt is thoroughly chilled before straining.
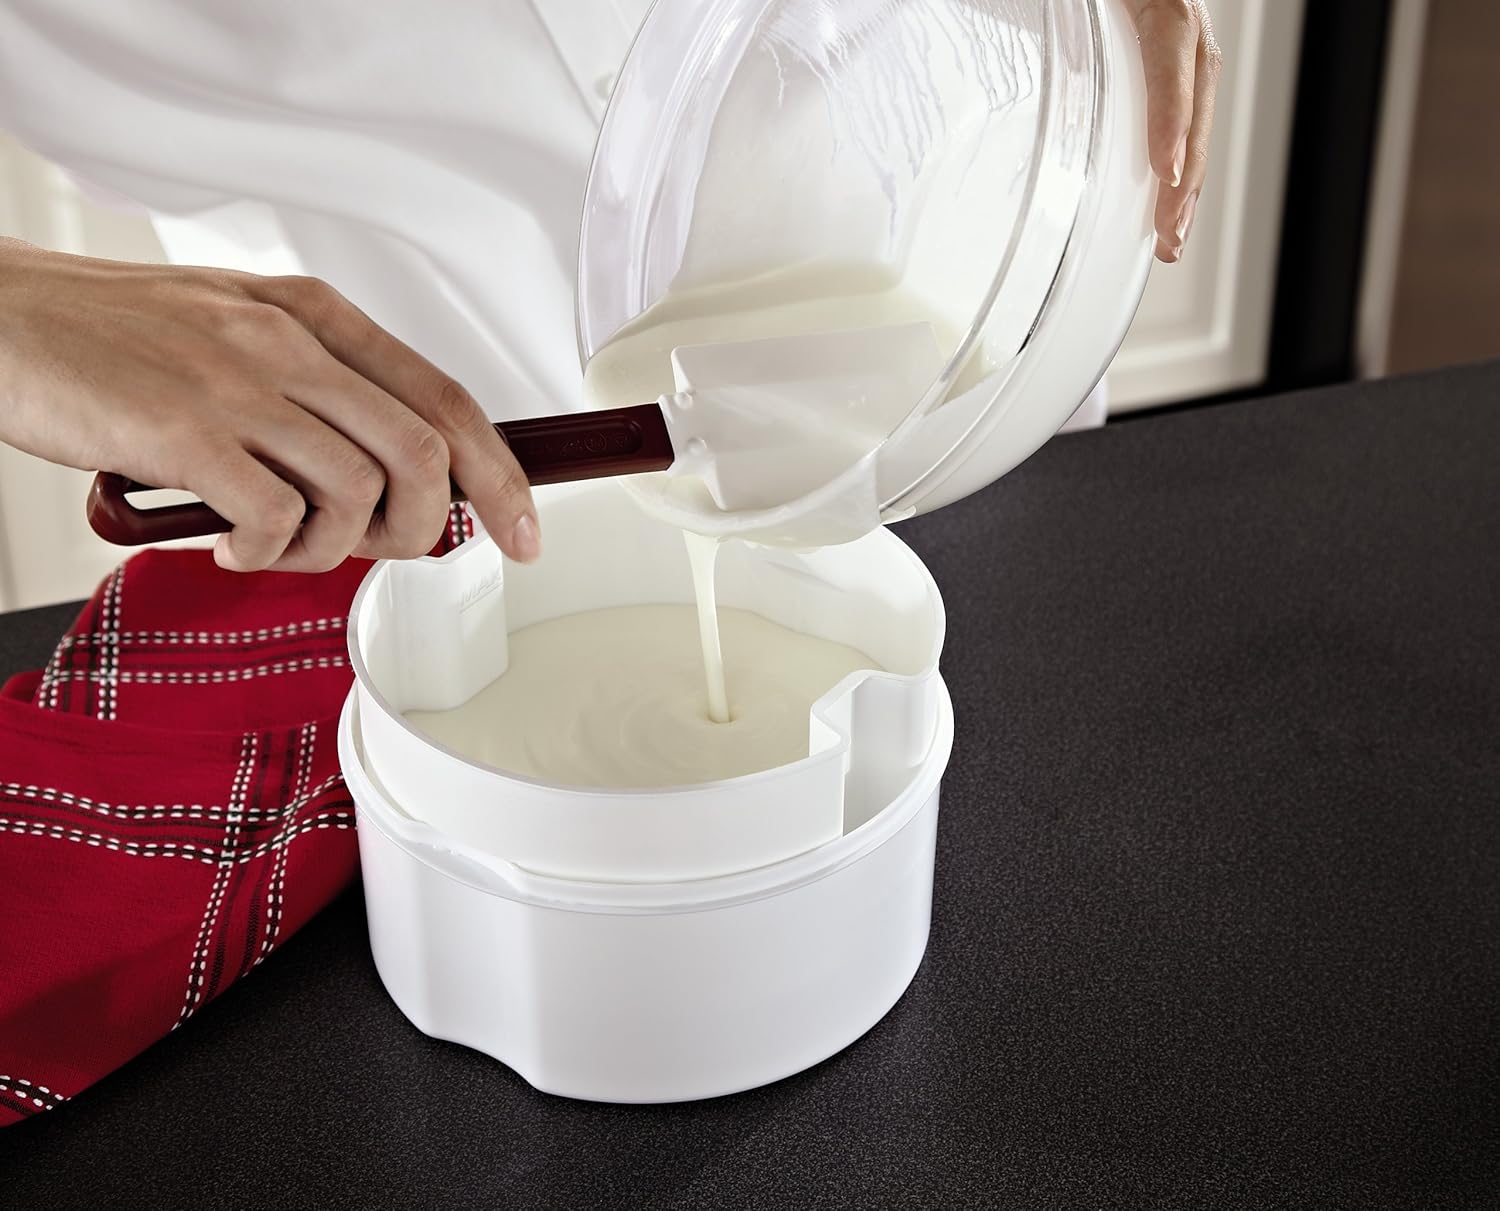
- Assemble Strainer: Place the Greek yogurt strainer into the large plastic container. Ensure it is seated properly.
- Pour Yogurt: Gently pour the chilled regular yogurt into the strainer.
- שפּאַנונג: Place the lid on the large container and refrigerate. Allow the yogurt to strain for several hours, or overnight, depending on your desired thickness. The longer it strains, the thicker the Greek yogurt will be. The liquid whey will collect in the bottom of the container.
- דינען: Once strained to your preference, remove the strainer with the Greek yogurt. The strained yogurt is now ready to be served. The collected whey can be discarded or used in other recipes.


וישאַלט און רייניקונג
Proper cleaning and maintenance will ensure the longevity and performance of your yogurt maker.
- Always unplug the yogurt maker from the electrical outlet and allow it to cool completely before cleaning.
- Yogurt Maker Base: ווישט די אויסערליכע זייט פון דער באַזע מיט אַ ווייכן, דamp שטאָף. דו זאלסט נישט ייַנטונקען די באַזע אין וואַסער אָדער קיין אנדערע פליסיק.
- רימווואַבאַל פּאַרץ: The glass jars, plastic container, lids, and Greek yogurt strainer are dishwasher safe (top rack recommended) or can be washed by hand in warm, soapy water. Rinse thoroughly and dry completely before storing.
- Do not use abrasive cleaners or scouring pads on any part of the yogurt maker, as this may scratch surfaces.
- Ensure all parts are dry before reassembling or storing the unit. The components store neatly within the unit for compact storage.
טראָובלעשאָאָטינג
אויב איר טרעפט פּראָבלעמען מיט אייער יאָגורט מאַשין, זעט די פאלגענדע געוויינטלעכע פּראָבלעמען און לייזונגען:
| פּראָבלעם | מעגלעך סיבה | לייזונג |
|---|---|---|
| Yogurt is too thin or not setting. |
|
|
| Yogurt has a grainy texture. |
|
|
| Yogurt is too sour. |
|
|
| Yogurt maker not turning on. |
|
|
ספּעסאַפאַקיישאַנז
- מאָדעל נומער: 4010378
- קאָליר: ווייַס
- מאַטעריאַל: פּלאַסטיק
- דימענסיעס: 13.97 X 24.13 X 24.13 סענטימעטער (5.5 X 9.5 X 9.5 אינטשעס)
- וואָג: 726 ג (1.6 לבס)
- קאַפּאַציטעט: Four 7oz. glass jars or one 1 Qt. plastic container
וואָראַנטי און שטיצן
For warranty information or product support, please refer to the warranty card included with your purchase or visit the official Oster website. Do not attempt to repair the appliance yourself. Contact authorized service personnel for assistance.
Ask a question about this manual
Ask about setup, troubleshooting, compatibility, parts, safety, or missing instructions. Manuals+ will review the question and use this page’s manual context to help answer it.