
1. הקדמה
This manual provides instructions for the installation, operation, maintenance, and troubleshooting of the Juniper EX3200-24T Layer 3 Switch. The EX3200-24T is a fixed-configuration switch designed for access-layer deployments in various network environments, offering comprehensive Layer 2 and Layer 3 switching capabilities.
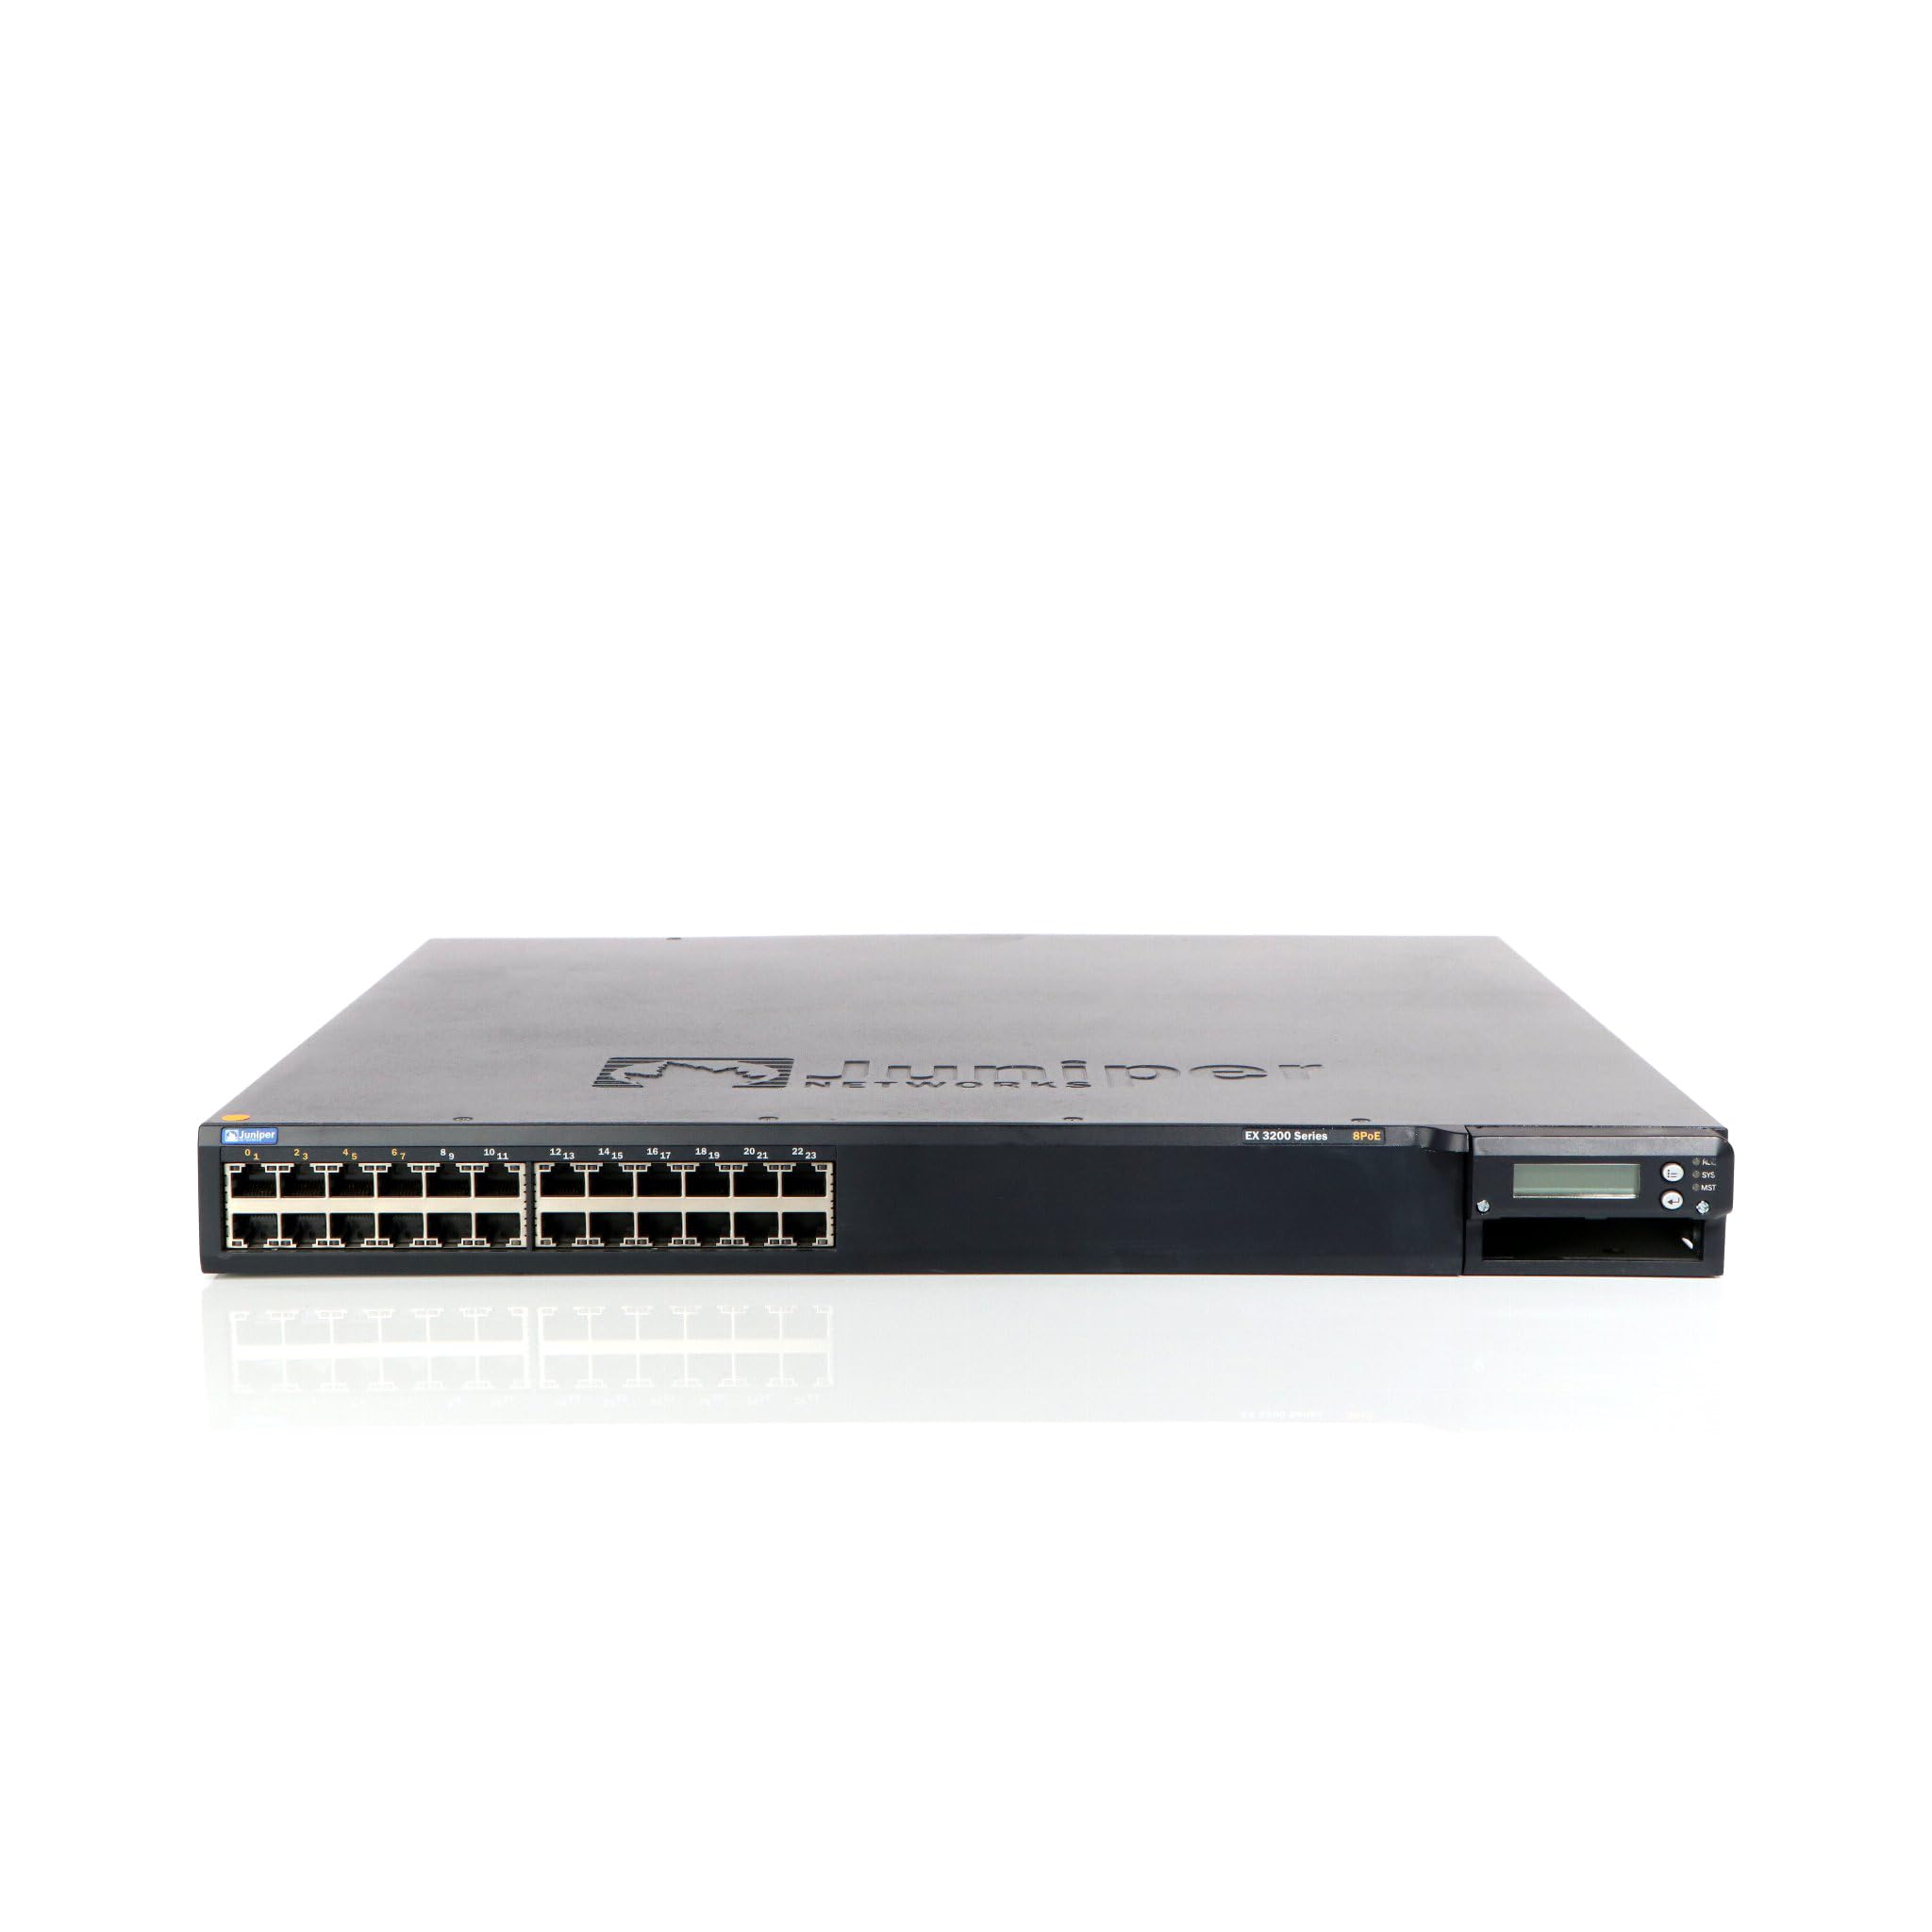
פיגורע 1: פראָנט view of the Juniper EX3200-24T Layer 3 Switch. This image displays the 24 Ethernet ports, along with various status indicator lights and the Juniper Networks branding.
2. סעטאַפּ
Follow these steps to properly set up your Juniper EX3200-24T switch.
2.1 אַנפּאַקינג און דורכקוק
- קערפאַלי אַראָפּנעמען די באַשטימען פון זייַן פּאַקקאַגינג.
- Inspect the switch for any signs of physical damage. If damage is found, contact your vendor immediately.
- באַשטעטיקן אַז אַלע קאָמפּאָנענטן וואָס זענען ליסטעד אין דער פּאַקינג ליסטע זענען פאַראַן.
2.2 רעק מאָונטינג (אפציאָנעל)
The EX3200-24T can be mounted in a standard 19-inch equipment rack. Use the provided rack-mount kit and follow the instructions included with the kit for secure installation.
2.3 קאַנעקטינג מאַכט
- Ensure the power switch on the rear panel of the switch is in the OFF position.
- Connect the provided AC power cord to the power inlet on the rear of the switch.
- צאַפּן די אנדערע סוף פון די מאַכט שנור אין אַ גראָונדעד עלעקטריקאַל ווענטיל.
2.4 קאַנעקטינג נעטוואָרק קאַבלעס
Connect Ethernet cables from your network devices (computers, servers, other switches) to the 10/100/1000Base-T ports on the front panel of the EX3200-24T switch. Ensure cables are securely seated.
3. אַפּערייטינג ינסטרוקטיאָנס
This section outlines the basic operation of the Juniper EX3200-24T switch.
3.1 מאַכט אויף די סוויטש
After connecting the power cord, flip the power switch on the rear panel to the ON position. The system status LEDs on the front panel will illuminate during the boot process.
3.2 Understanding Status LEDs
The front panel features various LEDs to indicate the operational status of the switch and its ports:
- SYS LED: Indicates system status (e.g., green for normal operation, amber for warning, red for critical error).
- ALM LED: ינדיקייץ שרעק סטאַטוס.
- PPM LED: Indicates power supply module status.
- פּאָרט לעדס: Each port has LEDs indicating link status and activity (e.g., green for link, blinking green for activity).
3.3 ערשטע קאָנפיגוראַציע (קאָנסאָל צוטריט)
For initial configuration, connect a console cable (RJ-45 to DB-9) from your management workstation to the console port on the switch. Use a terminal emulation program (e.g., PuTTY, Tera Term) with the following settings:
- באָוד קורס: 9600
- דאַטן ביטן: 8
- פּאַריטעט: קיין
- האַלטן ביטן: 1
- לויפן קאָנטראָל: קיין
Refer to the Juniper Networks documentation for detailed configuration procedures.
4. וישאַלט
Regular maintenance ensures optimal performance and longevity of your EX3200-24T switch.
4.1 רייניקונג
- רייניקט פּעריִאָדיש די אויסערלעכע טייל פֿון דעם סוויטש מיט אַ ווייכן, טרוקענעם, לינט-פֿרייע שטאָף.
- Ensure ventilation openings are free from dust and obstructions to prevent overheating. Do not use liquid or aerosol cleaners directly on the switch.
4.2 פירמוואַרע דערהייַנטיקונגען
Juniper Networks periodically releases firmware updates to improve performance, add features, and address security vulnerabilities. It is recommended to keep the switch firmware updated. Refer to the official Juniper Networks support website for the latest firmware and update procedures.
4.3 ענוויראָנמענטאַל קאַנסידעריישאַנז
Operate the switch within its specified environmental limits (temperature, humidity) to prevent damage and ensure reliable operation. Avoid exposing the switch to direct sunlight, excessive heat, or moisture.
5. טראָובלעשאָאָטינג
This section provides solutions to common issues you might encounter with your EX3200-24T switch.
5.1 קיין מאַכט
- סימפּטאָם: No LEDs are illuminated, and the switch does not power on.
- אקציע:
- איבערצייגט אז דער עלעקטרישער שנור איז זיכער פארבונדן סיי צום סוויטש און סיי צום עלעקטרישן ווענטיל.
- זיכער מאַכן אַז דער מאַכט קנעפל אויף דער הינטערשטער פּאַנעל איז אין דער ON פּאָזיציע.
- Check the electrical outlet with another device to confirm it is functional.
- If using a power strip or UPS, ensure it is powered on and functioning correctly.
5.2 קיין נעץ קאָנעקטיוויטי
- סימפּטאָם: Devices connected to the switch cannot access the network.
- אקציע:
- Check the port LEDs on the switch for the connected device. A solid green LED indicates a link. If no link, try a different port or cable.
- Verify the network cable is securely connected at both ends (switch and device).
- Ensure the connected device's network adapter is enabled and configured correctly.
- If multiple devices are affected, check the uplink connection from the EX3200-24T to your core network.
- Consult the switch's configuration for VLANs, IP addressing, and other network settings.
5.3 System Alarm LED (ALM) is Amber/Red
- סימפּטאָם: The ALM LED is illuminated amber or red.
- אקציע:
- Log in to the switch via the console or network management interface.
- Check system logs and alarm messages for details on the specific issue.
- Common causes include power supply issues, fan failures, or high temperature.
- Address the root cause as indicated by the logs.
6. ספּעסאַפאַקיישאַנז
Key technical specifications for the Juniper EX3200-24T Layer 3 Switch:
| שטריך | באַשרייַבונג |
|---|---|
| סאָרט | דזשוניפּער נעטוואָרקס |
| מאָדעל נומער | EX3200-24T |
| נומער פון פּאָרץ | 24 (16 x 10/100/1000Base-T, 8 x 10/100/1000Base-T) |
| יקספּאַנשאַן סלאָט | 1 x Expansion Slot |
| דאַטאַ אַריבערפירן קורס | 1 גיגאבייט פּער סעקונדע |
| שטיצע פון שיכטן | שיכטע 3 |
| פּונקט וואָג | 14.9 פונט |
| קאָליר | שוואַרץ |
| קאַמפּאַטאַבאַל דעוויסעס | דעסקטאָפּ |
| UPC | 832938037793 |
7. וואָראַנטי און שטיצן
7.1 פּראָדוקט וואָראַנטי
The Juniper EX3200-24T Layer 3 Switch is covered by a standard manufacturer's warranty. For detailed information regarding warranty terms, duration, and coverage, please refer to the warranty card included with your product or visit the official Juniper Networks webפּלאַץ.
7.2 טעכניש שטיצן
For technical assistance, troubleshooting beyond this manual, or to report issues, please contact Juniper Networks technical support. Support resources, including documentation, FAQs, and contact information, are available on the official Juniper Networks support portal: