
1. הקדמה
This manual provides essential information for the safe and efficient operation of your Technaxx Wireless CarPlay & Android Car Monitor TX-361. Please read this manual thoroughly before using the device and retain it for future reference. The TX-361 is designed to integrate modern smartphone connectivity, including Apple CarPlay and Android Auto, into your vehicle without requiring a complex car radio replacement. It also features an integrated DAB digital radio for enhanced audio experience.
2. זיכערקייַט אינפֿאָרמאַציע
- שטענדיק נוצן דעם מיטל פאַראַנטוואָרטלעך און לויט די לאָקאַלע פאַרקער געזעצן. דיסטראַקטעד דרייווינג קען פירן צו אַקסאַדאַנץ.
- פרובירט נישט צו צענעמען אדער מאדיפיצירן דעם אפאראט. דאס קען בטל מאכן די גאראנטיע און שאפן זיכערהייט ריזיקעס.
- האַלט דעם אַפּאַראַט אַוועק פון עקסטרעמע טעמפּעראַטורן, דירעקט זונשייַן און פייכטקייט.
- זיכער מאַכן אַז דער אַפּאַראַט איז זיכער אינסטאַלירט און שטערט נישט אייער view אָדער אַרייַנמישנ זיך מיט פאָרמיטל קאָנטראָלס.
- ניצט נאָר דעם צוגעשטעלטן מאַכט קאַבל און אַקסעסאָריעס.
- If the device malfunctions, disconnect it from the power source and contact customer support.
3. פּעקל אינהאַלט
באַשטעטיקט אַז אַלע זאכן וואָס זענען אויסגערעכנט אונטן זענען אַרייַנגערעכנט אין אייער פּעקל:
- DAB 7-inch CarPlay with Touch Screen TX-361
- Power Supply (USB-A to USB-C, 1.5m cable)
- AUX Cable (1m)
- DAB אַנטענע
- Holder (Mounting Bracket)
- באַניצער מאַנואַל
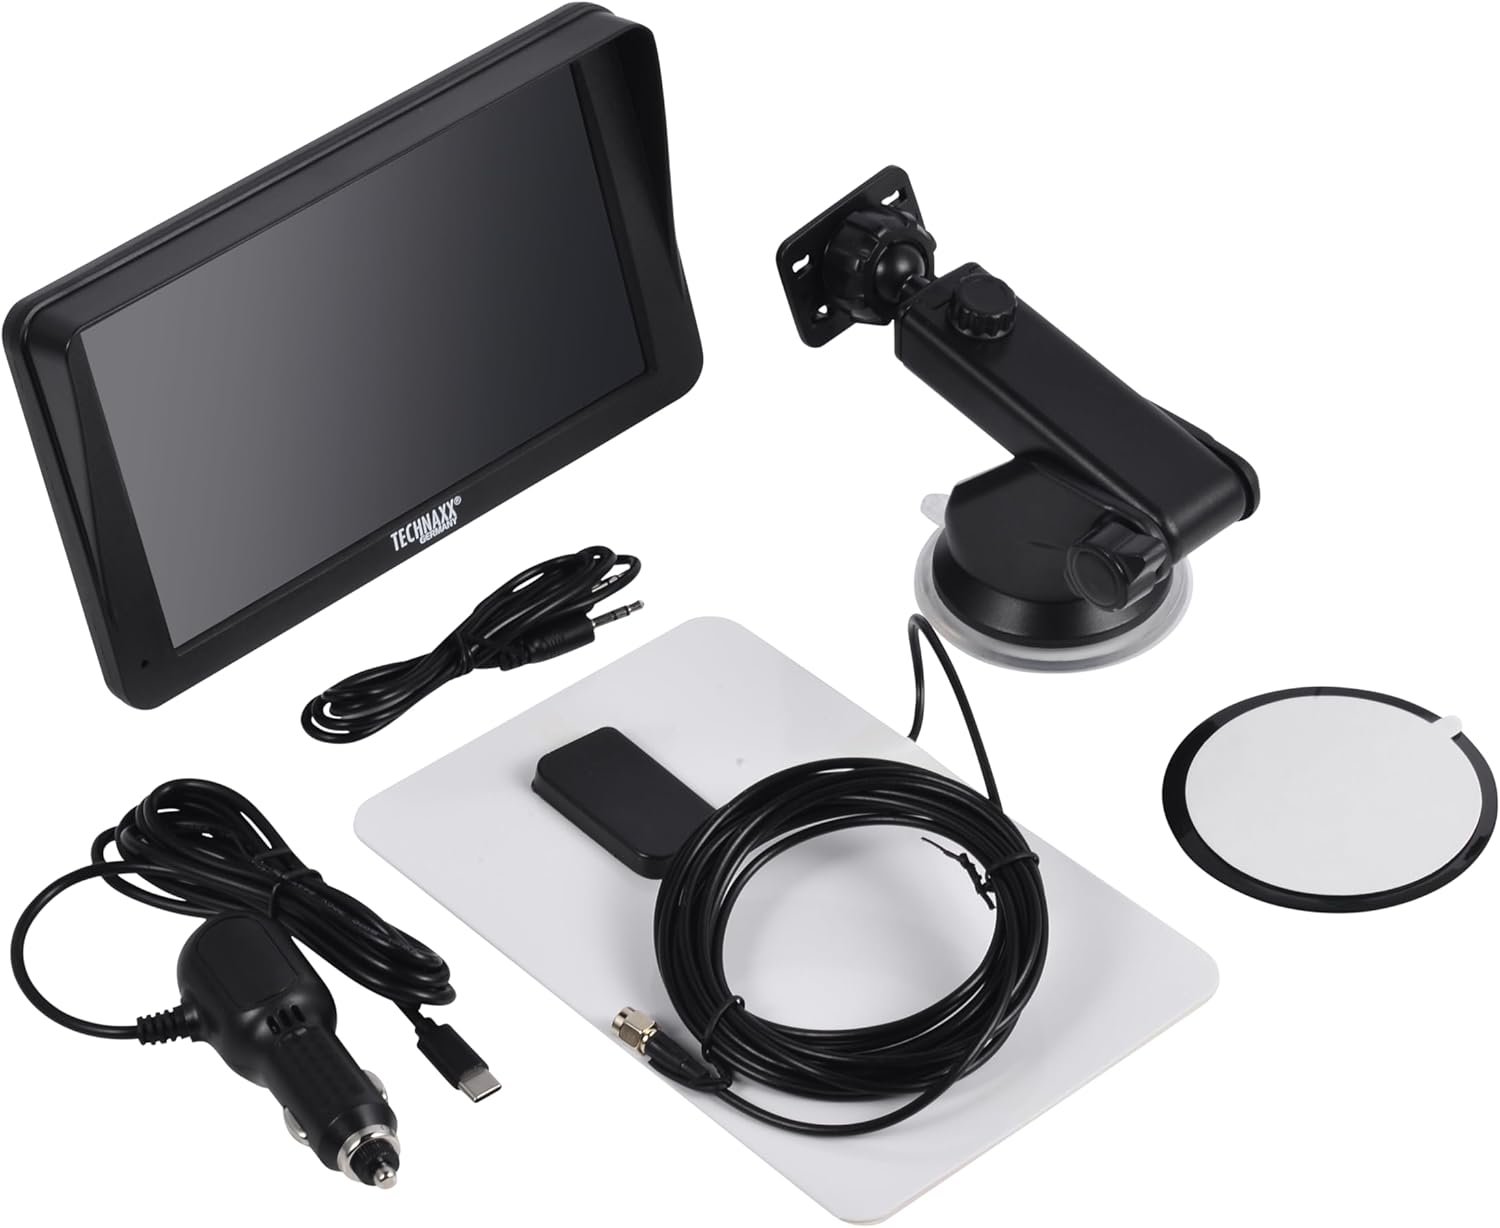
Image: All components included in the Technaxx TX-361 package, neatly laid out.
4. פּראָדוקט איבערview
Familiarize yourself with the main components of your TX-361 monitor.
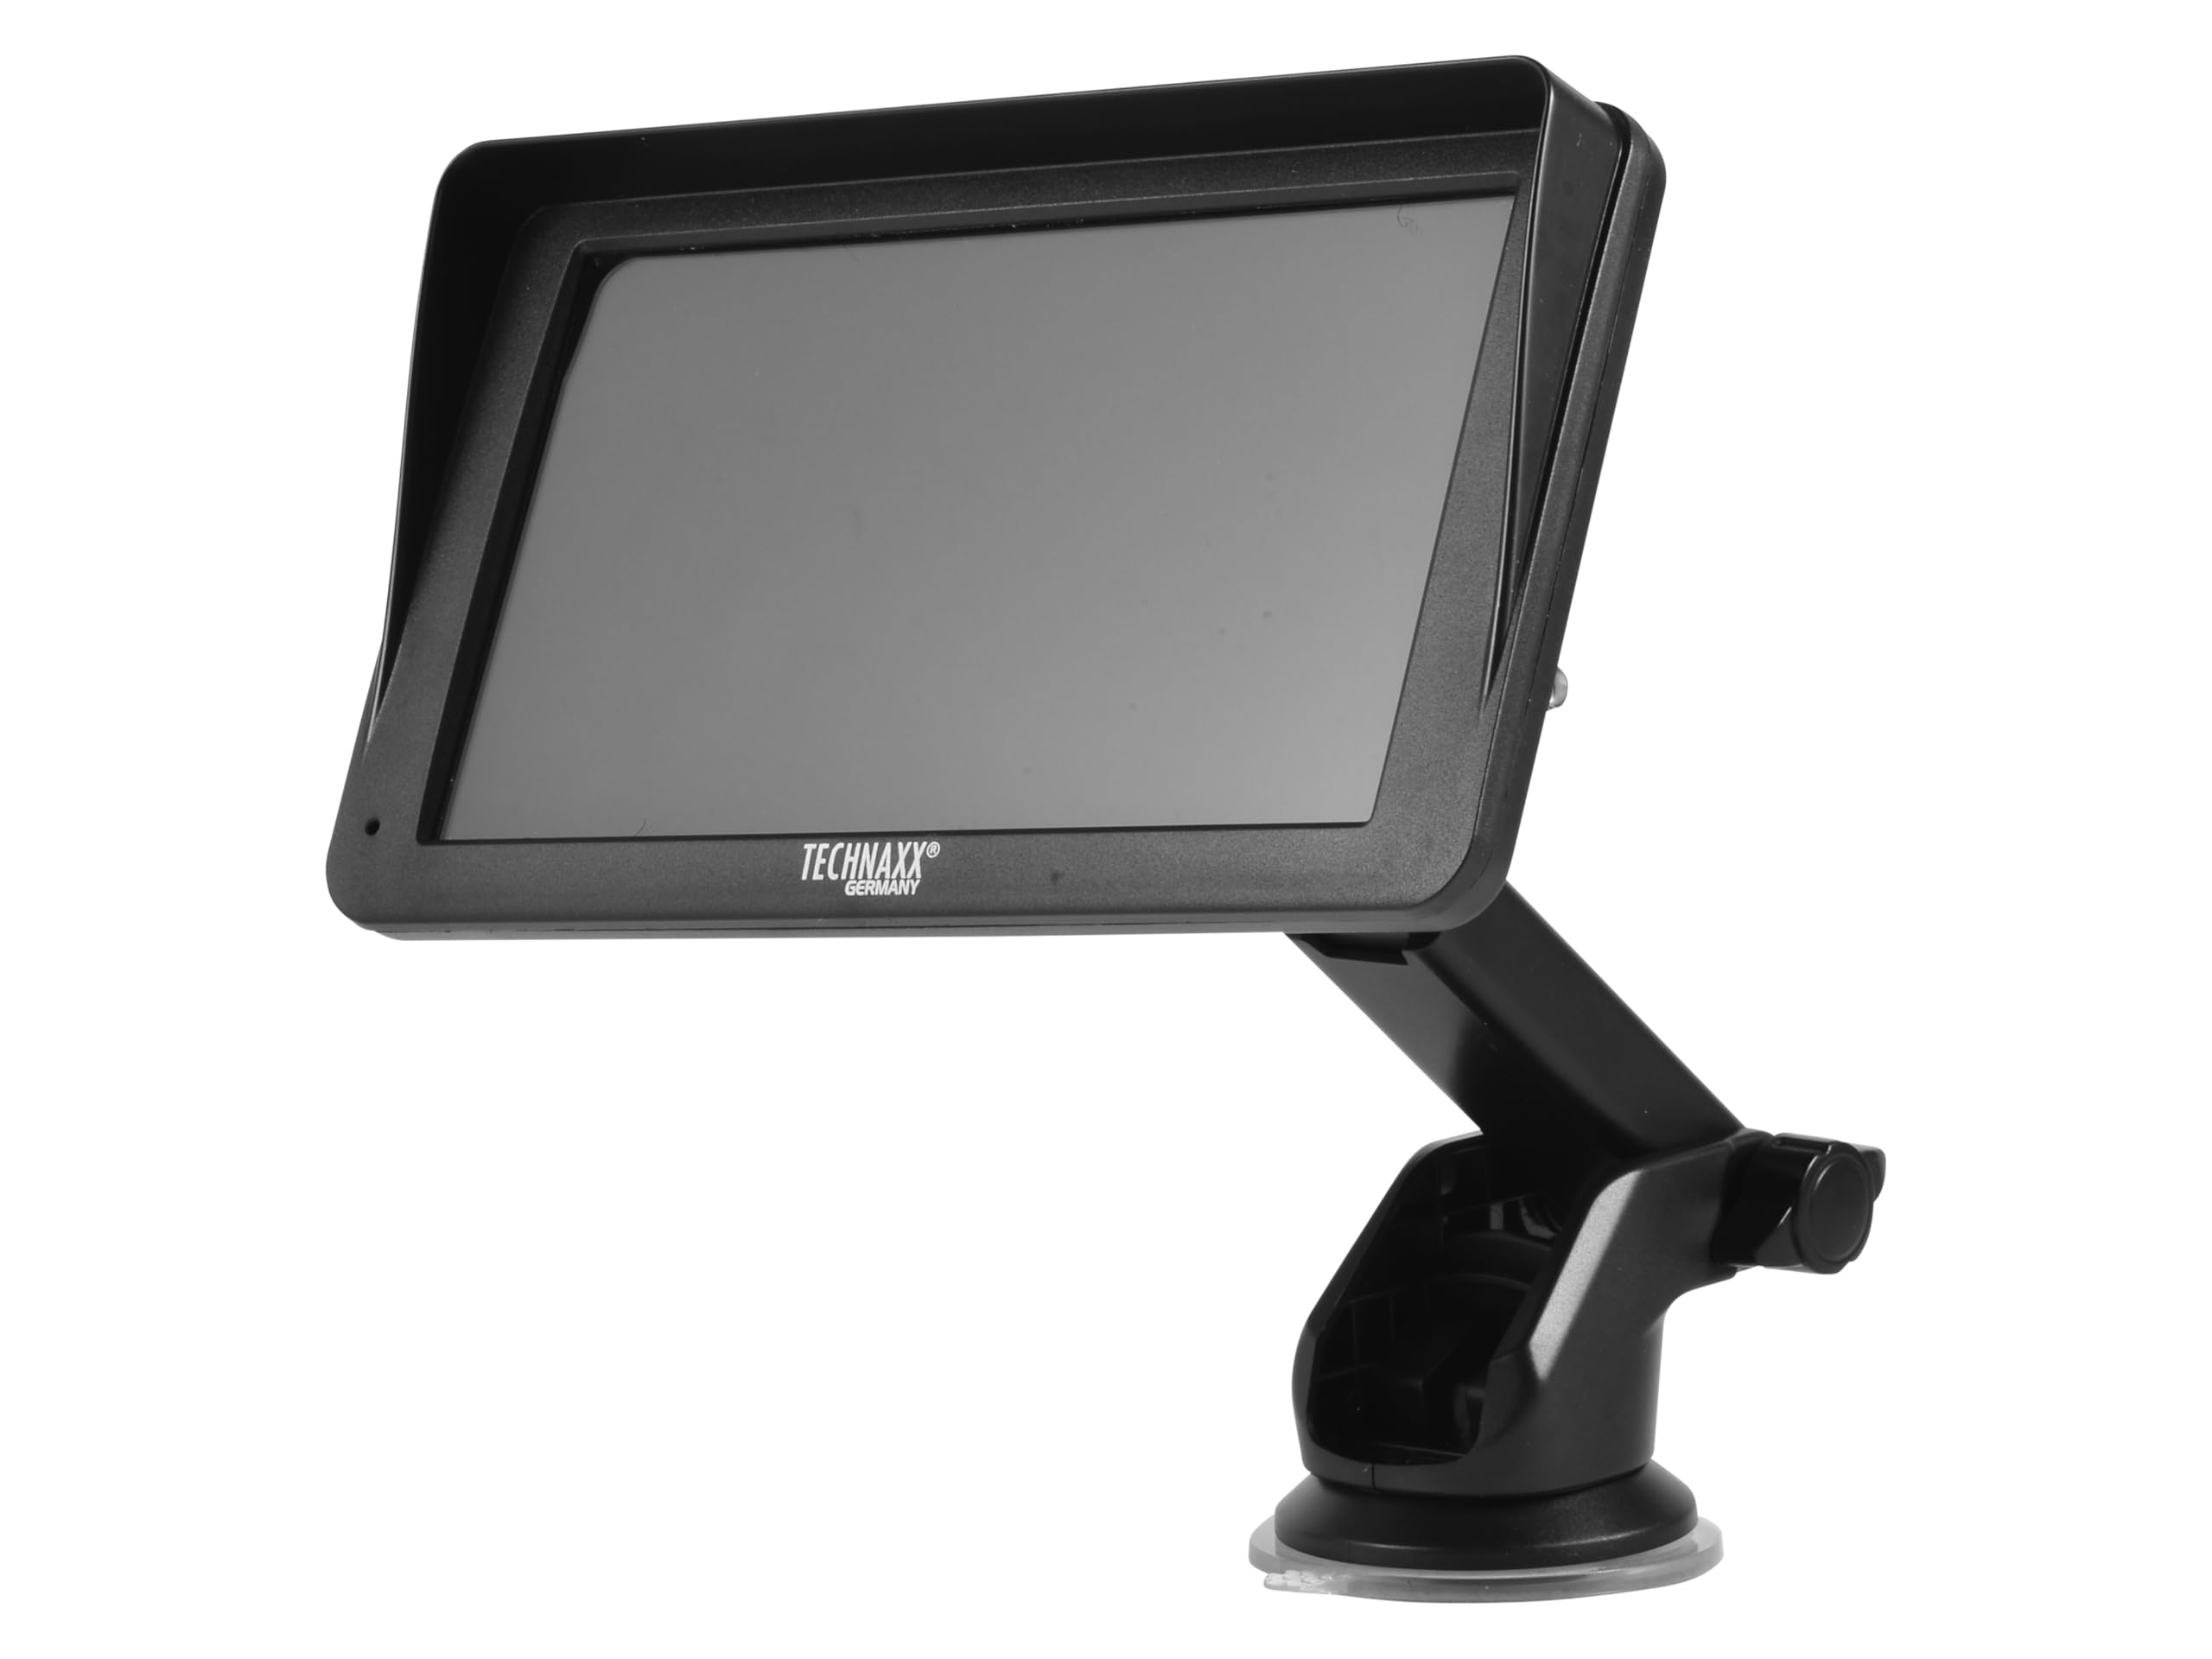
בילד: פראָנט view of the TX-361 monitor with its 7-inch display and 'TECHN AXX GERMANY' branding, attached to the adjustable mounting stand.

בילד: הינטערשטע view of the TX-361 monitor, highlighting the ventilation grilles and the attachment point for the mounting bracket.

בילד: דעטאַלירט view of the right side of the TX-361 monitor, showing the power button, reset button, USB-C power input, AUX output, and USB-A port.
4.1. מיטל קאַמפּאָונאַנץ
- 7-inch Capacitive Touch Screen: הויפּט אַרויסווייַז פֿאַר אַלע פֿונקציעס.
- מאַכט קנעפּל: Located on the top right side.
- באַשטעטיק קנעפּל: Small pinhole button for system reset.
- וסב- C פּאָרט: פֿאַר מאַכט אַרייַנשרייַב.
- AUX רעזולטאַט: 3.5mm jack for wired audio transmission.
- USB-A פּאָרט: For media playback or charging external devices.
- DAB Antenna Input: Connector for the external DAB antenna.
- אינטעגרירטע רעדנער: פֿאַר דירעקטע אַודיאָ ווידערשפּיל.
5. סעטאַפּ
5.1. מאַונטינג די מיטל
The TX-361 can be mounted on your vehicle's windscreen or dashboard using the provided holder.
- Attach the monitor to the mounting bracket.
- For Windscreen Mounting: Clean the desired area on the windscreen. Press the suction cup firmly against the glass and engage the lever to secure it.
- פֿאַר דאַשבאָרד מאָונטינג: Clean the desired area on the dashboard. If necessary, use the adhesive disc provided for a more secure attachment point for the suction cup. Press the suction cup firmly and engage the lever.
- סטרויערן די ווינקל פון די מאָניטאָר פֿאַר אָפּטימאַל viewאָן צו שטערן אייער דרייווינג view.

Image: The TX-361 monitor securely mounted on a car dashboard, showing its position relative to the driver's view.

Image: The TX-361 monitor mounted on a car windscreen, demonstrating an alternative placement option.
5.2. מאַכט קאַנעקשאַן
- Connect the USB-C end of the power cable to the USB-C port on the monitor.
- Plug the USB-A end of the power cable into the provided 12V/24V cigarette lighter adapter.
- Insert the cigarette lighter adapter into your vehicle's 12V/24V power socket. The device will power on automatically or can be turned on using the power button.
5.3. DAB Antenna Connection
For optimal DAB radio reception, connect the included DAB antenna:
- Connect the DAB antenna cable to the dedicated DAB antenna input on the monitor.
- Mount the DAB antenna on your windscreen or another suitable location, ensuring it has clear line of sight for best signal reception.
6. אַפּערייטינג ינסטרוקטיאָנס
6.1. פּאָווערינג אויף / אויסגעלאשן
- מאַכט אויף: The device typically powers on automatically when connected to the vehicle's power. If not, press and hold the power button on the top right side.
- מאַכט אַוועק: Press and hold the power button until the device shuts down. A short press will turn the screen off/on.
6.2. Initial Setup and Smartphone Connection
The TX-361 supports wireless Apple CarPlay and Android Auto via Wi-Fi and Bluetooth 5.0.
- זיכער מאַכן אַז אייער סמאַרטפאָון'ס Wi-Fi און בלועטוט זענען אַקטיוויזירט.
- On the TX-361 monitor, navigate to the CarPlay or Android Auto section.
- The monitor will display a Bluetooth name. On your smartphone, search for and connect to this Bluetooth device.
- Once connected via Bluetooth, the device will prompt you to enable Wi-Fi for CarPlay/Android Auto functionality. Confirm the connection on your phone.
- After successful pairing, Apple CarPlay or Android Auto will launch automatically on the monitor.
6.3. טאָוטשסקרעען אָפּעראַציע
The 7-inch capacitive touchscreen allows for intuitive control:
- צאַפּן: אויסקלייבן זאכן אדער באשטעטיגן אקציעס.
- לאַקכענען: Navigate through menus or lists.
- קניפּ-צו-זומען: (Where supported, e.g., in navigation apps) Adjust map zoom levels.
6.4. DAB Digital Radio
To use the integrated DAB digital radio:
- Ensure the DAB antenna is properly connected.
- From the main menu, select the 'DAB Radio' option.
- The device will automatically scan for available DAB stations.
- אויסקלייבן אייער געוואונטשענע סטאנציע פון דער ליסטע.
6.5. עפעם ראַדיאָ
For traditional FM radio reception:
- From the main menu, select the 'FM Radio' option.
- ניצט די קאָנטראָלן אויף דעם עקראַן צו סקענען סטאַנציעס אָדער מאַנועל צושטעלן צו אַ אָפטקייט.
6.6. אַודיאָ רעזולטאַט אָפּציעס
The TX-361 offers several ways to transmit audio to your vehicle's sound system:
- אינטעגרירטע רעדנער: Audio will play directly from the monitor's built-in speaker.
- AUX קאַבלע: Connect the provided 3.5mm AUX cable from the monitor's AUX output to your car's AUX input. Select 'AUX' as the input source on your car radio.
- FM טראַנסמיסיע: Select an unused FM frequency on the TX-361 and tune your car radio to the same frequency. Audio will be transmitted wirelessly to your car's speakers.
7. וישאַלט
- רייניקונג: ניצט אַ ווייכע, טרוקענע שטאָף צו רייניקן דעם עקראַן און די אויסערלעכע זייט פון דעם אַפּאַראַט. ניצט נישט קיין שרײַבנדיקע רייניגער אָדער סאָלווענטן.
- סטאָרידזש: אויב איר לייגט דאָס אַפּאַראַט אַוועק פֿאַר אַ לענגערע צײַט, זאָלט איר עס אָפּשטעקן פֿון עלעקטרישן מאַכט און עס אַוועקלייגן אין אַ קילן, טרוקענעם אָרט.
- ווייכווארג דערהייַנטיקונגען: קאָנטראָלירט פּעריִאָדיש דעם פאַבריקאַנט'ס website for any available firmware updates to ensure optimal performance.
8. טראָובלעשאָאָטינג
| פּראָבלעם | מעגלעך לייזונג |
|---|---|
| די מיטל טוט נישט מאַכט אויף. |
|
| Cannot connect to CarPlay/Android Auto. |
|
| Poor DAB/FM radio reception. |
|
| קיין אַודיאָ רעזולטאַט. |
|
9. ספּעסאַפאַקיישאַנז
| שטריך | באַשרייַבונג |
|---|---|
| מאָדעל נומער | 5361 |
| ווייַז | 7-אינטש קאַפּאַסיטיווע ריר פאַרשטעלן |
| קאַנעקטיוויטי טעכנאָלאָגיע | Wi-Fi (Dual-band 2.4 / 5 GHz), Bluetooth 5.0 |
| ספּעציעלע פֿעיִקייטן | Wireless CarPlay & Android Auto, DAB Digital Radio, FM Radio, Touchscreen Display |
| DAB אָפטקייַט קייט | Band III: 174-240 MHz |
| אַודיאָ רעזולטאַט | AUX, FM Transmission, Integrated Speaker |
| מאַכט צושטעלן | 12V/24V via Cigarette Lighter |
| פּראָדוקט דימענשאַנז (ד רענטגענ וו רענטגענ ה) | 18.8 ד רענטגענ 10.8 וו רענטגענ 3.5 ה סענטימעטער |
| פּונקט וואָג | 0.58 פונט (בעערעך 263 גראַמז) |
10. וואָראַנטי און שטיצן
Technaxx products are covered by a manufacturer's warranty. For detailed warranty information, please refer to the warranty card included with your product or visit the official Technaxx website. For technical support, troubleshooting assistance, or service inquiries, please contact Technaxx customer support through their official channels.
איר קענט אָפט געפֿינען נאָך רעסורסן, אָפֿט געשטעלטע פֿראַגעס, און קאָנטאַקט אינפֿאָרמאַציע אויף דער Technaxx official webפּלאַץ.